
Last checked: August 2026 · Written by the player-led team at Badminton House
Quick answer
Use a runner's loop for a heel that lifts, an eyelet-skip window for one pressured spot on the instep, or two-zone lacing when the forefoot needs less tension than the heel. Start comfortably snug, then test the setup through controlled badminton movements.
The fit gate: lacing can fine-tune a near-fit. It cannot add missing length, sole width or toe-box depth.
The pressure rule: secure is useful; pressure pain or crowded toes mean loosen and reassess.
Badminton asks a shoe to hold the foot through stops, lateral pushes and lunges. Pulling every crossing tighter is a poor fix because the heel, instep and forefoot may need different pressure. Small running studies found that high-eyelet secure lacing improved perceived stability, while tighter setups also raised pressure across the top of the foot. That is a tradeoff, not a command to cinch as hard as possible.
No clinical trial has proved these patterns specifically during badminton. Treat them as reversible fit adjustments for an already suitable court shoe. The goal is quiet, predictable foot-to-shoe movement without squeezing tissue or changing how you move to escape discomfort.
Check the base fit before changing the laces
Lacing works when the shoe is close to the right shape and size. Before choosing a pattern, stand in both shoes and confirm that the longest toe has space, the forefoot is not spilling over the sole, the upper is not pressing a toe joint and the heel counter matches your heel.
Current NHS athletic-footwear guidance recommends roughly a thumb's width ahead of the longest toe, a sole wider than the ball of the foot, adjustable laces for midfoot support, and heel padding that holds the foot back. Test the fit while standing. A printed width label does not override what the shoe actually does around your foot.
| What you feel | Try first | Exit rule |
|---|---|---|
| Heel rises while length and forefoot fit are good | Runner's loop | Heel still moves or collar bites when walking |
| One lace crossing creates top-of-foot pressure | Eyelet-skip window | Tingling or numbness persists after loosening |
| Forefoot needs room, heel needs hold | Two-zone lacing | Foot spills over the sole or toes remain crowded |
If the shoe is plainly too short, narrow, shallow or loose at the heel, begin a return or replacement instead. Do not try to turn a size problem into a lace-tension problem.
Three lacing patterns for three different complaints
Choose one pattern for the symptom you can describe clearly. Keep the rest of the shoe unchanged, match tension on both feet unless one foot needs a different setup, and write down what you changed. That makes the first court test useful instead of turning it into a guessing contest.
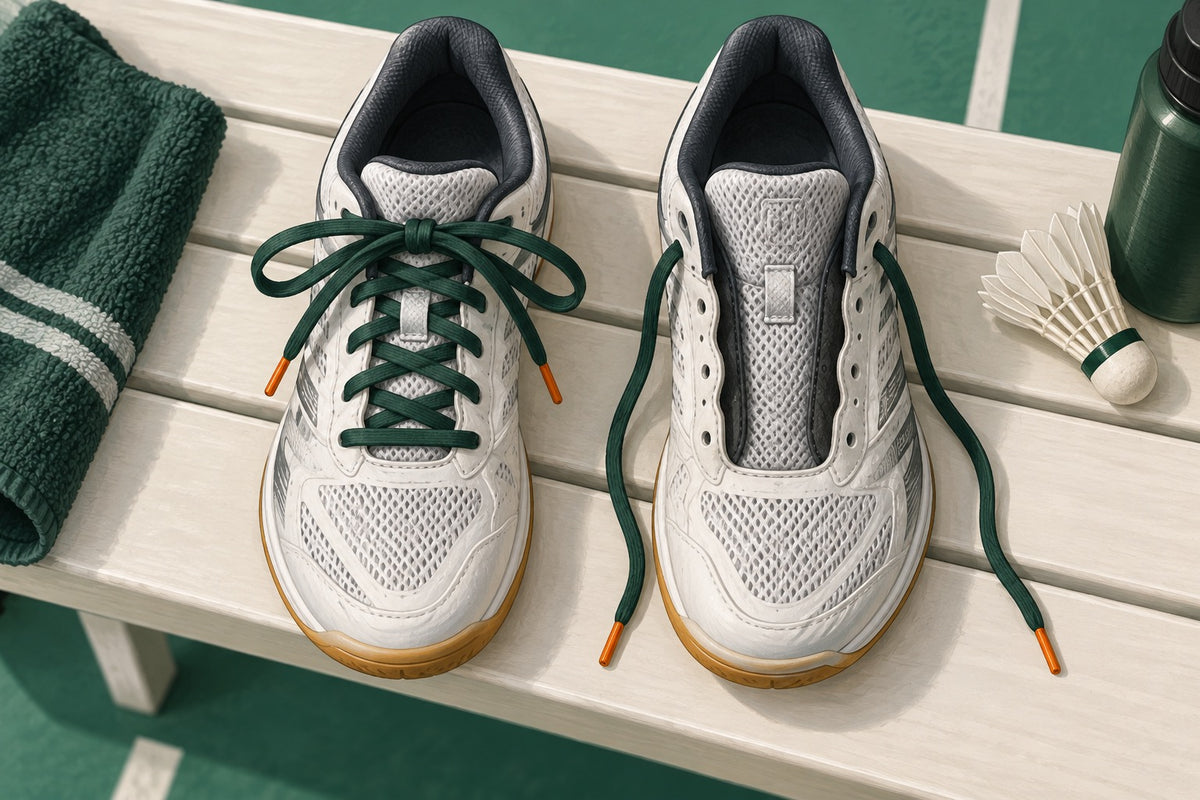
1. Runner's loop for heel slip
- Lace normally up to the second-highest eyelet.
- Feed each lace end straight up through the highest eyelet on the same side, leaving a small loop.
- Cross each end over and pass it through the loop on the opposite side.
- Pull the ends outward and slightly down so the loops close, then tie the usual bow.
- Stand and check that the collar holds without digging into the ankle or top of the foot.
This is the procedure illustrated by Ohio State Sports Medicine. It can improve hold at the top of a compatible shoe. It does not prove that heel movement will disappear under every lunge. If the counter shape does not match your heel, more tension may add top-of-foot pressure without fixing the mismatch.
2. Eyelet-skip window for instep pressure
- Put the shoe on and identify the single crossing directly over the pressure point.
- Unlace to the eyelets just below it.
- On each side, run the lace vertically to the next eyelet instead of crossing over the sore area.
- Resume the normal criss-cross pattern above the window.
- Tie with moderate tension and confirm the tongue stays flat.
A small dorsal-pressure study found that omitting one eyelet reduced peak pressure over the measured top-of-foot area in runners. That supports the pressure-relief idea, not a diagnosis. If tingling or numbness continues after loosening, stop using the setup rather than widening the window indefinitely.
3. Two-zone lacing for a roomy heel and sensitive forefoot
- Use one shorter lace through the lower half of the eyelets.
- Tie that lower section just firmly enough to keep the tongue and forefoot stable.
- Use a second lace through the upper eyelets.
- Set the upper section more securely around the heel, adding a runner's loop only if needed.
- Tuck both bows safely so no loop can catch the other shoe.
Cedars-Sinai footwear guidance recommends separate laces when the forefoot is wide and the heel is narrow. The advantage is independent tension, not extra shoe width. If the forefoot still presses against the upper or overhangs the sole, use a shoe with a better shape.

Test the new lacing before full-speed play
A pattern passes only when it stays comfortable under the movements you actually use. Give the change five controlled minutes before joining a game. Progress from low-load checks to badminton stops, and abandon the test as soon as the shoe creates pain, persistent tingling, colour change or new rubbing.
- Stand and walk: wiggle every toe, roll through the forefoot and check the tongue.
- Side shuffle: take ten easy steps each way. The foot should not spill across the sole edge.
- Controlled lunge: perform five shallow lunges per side, then five at normal training depth.
- Stop and retreat: add five easy split-step, lunge and recover repetitions.
- Recheck: loosen or tighten one zone by a small amount, then repeat the same test.
Feet can swell during activity, so a setup that felt loose at the first tie may feel different after the warm-up. Relacing once is reasonable when the fit has changed. If you keep needing to retighten, stop and reassess whether the pattern and shoe are holding comfortably.
A moving heel can contribute to shear, but it is not the only blister factor. Moisture, pressure, repetition and footwear all matter. If rubbing has already started, manage it with the broader steps in our badminton foot-blister guide rather than assuming tighter laces solve the cause.
Know when lacing cannot fix the shoe
Return or replace the shoe when length, platform width, toe-box depth or heel-counter shape is wrong. Those are structural dimensions. A clever lace path may move pressure away from one crossing, but it cannot create room beyond the materials or stop a foot from sliding inside an incompatible shape.
- Too short: a toe touches the front during a controlled stop.
- Too narrow: the loaded forefoot overhangs the sole or the upper presses from both sides.
- Too shallow: the upper presses a toe joint even with the lower laces loose.
- Heel mismatch: the collar bites before the counter holds the heel.
- Neurologic signal: tingling or numbness remains after the laces are loosened and the shoe is removed.
For more on upper shape and pressure, read our guide to badminton shoe upper construction. The useful lacing pattern is the least complicated one that keeps a correctly fitting shoe secure and comfortable through your real court movements.

Leave a comment
This site is protected by hCaptcha and the hCaptcha Privacy Policy and Terms of Service apply.