

Badminton Serve Foot Fault: Feet, Lines and Delays
Identify service faults involving feet, boundary lines, delay and stop-start racket motion, then check them on video.
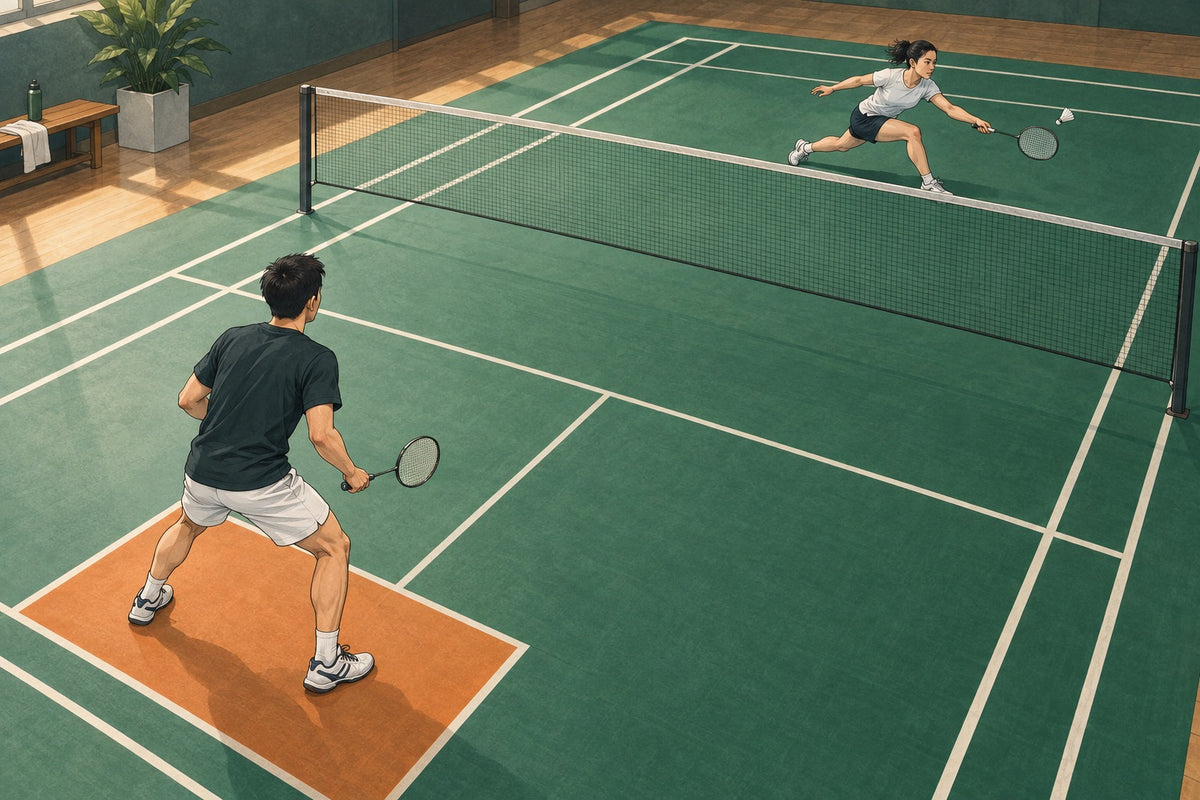
Badminton One Corner Drill: Pressure With a Fixed Target
A two-player one-corner drill with exact roles, four corner versions, a closed diagonal, scoring, rotations and conservative stop rules.

Badminton Contact Point: Where to Meet the Shuttle
Find the correct body-relative contact window for clears, drops, smashes, net shots, lifts, drives and overhead backhands, then check it on video.
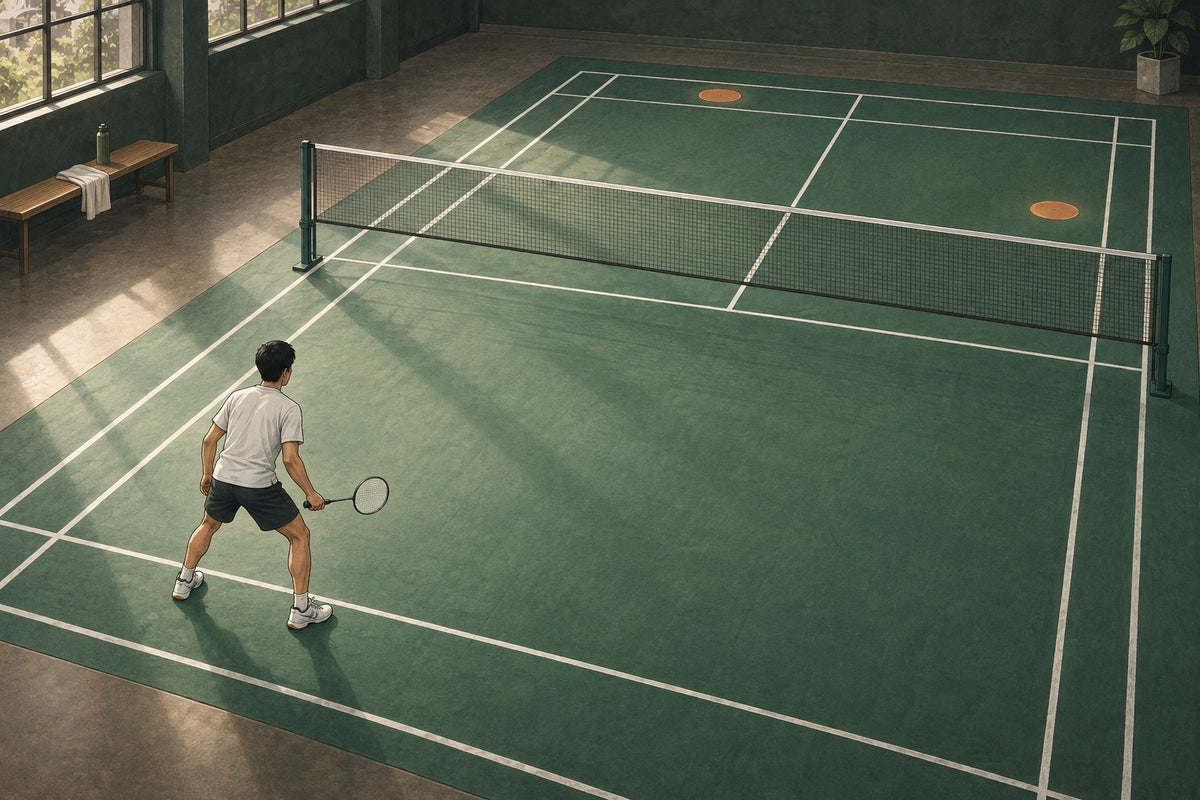
Badminton Smash Placement: 5 Singles Targets and Their Cost
Compare five singles smash targets by opponent position, available angle, reply space, recovery base and risk.
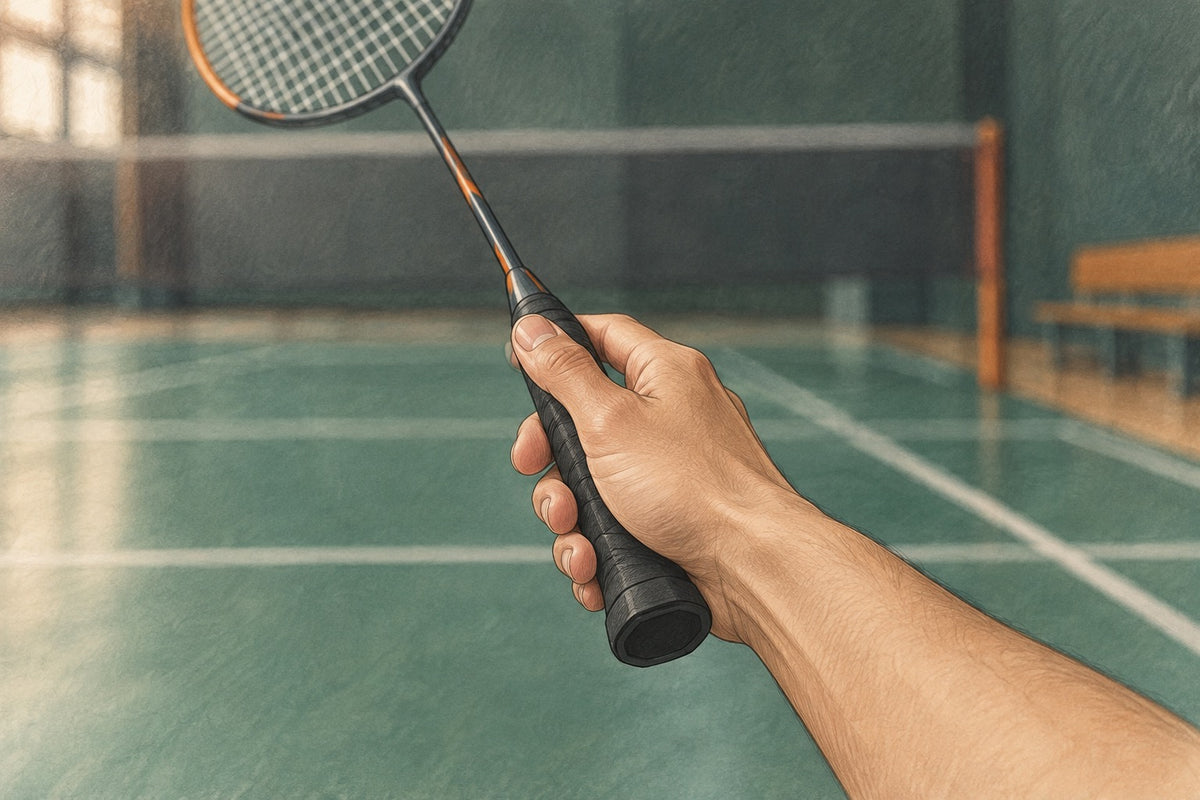
How to Stop Reverting to the Frying Pan Grip
A three-week correction plan that moves a reverting frying pan grip from slow checks to two-grip patterns and scored games.
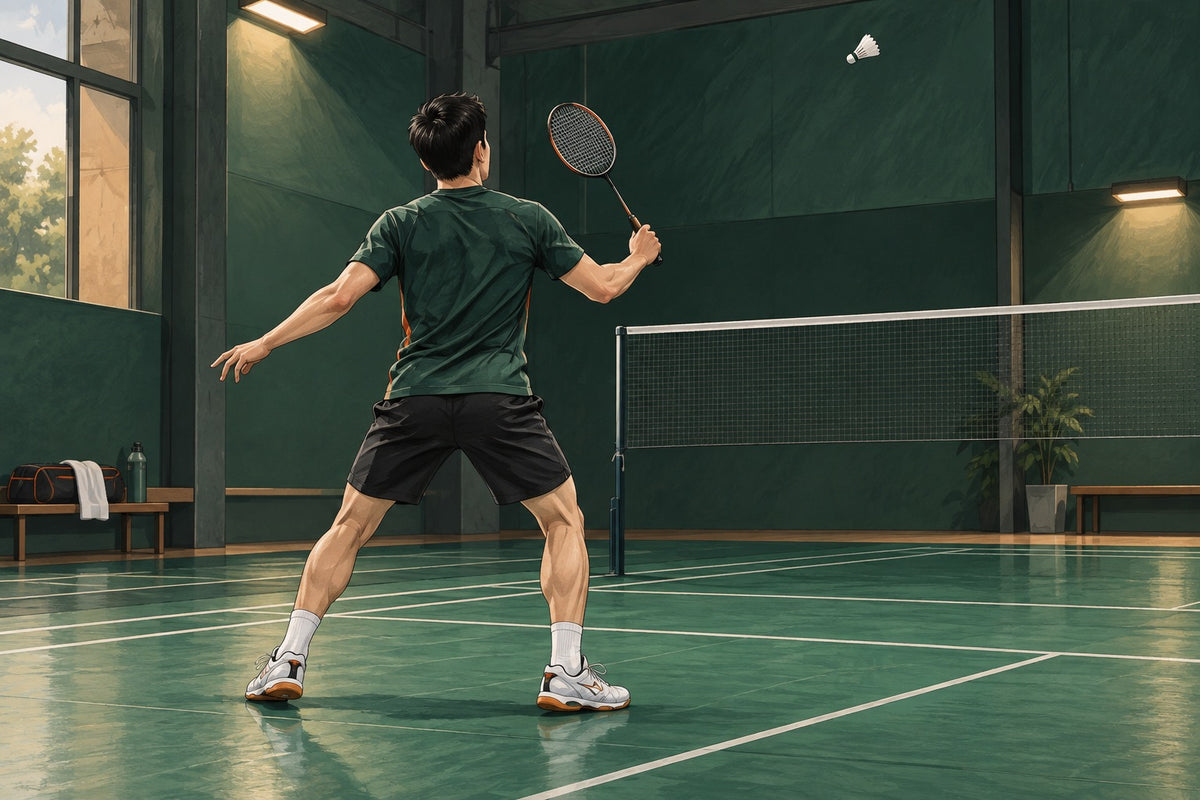
Badminton Backhand Smash: Is It Worth Learning?
A practical verdict on who should learn a badminton backhand smash, the prerequisites to test, and the higher-value shots to build first.

Badminton Sequence Drills: Fixed Rally Patterns That Work
Use five cooperative badminton rally sequences to improve contact, recovery and shot consistency with one partner and one shuttle.

Wrong-Footed in Badminton: How to Recover and Restart Fast
Recover after badminton deception with a controlled second start, a simple reset and progressive drills that reward a playable next shot.
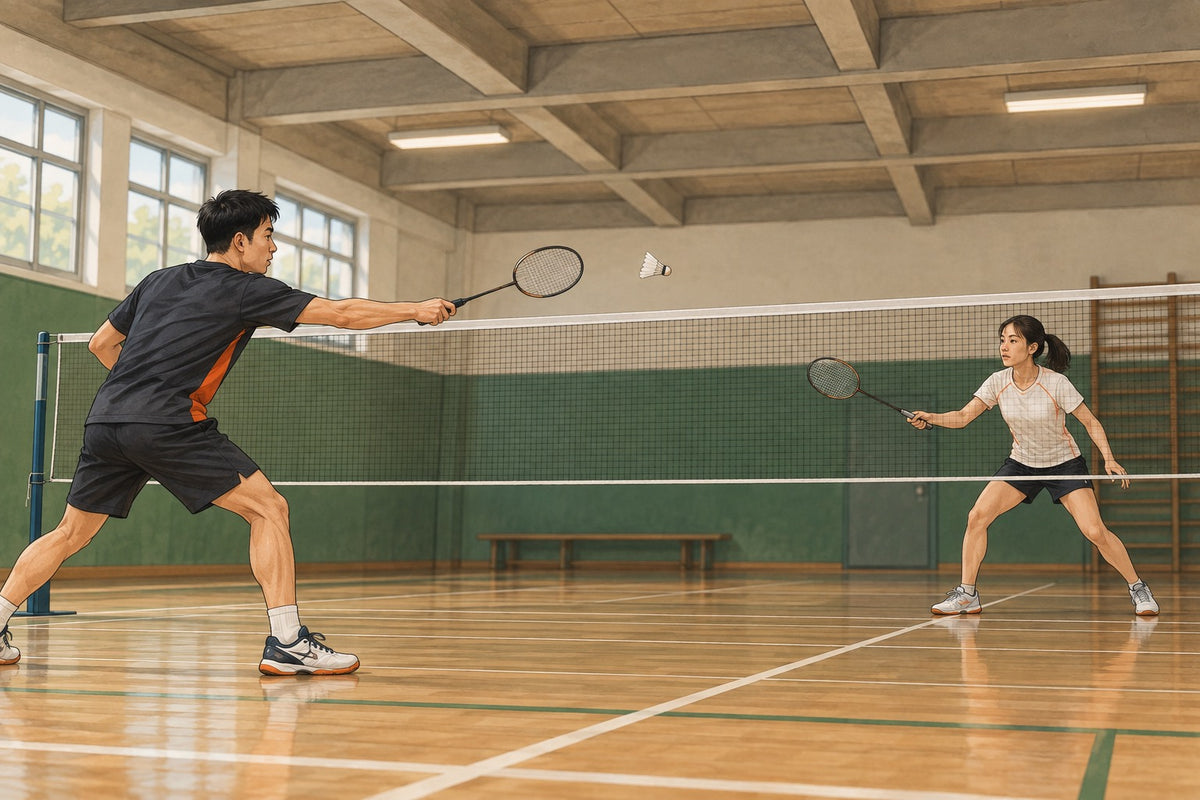
Low-Ceiling Badminton: Shot Choices When You Cannot Clear
A contact-first guide to replacing high clears, lifts and flick serves when the ceiling limits the shuttle's safe flight path.
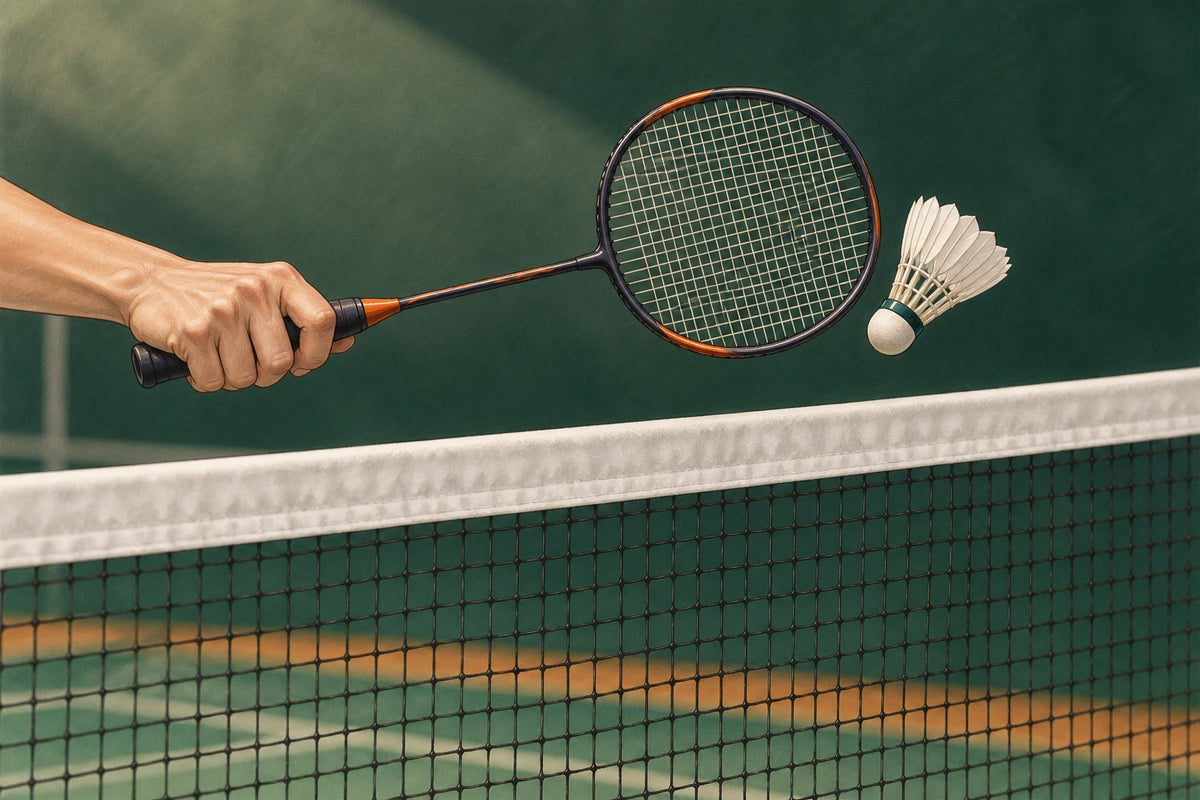
Badminton Brush Net Kill: Killing Shuttles at Tape Height
Find the brush-kill boundary above the tape, read a compact across-shuttle racket path and fix contact faults without forcing a low shuttle.

Badminton Footwork Phases: Start, Move, Hit, Recover
Diagnose badminton movement by separating each rally cycle into start, approach, hit and recovery phases.
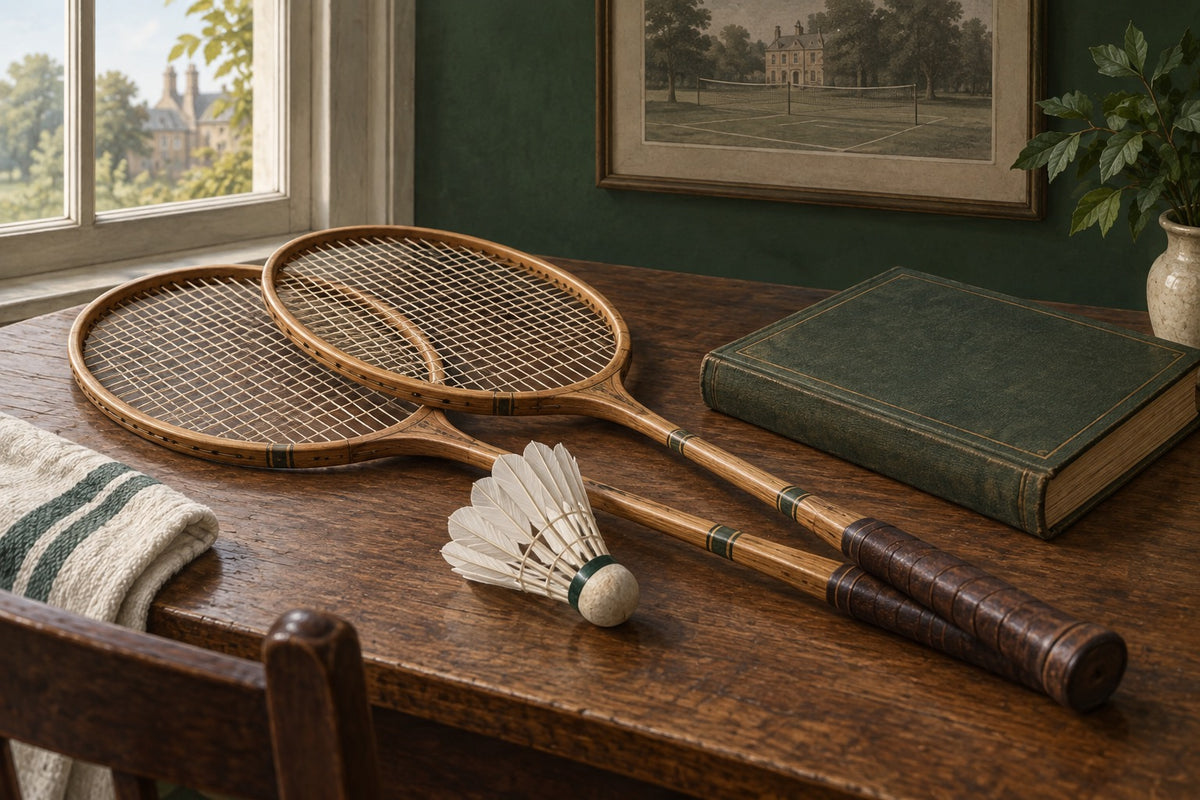
Badminton Doubles Two Serves: The Rule That Vanished
Understand the retired two-server doubles system, its opening-side exception and how old club calls translate to current rally-scoring service rules.