
Last checked: August 2026 · Written by the player-led team at Badminton House
Quick answer
This is a step-by-step badminton ankle taping method: materials, foot position, the anchor, stirrup and figure-six layers, and the checks that confirm a safe fit. It is technique only, not a diagnosis. A fresh, swollen, or genuinely painful ankle needs a clinician's assessment before you tape it and play.
- Anchor the lower shin, run two or three stirrups inner ankle to outer ankle under the sole, then one to three figure-six wraps around the heel, ankle held neutral throughout.
- Check toe colour and feeling before you play, and retape looser at the first sign of tingling, numbness, or colour change.
- Retape fresh before every session and remove within 48 hours; taping supports a stable ankle rather than rehabilitating one.
What Badminton Ankle Taping Does (and Doesn't Do)
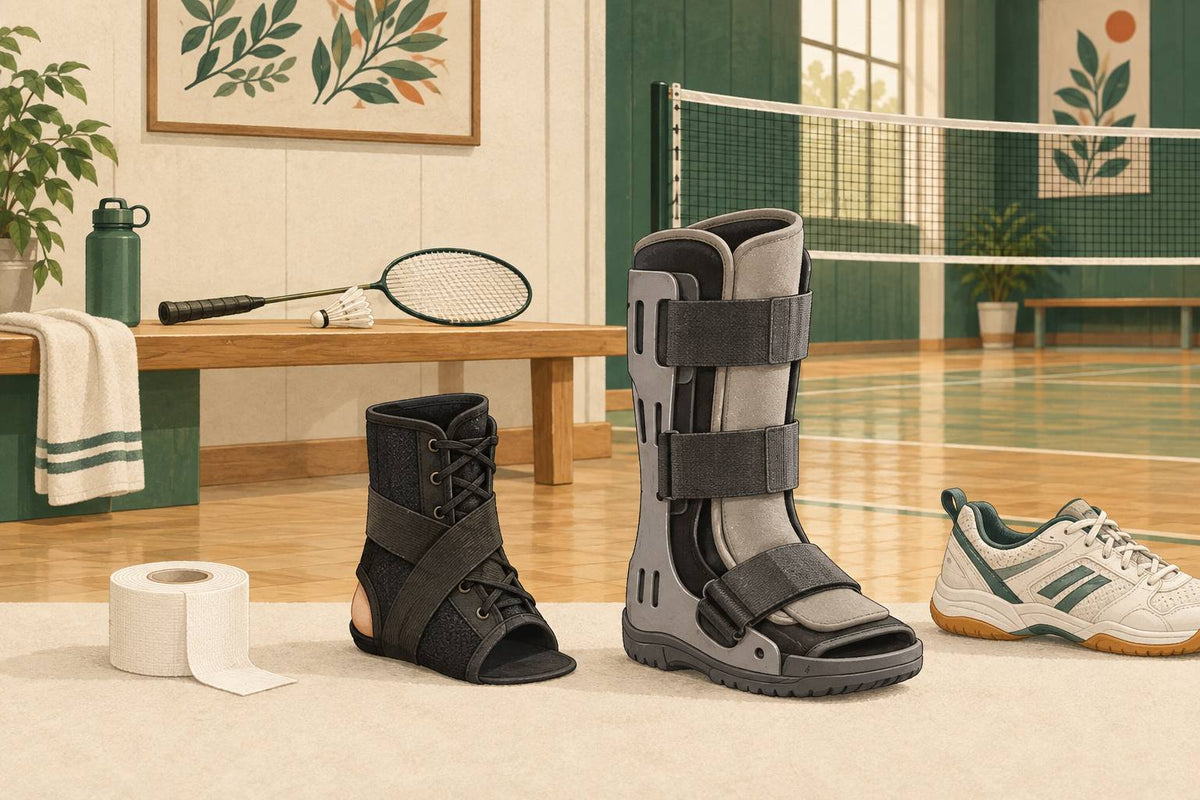
Rigid badminton ankle taping mechanically blocks the last part of the ankle roll that causes a lateral sprain, and it measurably lowers the odds of a repeat sprain in players who have rolled an ankle before. It does not rebuild ligament strength, improve balance sense, or replace an assessment of an actual injury.
Evidence backs both halves of that claim. In athletes with a prior ankle sprain, a systematic review pooling seven randomized ankle-support trials found taping cut the odds of another sprain by roughly seventy percent and bracing by about the same amount, with neither support proven better than the other. But a separate systematic review and meta-analysis on taping, bracing, and proprioception found no measurable improvement in joint-position sense, the body's own feel for where the ankle is. Tape is a mechanical block on range of motion, not a training tool for balance.
None of this is a diagnosis. This article covers general taping technique for a player managing a known, previously stable ankle through a season, rather than a way to self-treat a new injury. A fresh sprain, real instability, a sudden pop, or bony tenderness means seeing a clinician first instead of reaching for tape.
This is written for a specific situation: you rolled an ankle once, it healed, and you now tape it out of caution most weeks you play rather than because anything is currently wrong. If that is not your situation, the technique below still applies, but the assessment step matters more than the wrap.
What You Need and How to Position the Foot
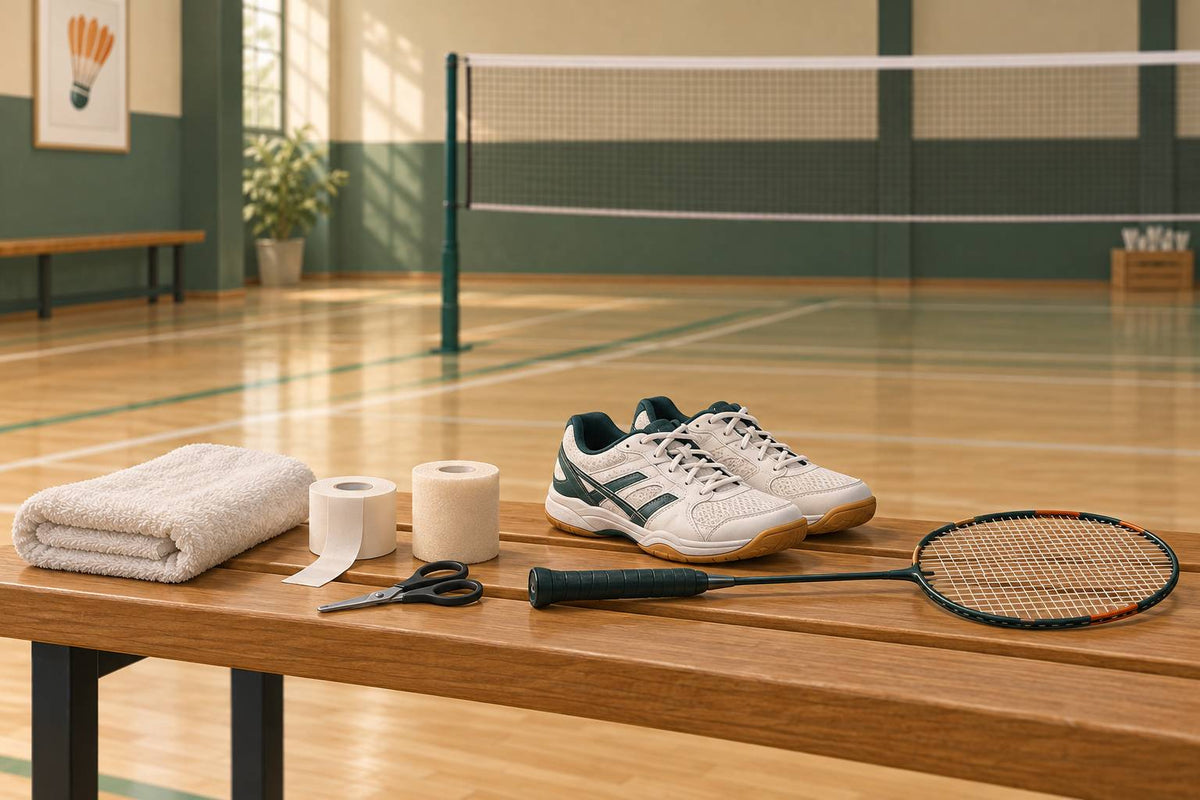
You need adhesive, non-stretch rigid sports tape (the stretch kind will not hold a restriction under load), a hypoallergenic underwrap if your skin reacts to adhesive, and blunt-nosed scissors for removal. Rest your lower leg so the foot hangs free and let the ankle settle into a neutral, right-angle position before the first strip goes on.
- Underwrap: a hypoallergenic underlay tape, worth using if adhesive irritates your skin.
- Rigid tape: adhesive, non-stretch sports tape, roughly 38mm wide.
- Scissors: blunt-nosed, for cutting the tape off rather than peeling it.
Sit or stand so your lower leg is supported and the foot hangs completely free of the floor. PhysioAdvisor's ankle taping technique keeps the foot and ankle neutral, toes pointing straight up rather than pointed down or pulled back, for the entire job. That single choice matters: tape locked over a pointed or overly flexed ankle bakes the wrong range into the wrap, so recheck the angle before every strip.
Cut your stirrup and figure-six strips before you start rather than tearing tape off the roll mid-wrap. A rushed strip goes on crooked or wrinkled, and a wrinkle under the arch or behind the heel is exactly where a blister starts on a long session. Laying out six or seven pre-cut strips on the edge of a bench takes twenty seconds and saves you fumbling one-handed while balancing the taped leg.

The Taping Procedure, Step by Step
This sequence has four layers: one anchor strip around the lower shin, two or three stirrup strips running from the anchor under the sole to the opposite side, one to three figure-six strips that wrap around the heel, and closing strips that lock every edge down. More strips mean a firmer, more restrictive wrap.
- Check the skin. Look over the shin, heel, and midfoot for cuts, blisters, or rash, and confirm you have no known tape allergy. Note your normal toe colour and feeling now, as a baseline to compare against later.
- Position the foot. Support the lower leg so the foot hangs free, and let the ankle settle into the neutral, toes-up position from the section above.
- Lay the anchor. Wrap one strip of rigid tape around the lower third of the shin, snug but never pulled tight. This is the fixation point every later strip attaches to.
- Run the stirrups. Starting at the anchor on the inner-ankle side, take a strip straight down, under the sole, and back up to the anchor on the outer-ankle side. Repeat two or three times, fanning each stirrup slightly forward or backward of the last; more stirrups for more support.
- Add the figure-six wraps. Starting again at the inner ankle, wrap the tape around the foot and behind the heel in a figure-six, back to the anchor. This layer is what actually locks around the heel and resists the foot rolling inward, the specific movement behind most badminton ankle sprains. Repeat one to three times, again fanned slightly forward and backward.
- Close it off. Finish with a couple of closing strips over the anchor and the last stirrup and figure-six, smoothing every edge flat so nothing catches on a sock.
Scale the wrap to the day, not the injury. A maintenance wrap for a stable, previously sprained ankle needs only the minimum: one anchor, two stirrups, one figure-six. Before a tournament, or on an ankle that still feels a little unreliable, add the third stirrup and the third figure-six rather than pulling any single strip tighter. An extra layer of tape restricts more; a tighter single strip mostly just cuts circulation sooner.
Check the Tape Before You Play
Before you step on court, confirm the tape blocks the roll that concerns you without cutting off circulation. Compare toe colour and feeling with your pre-tape baseline, move the ankle through a controlled range, then walk a few steps and try a gentle two-footed hop.
A physiotherapy patient advisory from the NHS in Wales puts the circulation check plainly: tape pulled too tight makes the skin below it lose its normal colour, and can bring on pins and needles or numbness. Either sign means the tape comes off; do not tough it out for one more set. The same rule applies mid-session: a strip that felt fine at rest can bite once you are moving and sweating, so recheck it at the first break.
For the range-of-motion check, point and flex the foot first. Then gently test the rolling movement the wrap is meant to limit, without forcing it or going to end range. A wrap built correctly lets the first two movements happen close to normally and visibly resists the targeted rolling movement. If that movement remains almost as free as it is with no tape at all, the stirrups or figure-six layer are too loose, and it is worth redoing the wrap rather than trusting support that is not actually restricting the movement.
A wrap that is doing its job feels snug at rest and noticeably firmer the moment you push the ankle toward the inside edge of the foot, with no throbbing, tingling, or numb patch of skin. After about twenty minutes of warm-up and light rallies, expect the tape to have loosened slightly with sweat and movement. That is normal and not a reason to add another layer mid-session unless the ankle actually feels unsupported.
When to Re-Tape, Adjust, or Skip It
Retape fresh before every session. Tape that has already stretched, lifted at the edges, or been worn since yesterday has lost both its restriction and its grip. Take it off within 48 hours regardless, and skip taping entirely for a fresh, swollen, or genuinely painful ankle until it has been assessed.
Treat removal as part of the routine rather than an afterthought. Cut the tape off with blunt-nosed scissors rather than peeling it, working along the natural line of the leg to reduce skin irritation, and never leave one application on for a second day of play.
If you are taping every week for a full season, the underwrap stops being optional. Rigid tape applied straight to skin week after week pulls at the same hair and skin each time, and that adds up to irritation long before any single application feels wrong. A thin layer of underlay tape under the shin anchor and stirrups protects that patch of skin without changing how the wrap restricts the ankle.
Taping supports a stable ankle through a match; it does not rehabilitate one. If you are wrapping the same ankle every week because it still feels unreliable, or because it never fully recovered from a specific sprain, that is a rehab gap, not a taping problem. Our ankle sprain prevention and recovery guide covers the forefoot-landing mechanism behind most badminton rolls, the red-flag checks that mean imaging before you play again, and the balance and landing-control work that actually closes that gap. Taping is worth doing well, but it is the maintenance step, not the fix.
Before your next session
Tape once, check colour and feeling before you play, and retape fresh rather than stretching yesterday's job through one more match. If the same ankle needs this every week and still feels unreliable, treat that as your cue to work the rehab side, not just the tape.


Leave a comment
This site is protected by hCaptcha and the hCaptcha Privacy Policy and Terms of Service apply.