
Last checked: August 2026 · Written by the player-led team at Badminton House
Quick answer
Complete beginners build racket control with a short ladder of drills: a two-grip check with a balloon, a shuttle bounce at waist height, the same bounce raised overhead and alternated between racket faces, a floor scoop and catch, then carrying the shuttle on the move and racing a partner. Each drill has a number to hit before you move on.
- Work through the six drills in order; do not skip ahead to the moving drill before the still ones are solid.
- Use the stated target (20 consecutive bounces, five clean scoops, one full carry) as your signal to progress, not a fixed practice time.
- Use these drills alongside short cooperative rallies; the targets guide practice rather than decide whether you may try a game.
Related reading: How to Hold a Badminton Racket: Grips for Beginners for the full breakdown of the grips these drills assume.
Why racket control comes before real rallies
Established beginner curricula teach grip and racket-and-shuttle contact before movement, lunges, or real strokes, because those are the simplest skills a new player can succeed at right away. If your first taste of badminton is a doubles game where the shuttle barely reaches your racket, these drills manufacture the contact that match play will not.
The Badminton World Federation's grassroots coaching programme, Shuttle Time, puts grip and basic racket skills in its very first lesson and hitting from the net area in its second, stating plainly that these are the simplest techniques and teaching them first gives beginners of all abilities a positive start. Court movement and the lunge are not introduced until a later lesson. The instructional book Badminton: Steps to Success follows the same order: racket handling and footwork come before the serve and before the forehand and backhand overhead strokes, because author Tony Grice treats them as the foundation the later strokes are built on.
That sequencing rarely survives an adult beginner's first night at a club. Most people get slotted straight into a doubles game, where a low-skill player might touch the shuttle only a handful of times a rally. The six drills below rebuild the missing repetitions. Each one has its own setup, a number to hit before you move on, one fault worth watching for, and the next step once you clear it.
Start with a balloon, then bounce at waist height
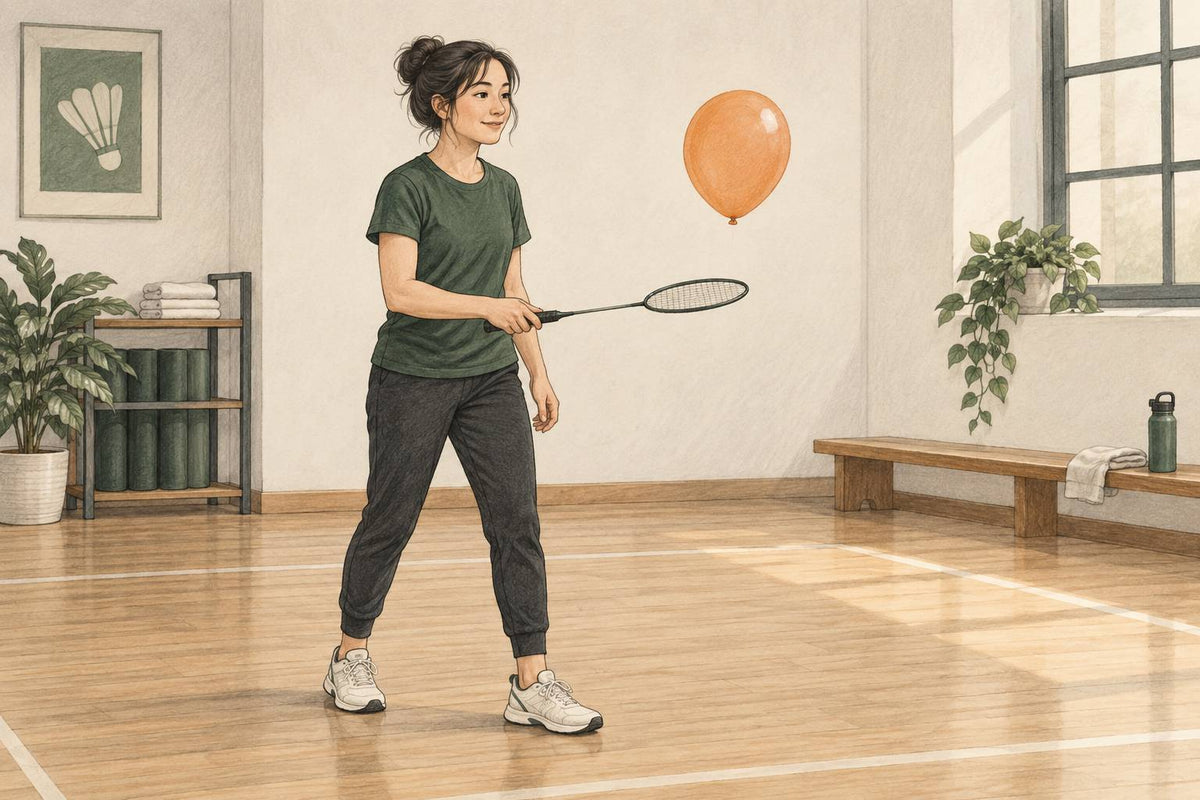
Before touching a shuttle, Shuttle Time has beginners learn both racket grips with a balloon: the backhand thumb grip and the forehand V grip, each checked while keeping the balloon off the floor. Once a grip feels automatic, the same bounce moves onto a real shuttle at a controlled, waist-high height.
- Drill 1: balloon control, both grips. Take the backhand thumb grip (thumb straight up the top-left bevel, back of the hand leading, moving up and away from your body) and keep a balloon off the floor. Switch to the forehand V grip (fingers spread, thumb and forefinger forming a V, hitting in front of your body) and repeat. Success: three taps on one grip, then three on the other, without the balloon touching the floor. Fault to watch: a fisted grip instead of the checked V shape. Progress by shortening to two taps per grip, then one.
- Drill 2: shuttle bounce, waist height. Move to a real shuttle and the handshake grip: shake hands with the racket handle, forefinger held slightly apart from the others, thumb and forefinger forming a V on top. Bounce the shuttle straight up off the strings, palm up, letting it travel only about one to two feet before it drops back down. Success: 20 consecutive bounces palm up, then 20 more palm down. Fault to watch: swinging at the shuttle instead of lifting it, which sends it past a controlled height. Progress once both sides reach 20 without a miss.

Raise the bounce, then alternate racket faces
Once you can bounce a shuttle 20 times in a row at waist height, two changes raise the difficulty without swapping the drill: hitting the shuttle higher, and giving up the choice of which racket face meets it. Both build directly on the bounce you already have.
- Drill 3: shuttle bounce, overhead height. Same bounce, same handshake grip, but let the shuttle travel three to four feet into the air instead of one or two. Success: the same 20 consecutive bounces, now at the taller height, on both the palm-up and palm-down sides. Fault to watch: rushing the swing to get the shuttle back up quickly, which flattens the lift into a slap. Keep the motion a controlled lift, not a hit.
- Drill 4: alternate racket faces on every hit. Bounce the shuttle again, but flip the racket face (palm up, then palm down) on every single contact instead of staying on one side for a set. Shuttle Time's own grip-change drill uses the same idea with a balloon, narrowing three taps per grip down to alternating every tap, with the coaching point that the hand moves toward the shuttle as the grip changes. Success: once you can string together the same 20 hits while alternating every time, the grip change has become automatic instead of a pause between shots. Fault to watch: stopping the racket to switch grips instead of rolling the change into the swing.
Scoop it off the floor and catch it clean
Steps to Success rounds out string control with one drill in two parts: scooping a shuttle up off the floor, then tossing it into the air and catching it cleanly. Together they cover moments a bouncing drill skips, namely picking up a dropped shuttle and receiving a soft feed.
- Drill 5, part one: scoop it off the floor. Rest the shuttle upright, feathers down, which is an easier starting position than one lying flat. Hold the handshake grip palm up, lay the racket face nearly flat against the floor beside the shuttle, then slide it underneath with a scooping wrist roll so the shuttle settles on the strings. Success: five clean scoops out of five tries. Fault to watch: stabbing down at the shuttle instead of sliding the face in low and rolling the wrist under it.
- Drill 5, part two: toss it and catch it clean. With the shuttle already resting on the strings, lift the racket to toss it two to three feet into the air, then lower the face under it as it drops and give slightly on the catch so it settles instead of bouncing off. Success: five successful tosses and catches in a row. Fault to watch: a stiff, flat catch, which bounces the shuttle off the strings instead of absorbing it.
Add movement, then race a partner
The last drill adds movement: balancing a shuttle on the strings while walking, then racing a partner over the same course. Once you can keep the shuttle on the racket at speed and under pressure, you have the racket-face control a real rally or doubles game already assumes you own.
Drill 6: carry the shuttle, then race for it. Balance a shuttle on the racket strings, palm up, and walk it from the back of the court to the net and back without dropping it, leading with your racket-side foot and holding your free arm up for balance. Success: one full round trip without the shuttle falling. Fault to watch: watching the shuttle instead of the floor ahead of you, which is what causes the drop on a turn. Once a slow walk is solid, shuffle or skip the same course as fast as you can, then race a partner over it. The same balance-under-speed idea shows up in Shuttle Time's own racket-and-shuttle relay, where players balance the shuttle on the racket while a team increases the pace.
Keeping the shuttle balanced at a controlled pace is useful progress; combine handling drills with short cooperative rallies and games adapted to your level. From there, our skill-levels ladder lays out what a first genuine rally, and every rung above it, actually looks like.
Five minutes before every session
For a short practice block, choose from these targets: 3-3, then 20, then 20 again at height, then 20 alternating, then five and five, then one clean round trip. Progress at your own pace. If a fault keeps reappearing, drop back one drill until it disappears, then move on.

Leave a comment
This site is protected by hCaptcha and the hCaptcha Privacy Policy and Terms of Service apply.