
Last checked: August 2026 · Written by the player-led team at Badminton House
Filming your own strokes during a drill turns a felt sensation into something you can actually see, compare against a model clip, and correct one cue at a time. A phone propped at the right angle and reviewed with one target in mind can replace a coach's eyes between lessons.
Related reading: How to Analyse Your Badminton Match Video covers the other half of filming: reviewing a full match for tactics and shot patterns, rather than a single stroke during a drill.
Where to put your phone for each shot
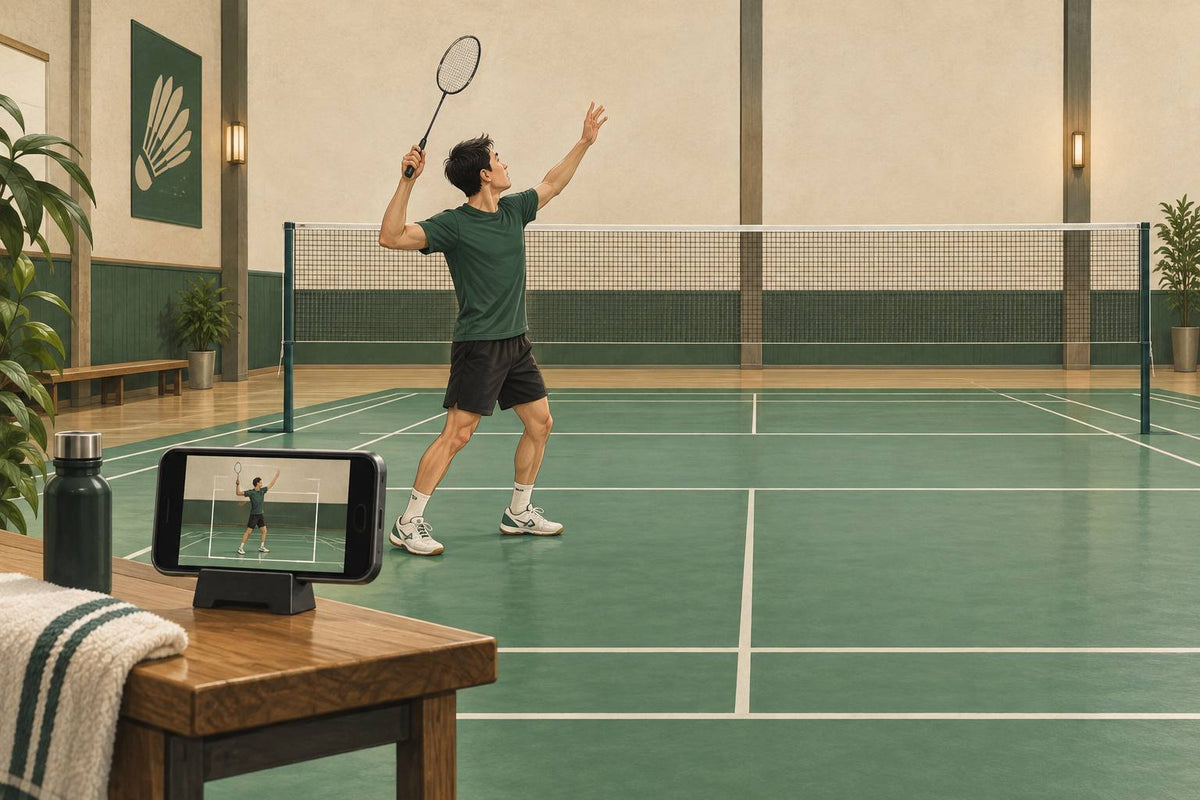
Camera angle depends on what you are checking. Side-on shows the overhead swing's full arm path, straight behind shows footwork and recovery patterns, and roughly 45 degrees off the net shows net play. Choose the view that keeps the movement you want to check visible.
- Overhead swing (clear, drop, smash): stand side-on to the player, roughly level with the shoulder, far enough back that the full backswing and follow-through both stay in frame. A side-on angle makes contact height relative to the body easier to see.
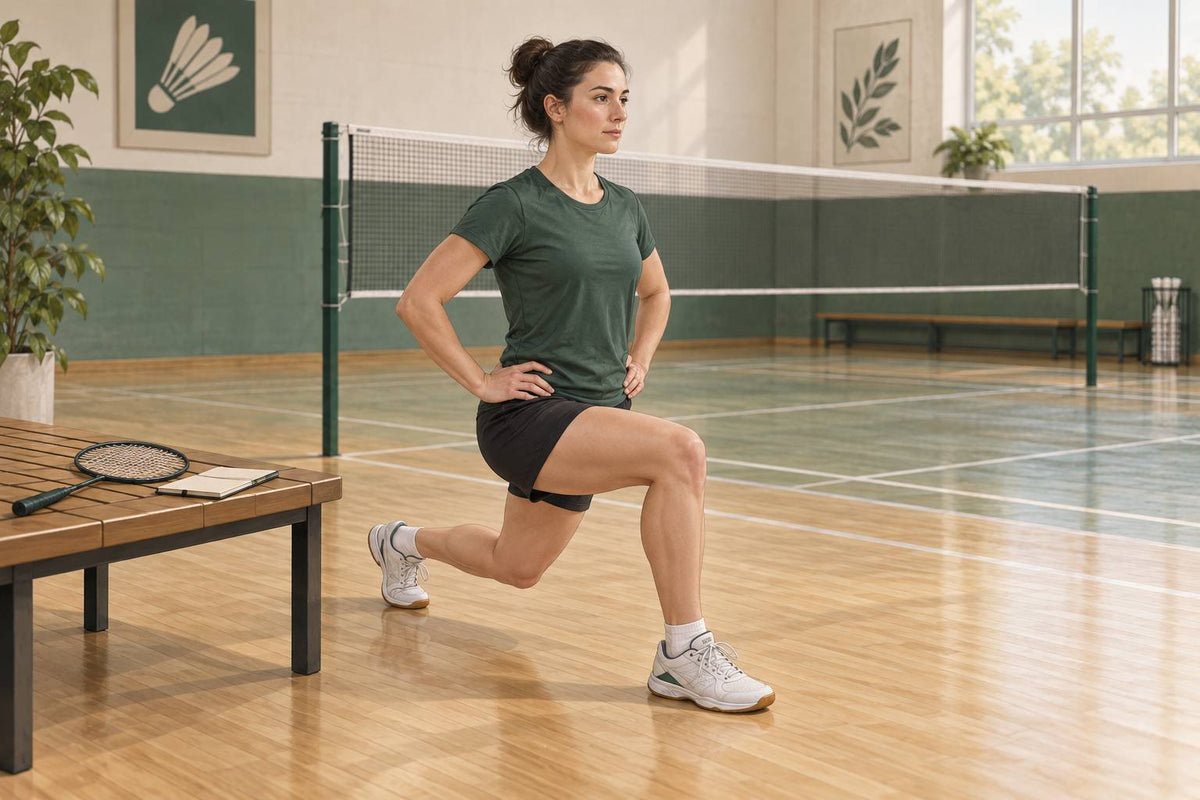
- Footwork and recovery: stand directly behind the player's base position with the phone near hip height, so lateral steps and the return to base read as clean left-right movement instead of a foreshortened diagonal blur.
- Net play: shoot from about 45 degrees off the net line. Square-on to the net hides the racket face angle at contact, and filming from directly behind hides how far the player is reaching versus stepping, so an angled position can help show both.
Phone height matters almost as much as position. Hip height keeps footwork and lunges in frame without tilting the camera mid-clip, while shoulder height suits the overhead swing because it does not clip the top of the racket's backswing. BWF's own coach education material lists observing a practice "from a number of different positions" as the first step toward giving useful feedback, per the BWF Level 1 Coaches' Manual, which is exactly why one fixed angle for every shot falls short.
None of this needs a tripod. A phone propped against a kit bag, wedged on a low shelf, or leaned in the corner of a ball basket at court-side holds an angle well enough for a single drill. Set the angle once before the set starts rather than adjusting between reps, since a camera that moves between clips makes it harder to compare round one against round two later.

Camera settings that hold up in a gym
Gym lighting is dimmer and less even than daylight, which affects two things a phone camera changes automatically: frame rate and exposure. Get these wrong and a slow-motion clip turns too dark, too grainy, or visibly flickers to be useful, even when the camera angle itself is correct.
- Frame rate needs light: slow-motion modes (120fps, 240fps) split the same available light across many more, shorter exposures than standard video. A slow-motion clip that looked clean outdoors can turn dark and noisy under typical gym lighting. If that happens, drop back to the standard frame rate and use the scrub or pause controls instead of true slow motion.
- Watch for flicker: many gyms still run fluorescent or older LED fixtures that pulse with the electrical mains cycle. A phone's rolling-shutter sensor can register that pulse as visible banding, especially at higher frame rates. If banding shows up in a clip, step the frame rate down one level and re-film.
- Avoid backlighting: do not shoot toward a bright window or an open gym door. A light source behind the player turns them into a silhouette and hides the exact technique detail you filmed for. Keep the main light source behind or beside the camera instead.
- Lock focus and exposure before you start: most phone cameras keep hunting for focus and brightness while recording unless you tap and hold on the player's position first. Left on auto, the camera can re-focus mid-swing and blur the exact moment of contact you are trying to check.
Run a three-round film-correct-refilm loop
Film a short set of the same drill repetition, review it immediately, and change exactly one thing before the next set. Three short rounds of film, review, and correct beat one long filming session followed by a list of everything that looked wrong, because a player can only act on one cue at a time.
| Round | What to do |
|---|---|
| 1 | Film 5-8 real reps of the drill, not one staged swing. Watch back once and pick a single thing to change. |
| 2 | Re-film the same drill applying only that one cue. Compare the new clip to a model clip of the shot done correctly, not to round one. |
| 3 | Repeat again. Only add a second cue once the first one holds up without you thinking about it mid-rally. |
The one-cue-per-round rule is not an arbitrary limit. BWF coach education guidance is explicit that effective feedback should be "limited to 1-2 simple and specific points," delivered only after the player has had a chance to use their own sense of the attempt first (BWF Level 1 Coaches' Manual). Watching ten faults on one clip and trying to fix all of them at once produces worse rallying, because there is no single cue left to focus on.
Comparing your clip to a model rather than replaying your own last attempt matters too. A peer-reviewed study of 23 intermediate tennis players found that a group who chose when to review their own video feedback improved significantly more from a pretest to a one-week retention test than a matched group given the identical feedback on someone else's fixed schedule (van der Meer et al., 2023). Being the one who decides when to check the clip and what to compare it to, rather than just being the one filmed, appears to be part of what makes self-review work.
If you train with a partner, film each other's reps in turn instead of setting the phone on a fixed tripod and forgetting about it. Expect your own footage to look worse than the swing felt. That gap between what you sensed and what the camera actually caught is the entire reason to film in the first place, not a sign that the drill went badly.
What to look for, shot by shot
Each shot family has two or three things worth checking on replay. Watching with one specific cue in mind works better than scanning the whole clip for everything that might be off, so treat the checklist below as one target per viewing rather than the whole row at once.
That single-cue habit has evidence behind it beyond the correction loop itself. A study of 44 novice badminton players found that watching short clips paired with one named cue produced faster, more accurate decisions than watching the identical clips with no cue at all (Jang & Ha, 2025).
| Shot family | Check one of these per viewing |
|---|---|
| Overhead (clear, drop, smash) | Contact point above and slightly in front of the body rather than behind the head; non-racket arm pointing up before contact, then dropping after; follow-through direction matching the shot (down and across for a smash, flatter for a clear). |
| Net shot | Racket face angle at contact, open enough to lift the shuttle just over the net rather than sliced sideways; a controlled lunge instead of an overreach; a recovery step back toward base immediately after contact. |
| Lunge and recovery | Front knee tracking over the foot rather than collapsing inward; how quickly the back foot drags back to reset; whether the racket is already coming back up before the recovery step finishes. |
This checklist works the same way whether you are reviewing solo footage or your partner's. Pick the row that matches the drill you just filmed, choose the single most relevant item in it, and carry that into the next round of the loop rather than trying to fix the whole row at once.
Start your own film-correct loop this session
- Pick one drill and one shot family from the checklist above to work on.
- Set the phone at the matching angle and height, then film 5-8 real reps.
- Watch back once, choose exactly one cue, and re-film before you move to a different drill.

Leave a comment
This site is protected by hCaptcha and the hCaptcha Privacy Policy and Terms of Service apply.