
Last reviewed: August 2026 · Written by the Badminton House player-led team
Quick answer: which angle should you use?
Name the suspected fault before moving the camera. Then choose the view that makes one checkpoint visible and accept what that view cannot show.
Late contact
Use side-on: inspect where the shuttle meets the racket relative to the racket shoulder.
Lunge posture
Use front or diagonal: compare the visible direction of the lead foot, knee and trunk.
Swing path
Use rear-oblique: keep the racket arm clear of the body and follow the first recovery steps.
Fast timing
Keep the fault-specific view: try 120 fps only when the resulting clip remains bright and clear.
A phone clip becomes useful when it answers a narrow question. “How does my smash look?” is too broad. “Is the shuttle already behind my racket shoulder at contact?” gives you a visible moment, a suitable view and a clear stopping point for the review.
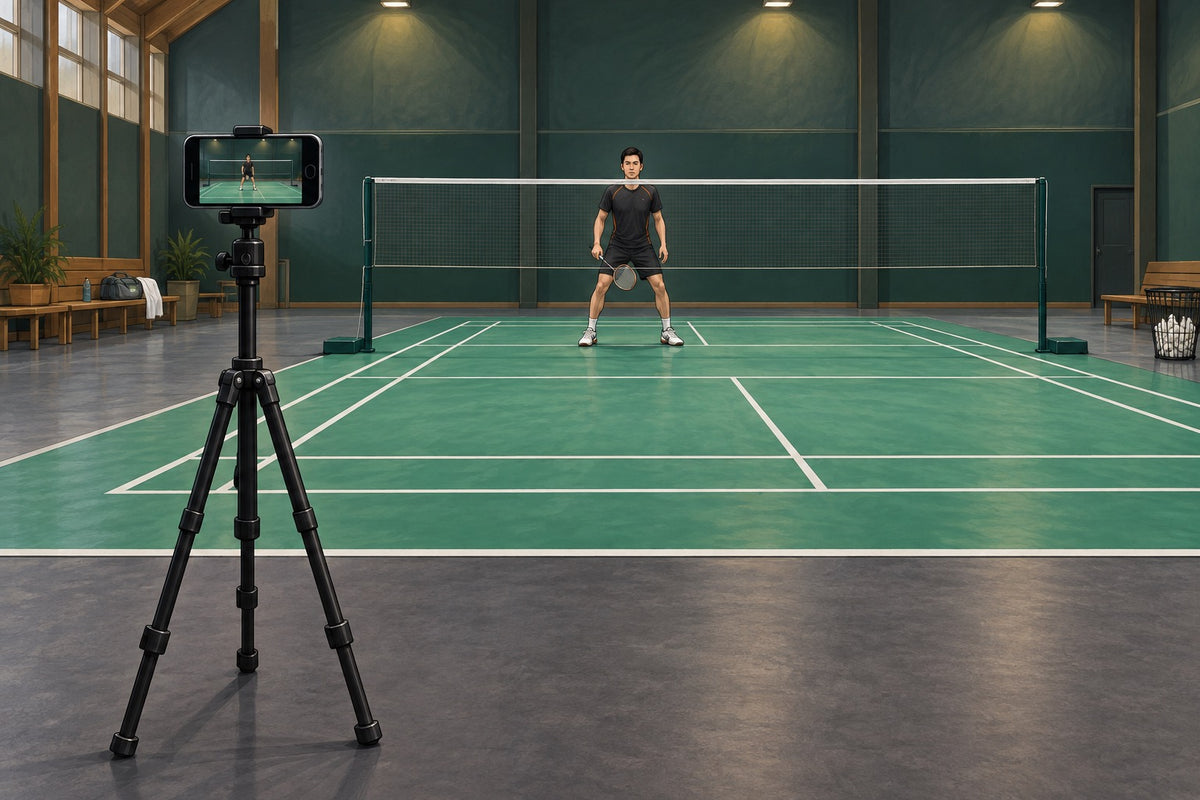
This guide is a strict fault-to-angle lookup. For mounting, exposure, consent, court-safe placement and the film-correct-refilm workflow, use our existing phone filming and self-coaching guide. Here, the job is simply to place the camera where the suspected fault can appear.
Start with the fault, not your favourite camera position
Choose one suspected fault, describe the moment when it should become visible, and only then select the camera angle. One clip may show contact timing clearly while hiding the racket path; another may show recovery direction while compressing the contact point. No single phone view diagnoses the whole stroke.
That fault-first method fits BWF Coach Education guidance, which asks coaches to observe from different positions, focus systematically and limit feedback to a small number of simple, specific points. BWF does not prescribe an official set of phone-camera recipes, so the angles below are practical applications of that observation principle.
Write the question first: “At overhead contact, is the shuttle visibly above and slightly in front of my racket shoulder?” is filmable. “Is my technique correct?” is not.
Keep the complete movement in frame even when the checkpoint is small. A contact fault needs the preparation and follow-through around it; a recovery fault needs the shot that caused the recovery. Put the phone and mount outside the playing and runoff area, obtain agreement before recording identifiable players and follow the venue’s filming policy.
Fault-to-view matrix: what should be visible?
Use this table from left to right. Start with the suspected fault, record from the named view, inspect only the listed checkpoint and retain the limitation when you describe what the clip shows. If the checkpoint is hidden, change the view instead of inventing a conclusion.
| Suspected fault | Choose this view | Visible checkpoint | Limitation |
|---|---|---|---|
| Overhead contact appears late or behind the body | Side-on | Shuttle-racket meeting point relative to the racket shoulder, plus the arm path immediately before contact | Compresses movement toward and away from the camera and cannot explain every cause |
| Lead knee and foot travel in different directions during a lunge | Front or shallow diagonal | Visible direction of lead foot and knee as the foot plants, with the trunk in frame | Cannot diagnose injury risk or supply a precise three-dimensional joint angle |
| Racket preparation or elbow path disappears behind the body | Racket-side rear-oblique | Racket-arm silhouette during preparation, acceleration, contact and early follow-through | Oblique video distorts depth and cannot establish exact forearm rotation |
| A grip or racket-face change happens at the wrong phase | Racket-side rear-oblique | Visible hand-racket relationship before the forward swing and after contact | Occlusion and blur prevent an exact face-angle claim |
| Recovery starts in the wrong direction or stalls | Rear-oblique, framed wider | Contact, first recovery step and path toward the intended base area | A close view loses court context; straight rear may suit broad movement review |
| Service contact appears too high | Level side-on with a separate height reference | Whole shuttle at apparent contact relative to the reference | An uncalibrated phone clip is a self-check, not proof of legality |
| The key instant disappears between frames | Keep the same fault-specific view; try 120 fps | More frames around the fast phase if the player and shuttle remain visible | Higher frame rate does not guarantee a clear impact frame or better coaching result |
The limitation column is part of the answer. “The side-on clip shows contact behind my shoulder” is a bounded observation. “The clip proves my entire overhead action is wrong” goes beyond the evidence on screen.

Use side-on for contact position and sequence timing
Choose side-on when the question compares one moment with the player’s forward-backward body line. It is especially useful for seeing whether overhead contact is above and slightly in front of the racket shoulder, and whether preparation, contact and follow-through appear in a sensible order.
Set the view far enough away to retain the feet, racket head, shuttle path near contact and follow-through. Align it as consistently as the court permits and mark the phone position for the next recording. Evidence-based two-dimensional video methods emphasize standardized camera geometry and views aligned with the movement plane while warning that reliability changes with the task, joint and setup. That is the useful boundary from this peer-reviewed video-analysis methods paper.
Do not use side-on to claim that you measured a complete three-dimensional swing. Movement toward the lens is compressed, lateral spacing can disappear, and the racket or arm may hide the shuttle. If the checkpoint cannot be seen across several attempts, the view has failed even if the video looks polished.
Service-contact self-check
A side-on clip can help you notice an obviously high service contact. Current BWF Law 9.1.6 requires the whole shuttle to be below 1.15 metres at contact. Place a separate visible reference at that height and keep the phone level with the intended comparison rather than pointing steeply up or down.
Treat the result as a private warning flag. Lens distortion, camera tilt, parallax, an uncertain contact frame or an incorrectly placed reference can all change the apparent relationship. An umpire’s decision is not replaced by a consumer-phone clip.
Use front or diagonal views for visible lunge alignment
Choose a front or shallow diagonal view when the suspected fault concerns left-right alignment: the direction of the lead foot and knee, a trunk that visibly falls to one side, or a landing that repeatedly carries the player across the intended recovery line.
Frame the approach, plant, contact and first recovery movement. Pause at the first stable landing frame and ask one descriptive question: do the lead foot and knee continue in broadly the same visible direction? Then watch the trunk and recovery separately. Keeping those checkpoints separate prevents one awkward-looking frame from turning into a diagnosis.
A direct front view compresses forward-backward depth. Moving slightly diagonal can separate the legs and racket from the body, but it also changes perspective. Use the same offset in later clips and describe only what remains visible. Pain, instability or repeated giving way belongs with a qualified healthcare professional, not a camera-angle experiment.
Use racket-side rear-oblique for swing path and recovery
A racket-side rear-oblique view is useful when side-on causes the racket arm to merge with the torso. Offset the camera behind the player toward the racket side, reversing the setup for a left-handed player, until the preparation and forward swing have a readable silhouette.
For a swing-path question, compare phases instead of chasing a perfect impact still: preparation, start of the forward movement, apparent contact and early follow-through. For a recovery question, widen the frame and follow contact with the first two movement decisions. You are checking order and direction, not calculating exact rotation.
The straight rear-baseline view is not “wrong.” It can reveal whole-court travel and rally spacing while hiding more close stroke detail. Choose rear-oblique for a local technique checkpoint and straight rear for a broader movement question rather than asking either angle to do both jobs.
Use 120 fps when it reveals more, not as a badge of quality
A higher frame rate can help when the relevant action disappears between ordinary frames. At 30 fps, frames are about 33.3 milliseconds apart; at 120 fps, they are about 8.3 milliseconds apart. That gives you more samples around a fast phase, but it does not guarantee a perfectly timed racket-shuttle impact image.
Keep the angle chosen for the fault and change only the frame rate. Otherwise, you will not know whether the extra detail came from more frames or different geometry. A recent 30 fps versus 120 fps comparison during dynamic lower-limb tasks found that frame rate affected some captured measures but not every measure. The study involved a different sport and task, so it supports caution rather than a universal badminton rule.
- Keep 120 fps when the checkpoint becomes easier to locate and the player, racket and shuttle remain well exposed.
- Return to standard video when 120 fps makes the player, racket or shuttle harder to see clearly.
- Do not claim a coaching outcome from frame rate alone. More frames do not choose the right fault, angle or correction.
Make the next clip comparable to the first
A repeatable clip keeps the question, camera mark, framing and drill context stable. That does not turn a phone into a laboratory instrument. It simply reduces avoidable differences so you can judge whether the same visible checkpoint changed.
- Repeat the question: write the same suspected fault and checkpoint before both recordings.
- Repeat the geometry: mark the camera position and direction, use a stable mount and keep the same framing and zoom.
- Repeat the task: use the same drill or feed pattern so a different movement demand does not masquerade as a technique change.
- State the limitation: record what the selected view still hides before drawing a conclusion.
The useful final sentence
“From the repeated side-on view, contact now appears slightly in front of the racket shoulder in most attempts; this clip does not establish the full three-dimensional swing.”



Leave a comment
This site is protected by hCaptcha and the hCaptcha Privacy Policy and Terms of Service apply.