

Last checked: August 2026 · Written by the player-led team at Badminton House
A big backswing and a compact one are both correct, just for different situations. Rear-court clears reward the full preparation that generates power through a stretch-and-recoil backswing. Flat mid-court exchanges, smash-defence blocks, and net shots reward a compact one, because the coached preparation for each already starts with the racket in front of the body.
Related reading: Badminton Smash Defense: How to Return a Smash — full tactics for choosing a block, lift, or drive once the compact preparation below is in place.
Match the backswing to the situation
Backswing size is not a style preference. Badminton's own coaching manual teaches a full backswing only for shots that must travel the length of the court, and a compact preparation, racket already held in front of the body, for drives, blocks, and net shots played under time pressure.
| Situation | Preparation size | Why | Failure mode |
|---|---|---|---|
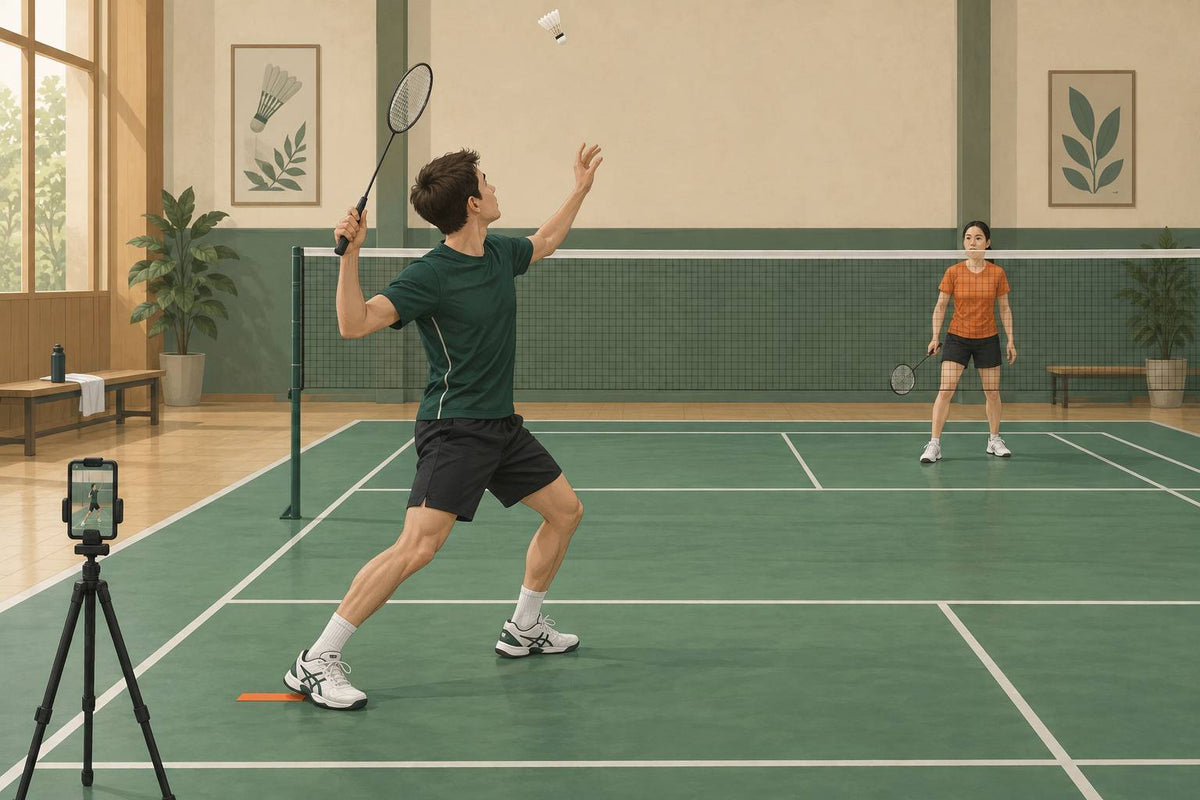
| Rear-court clear | Full. Overhead ready position, drive off the rear leg, hip and shoulder rotate through. | The backswing stretches the hitting muscles so they recoil into power for a shot that must clear the full length of the court. | A shortened preparation starves the forward swing of that stretch, so the clear falls short and sits up for an attack. |
| Mid-court flat exchange (drive) | Compact. Racket already out in front of the body, no overhead wind-up. | A drive exchange leaves no time to load a swing; less time shortens the action even further. | Reaching back for a bigger swing arrives late, so the shuttle is already past you or the return is mistimed and weak. |
| Smash defence (block) | Compact. Racket already in front of the body; backswing and follow-through both limited. | A block only redirects the smash's own pace; an attacking smash gives no time to load a swing. | Any extra backswing costs the fraction of a second needed to get the racket face on the shuttle before it passes. |
| Net play (net shot) | Compact. Racket already in front of the body; only a relaxed reach. | Forecourt exchanges happen at point-blank range, where a loaded swing has nowhere to travel before contact. | A visible backswing at the net telegraphs the shot and still does not fit the time before the shuttle crosses. |
The reason a full preparation only pays off at the back of the court comes down to one biomechanical principle: a backswing exists to stretch the hitting muscles so they recoil rapidly and add power to the forward swing, per BWF's Level 1 coaching manual. A shot that has to cover the length of the court needs that stored power. A shot played at close range or under pressure does not, and loading it wastes time you do not have.
A quick self-check tells you which preparation you are actually using: freeze the moment before contact. If the racket head is somewhere behind your shoulder or hip, that is a full backswing, appropriate only for the rear-court clear row above. If the racket is already out in front of your body, that is the compact preparation every other row in the table starts from. Players who default to one size for every shot usually default to whichever one they learned first, not the one the situation calls for.
Why rear-court clears earn a full backswing
The forehand clear is the one stroke in this comparison coached with a genuinely full preparation: an overhead ready position, then a backswing that drives up off the rear leg and rotates the hip, shoulder, and arm before the racket ever moves forward.
The coaching manual's "what to coach" breakdown for the forehand clear lists the preparation as racket in overhead ready position with a sideways stance, and the backswing as driving up and forwards off the rear leg, pushing the rear hip forwards, and moving the rear shoulder and elbow upwards and forwards as the upper and lower arm rotate outwards, per the same Level 1 manual. Every part of that sequence is generating the stretch that pays off as power once the swing turns forward, which is why clearing repeatedly with a compact, arm-only action tires the shoulder faster and still lands short: the shot is missing the leg drive and rotation that were supposed to supply the power in the first place.
This is also why a full backswing does not belong on a drive, a block, or a net shot. Those strokes are not trying to cover the length of the court, so they do not need the stretch a rear-court clear relies on, and none of them are given the time to build one.
One detail worth separating from backswing size: an attacking clear is coached to travel just out of reach of the opponent's racket, while a defensive clear is coached slightly higher, and that extra height is what buys the hitter more time to recover balance and court position, per the same Level 1 manual. Recovery time on a clear comes from the height and depth you choose to hit, not from trimming the backswing that generates the shot in the first place.
Why time pressure shortens the backswing
Drives, blocks, and net shots share one coached starting point: the racket is already out in front of the body before the shuttle arrives, so there is no overhead wind-up left to shorten. The remaining backswing is small on purpose and shrinks further under pressure.
For the drive, the coaching manual lists the preparation as holding the racket out in front of the body for both the backhand and forehand versions, then notes that less available time means the forearm cannot pronate as far and the action becomes even shorter when the shuttle is struck in front of the body, per the Level 1 manual. The block off the body used to return a smash starts from the same in-front-of-the-body preparation, and a general smash-defence guide states plainly that the backswing on a block is limited with no follow-through across the body, per a coaching guide to defending a smash. Net shots follow the same pattern one step further: the coached backswing is described only as "a relaxed reach," because the forecourt distance leaves nothing to load.
None of this means only the follow-through gets short. The block guidance above limits the backswing and the follow-through together, so treating the backswing as untouchable while trimming only the follow-through misreads how these strokes are actually coached: under real time pressure, both ends of the swing shrink at once.
The clearest proof that time, not the shot itself, sets preparation size sits inside the forecourt. A net shot is coached with only a relaxed reach, but a net lift, played from the same spot with more time available because the shuttle has dropped lower, gets a longer, more shoulder-driven action, and a very defensive high lift is coached with an even longer one, per the Level 1 manual. Same forecourt position, same player, different backswing, because the available time changed.

Two drills that train both patterns
A self-taught player usually defaults to one preparation size for every shot, so the fix is two contrasting drills rather than one general habit: one forces the compact version, and the other only rewards the full one.
Fast flat feed (forces compact preparation)
- A feeder alternates flat, mid-paced feeds to drive and block height, one straight after the other, with no pause between them.
- The receiver keeps the racket out in front of the body between feeds instead of resetting to an overhead ready position.
- If the racket visibly drops back before contact, the next feed should arrive; a genuinely compact preparation has no time to spare.
- Run 10 to 15 feeds per set, alternating drive height and body-smash height so the same compact reflex covers both the drive and the block.
Rear-court clear repeats (rewards a full backswing)
- A feeder lifts or throws high and deep to alternating rear corners, with enough gap between feeds to fully recover.
- The hitter returns every clear with the full sequence: overhead ready position, drive off the rear leg, hip and shoulder rotation, then a full recovery to base.
- A clear that lands short of the back boundary is the signal to slow down and rebuild the leg drive and rotation, not to muscle the next one harder with the arm alone.
- Run 8 to 10 repeats per corner before switching sides, so fatigue does not quietly shrink the backswing back toward the compact pattern.

Leave a comment
This site is protected by hCaptcha and the hCaptcha Privacy Policy and Terms of Service apply.