
Last checked: August 2026 · Written by the Badminton House player-led team.
Quick answer: how should centre of gravity start your first step?
Use a small whole-body shift toward the readable direction while the knees stay soft, then let the first foot create support under the moving body. Avoid rising first, rocking onto the heels or folding only at the waist.
“Centre of gravity” is practical coaching shorthand for the body’s centre of mass. You cannot see a dot inside the body, but video can show its clues: does the head rise before travel, do the hips stay behind while one foot reaches, or does the whole body begin moving together?
Lean before you step is a feel cue, not a universal measured angle. The shift must be small enough to stop or redirect. This guide explains the mechanics supported by movement research, then keeps the drills deliberately slow and local.
What does centre of gravity mean in badminton?
Balance is not the same as keeping body mass frozen halfway between both feet. A human-movement review of balance and stability explains that people manage centre of mass relative to a changing base of support. In dynamic movement, its projection may move toward or beyond the current support as a new step creates the next base.
That creates a badminton trade-off. A large, low, centred base can offer stability while restricting mobility, as the review describes. Use video as a coaching prompt to find a ready shape from which you can move comfortably; do not treat any one stance as universal.
The split step belongs immediately before this choice. A study of elite match footage describes it as an initial action that helps transition toward rapid footwork by placing the body’s centre of gravity in a neutral position; see the split-step characteristics paper. That general description does not prescribe one stance width or body angle for everyone.
For timing relative to the opponent’s contact, use our badminton split-step timing guide. Here, the question begins after direction is readable: where does the body mass go as the first step starts?
How do you shift weight without falling or reaching?
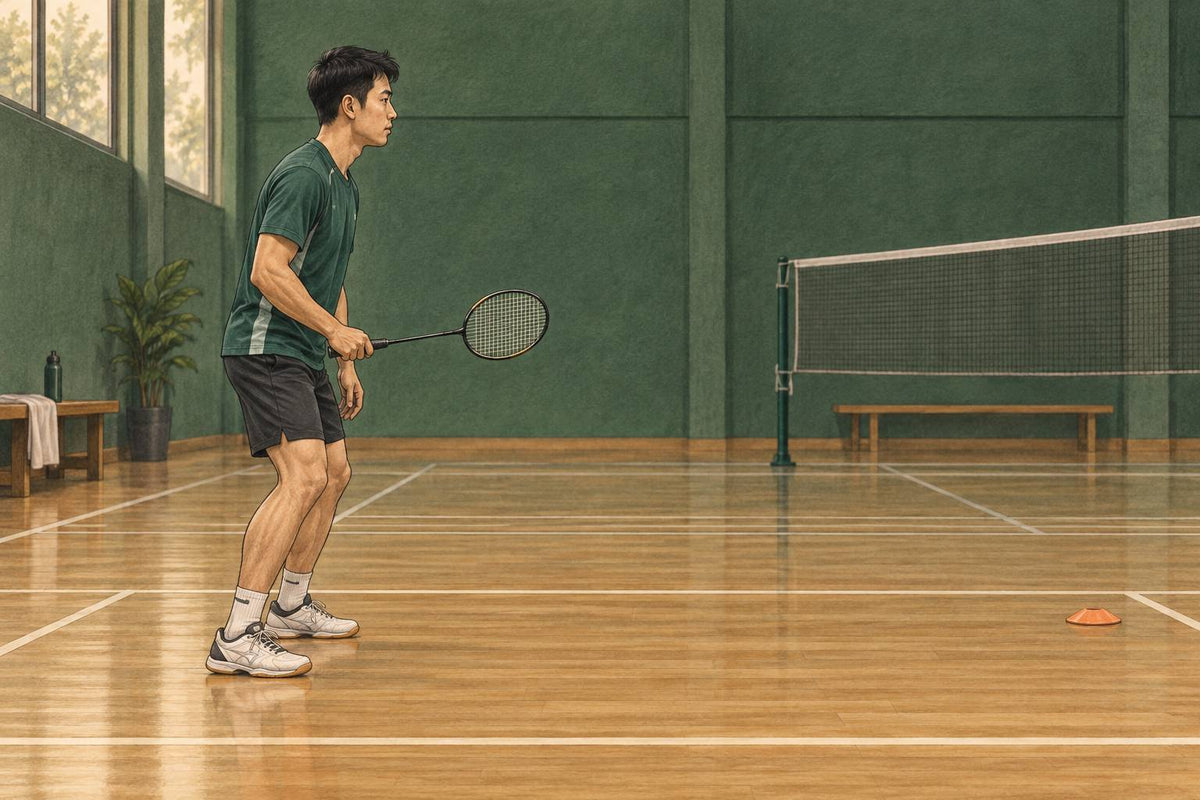
Begin with feet comfortably apart, knees soft, chest relaxed and racket available. Keep full-foot contact with pressure ready to change; “light heels” does not mean balancing on the toes. When the direction becomes readable, let head, ribs and hips begin a small shift together, then release the first foot.
The first foot does not need to travel far. In this drill, use it to create the next support while the other leg pushes. If the foot reaches while the pelvis stays back, reduce the step and keep the shift controlled. Avoid a shoulder dive that leaves the hips behind.
Badminton biomechanics shows why the sequence cannot be reduced to a torso cue. A study of 18 male university players found that split-step use changed lower-limb kinematics and ground-reaction-force characteristics during forecourt lunges. Its discussion links initial knee motion with ground forces and centre-of-mass shifts. The study did not test this article’s three drills or prove one ideal lean.
| Check | Useful picture | Fault picture |
|---|---|---|
| Head height | Similar or gently lower as travel begins | Visible rise before horizontal movement |
| Body line | Head, ribs and hips shift together | Shoulders fold while hips remain behind |
| Foot pressure | Ready to push without a backward rock | Heels loaded or toes gripping in a forced calf raise |
| First step | Creates support under the chosen direction | Long reach that cannot stop or redirect |

Which three drills help you feel the shift?
These are Badminton House perception drills, not validated performance interventions. Use a clear, non-slip surface and a small range. Stop for pain, dizziness or instability.
1. Wall shift and catch. Stand one easy step from a clear wall, facing it, with hands ready. Keeping head, ribs and hips aligned, allow a tiny forward shift from the ankles and take one step before the hands contact the wall. Reset fully. Five slow attempts are enough to feel whether the mass begins moving before the step supports it.
Do not fall toward the wall or lock the body rigid. Move closer if the hands land heavily. The successful version feels quiet: a small shift, a small step and an easy catch.
2. Ready-position pressure check. Stand in badminton ready position and slowly move pressure forward, backward, left and right without lifting a foot. Find the smaller central range from which a step can begin without first rocking the opposite way. Keep the heels touching and the toes relaxed.
Have a partner watch head height and waist position. If the chest folds or the heels lift, shrink the shift. After several slow circles, make one controlled step from the neutral range and return.
3. Point, shift, step. A partner stands outside the movement lane and points front-left, front-right, side-left or side-right. Read the point, make one small whole-body shift, take one controlled step and freeze. The partner checks only whether the head, ribs and hips travelled together and whether the player could stop.
Begin with four announced directions, then randomize only when every stop remains controlled. Do not add a shuttle, lunge depth and speed at the same time. The next progression is two steps toward a flat marker, followed by a calm return.
What do heel-loaded and rising starts look like?
Heel-loaded start: the player waits with pressure behind the ankles, then rocks forward before the first useful step. On side video, the head moves backward or stays behind while the foot reaches. Use the pressure check to find a more neutral start; do not solve it by holding the heels off the floor.
Rising start: the knees straighten and head lifts before horizontal travel. If you see it, try a shallower starting bend and ask the head to travel toward the target rather than upward. Do not infer the cause from one clip.
Shoulder-only lean: the chest approaches the target while the pelvis stays back. Return to a smaller wall shift, keeping the trunk quiet, and end each attempt where stopping is easy.
Do not diagnose strength, mobility or injury from one clip. A review of badminton lunge attributes shows that time, distance, ground forces and dynamic balance interact, with some balance findings contradictory. Video supplies a coaching question, not the single cause.
How do you bring the cue back into badminton?
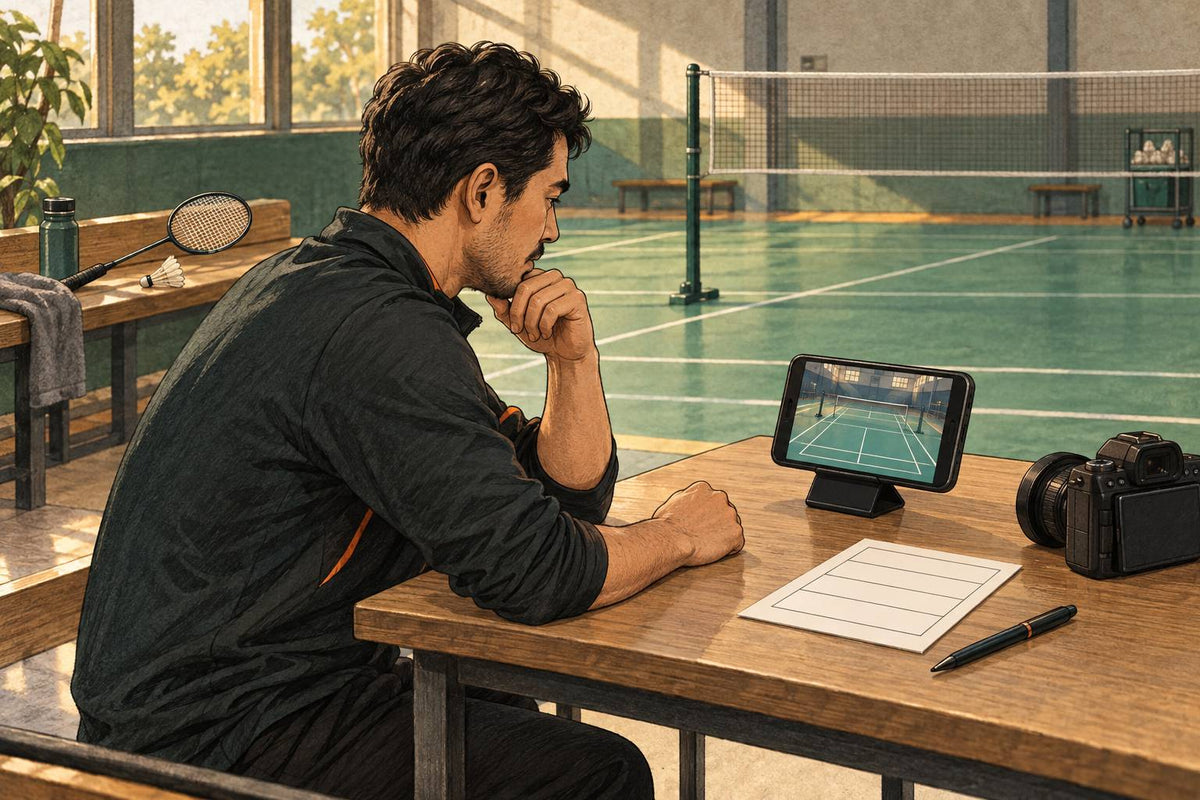
After the feel drills, use two predictable court directions at moderate pace. A partner points or feeds only when the player has recovered. The player reads, makes the small shift, moves and returns. Film from the side for six attempts, then stop thinking about the cue and play a short cooperative rally.
The transfer test is simple: does the first step begin without the old rock, rise or shoulder fold? Do not expect the rally to reproduce a slow wall drill exactly. The drill teaches a sensation; live play adds timing, shuttle height, stroke choice and braking.
Arrival is the next problem. Our badminton braking and deceleration guide covers how to control the end of travel. Weight shift starts the route; braking makes the contact and recovery usable.
Keep one cue: read, shift, step. If the shift becomes a dramatic lean or removes the ability to change direction, make it smaller. The aim is not a pose—it is a first step that supports where the body is already beginning to go.


Leave a comment
This site is protected by hCaptcha and the hCaptcha Privacy Policy and Terms of Service apply.