Last updated: June 2026 · Written by the team at Badminton House
Quick Answer: Badminton Footwork Basics
Beginners should learn base position and the split step first, then practise the chasse step, front-court lunge, rear-court scissor kick, recovery, and 6-corner drill slowly before adding speed.
Start
Best choice: stand in base position, use a small split step before moving, and recover back to base after each shot so the six court corners feel organized instead of random.
No court
Use shadow footwork without a shuttle: move from base to the corners slowly, focus on clean form, then add speed once the pattern feels natural.
Shoes
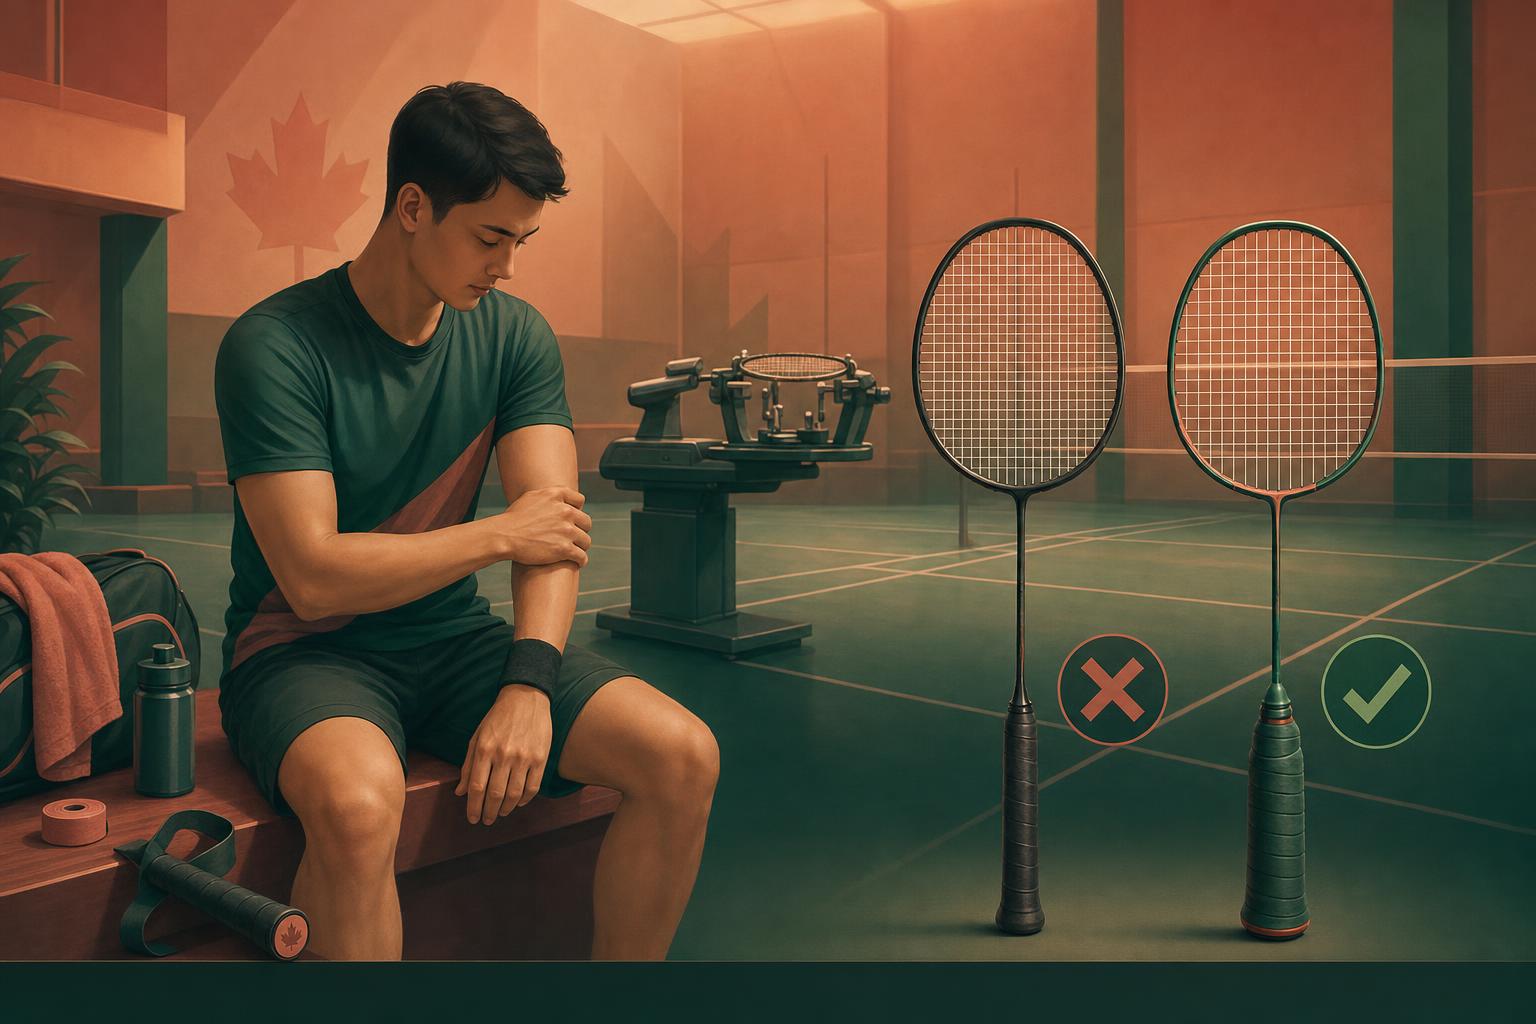
For Canadian drop-in play, wear grippy non-marking court shoes because badminton footwork includes lateral shifts, sudden stops, and fast direction changes; see our badminton footwear or read why running shoes are different from indoor court shoes.
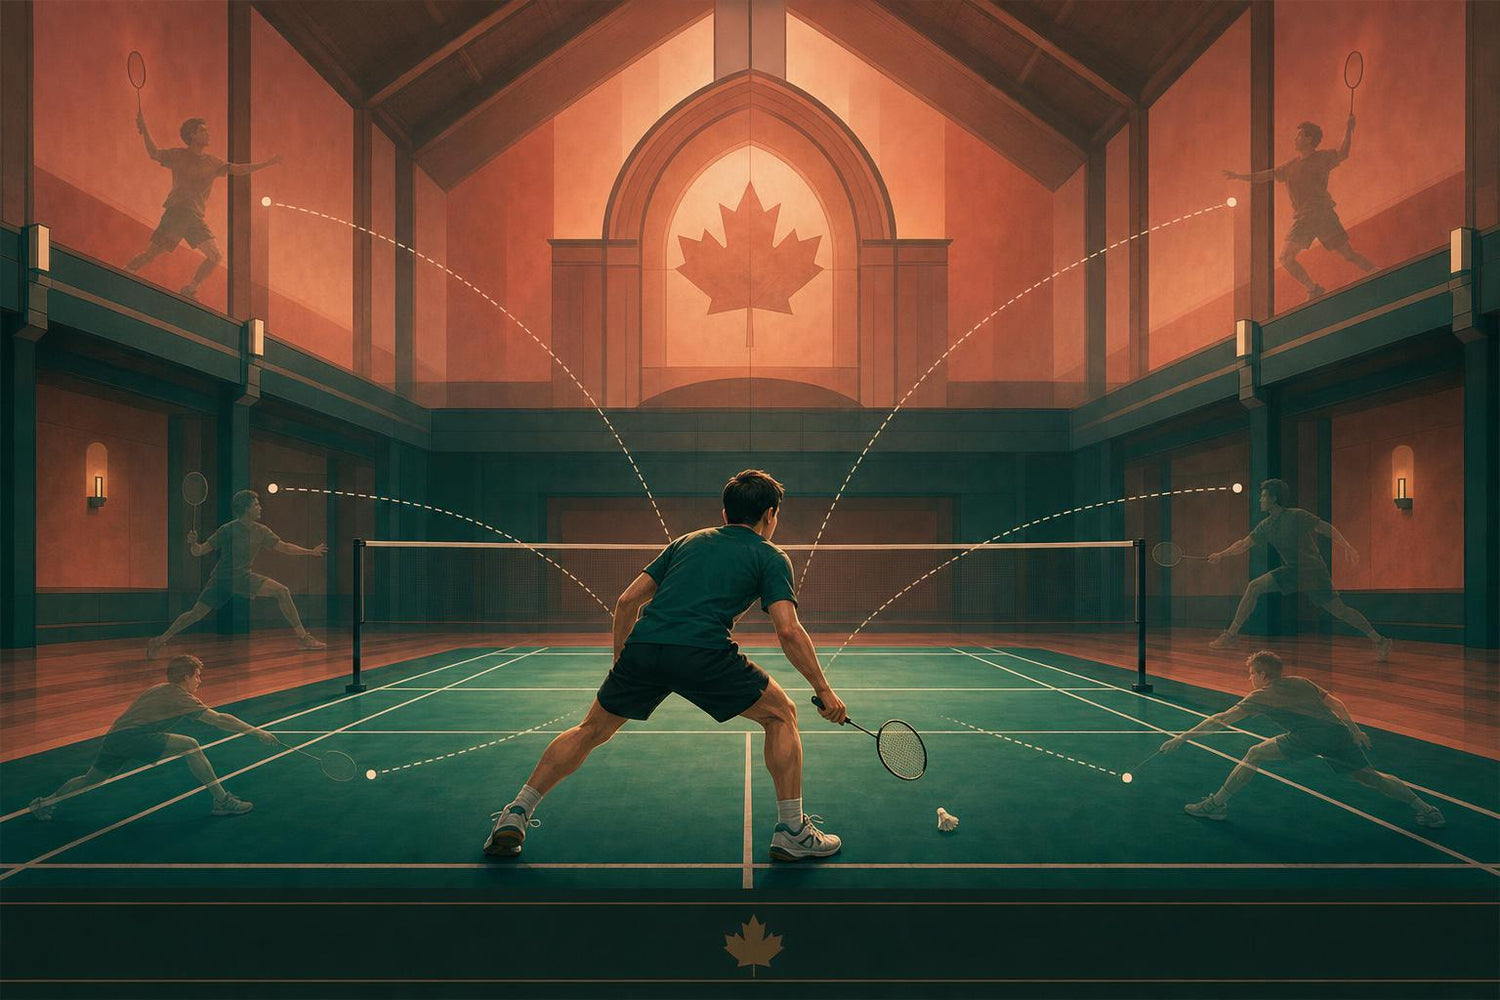
If you are new to badminton, the frustrating part usually isn’t that you can’t hit the shuttle — it’s that you arrive late, reach off-balance, and then have no time to recover for the next shot. That is exactly where badminton footwork basics make the game feel easier: better timing, lighter steps, cleaner lunges, and a faster return to your ready position.
This beginner guide starts with base position and ready stance, then walks through six movement sections: the split step, chasse step, front-court lunge, rear-court scissor kick, recovery to base, and a 6-corner drill that ties everything together. Practise slowly first — shadow footwork without a shuttle is one of the best ways to build the muscle memory you need before adding speed.
One quick gear note before you start: indoor badminton courts usually require non-marking shoes, and badminton shoes are built for lateral movement, sudden stops, and direction changes in a way running shoes are not. If you are unsure what counts, read our guide to badminton shoes vs running shoes before practising hard footwork drills.
Footwork starts from the floor up. For better grip and support on indoor courts, browse our badminton footwear collection — with CAD pricing and free Canadian shipping on orders over $200.
In This Guide
Start With Base Position and Ready Stance
Good badminton footwork basics start before you move. Your first job is to know your base position: the home spot you recover to after each shot, usually slightly behind the short service line in the middle of your side of the court.
From that base, beginners learn to move toward six main areas: front left, front right, mid left, mid right, rear left, and rear right. You do not need to stand perfectly still on that spot during a rally, but when you practise footwork, returning to base gives your movement a clear rhythm: start balanced, move to the shuttle, recover, repeat.
Where is “base” on the court?
A standard badminton court is 13.40 m long, or 44 ft. Singles width is 5.18 m, or 17 ft, while doubles width is 6.1 m, or 20 ft. The net divides the court into two 6.7 m halves, and the short service line sits 1.98 m, or 6.5 ft, back from the net. For beginner footwork practice, place your base slightly behind that short service line, centred left-to-right.
Simple base-position diagram
Diagram not to scale for every line marking, but it shows the key idea: your beginner base is centred and slightly behind the short service line on your side.
Ready stance checklist
Once you know where to stand, set your body so you can push in any direction. Your stance should feel springy, not flat-footed.
| Body part | Beginner cue | Why it matters |
|---|---|---|
| Feet | Square or slightly staggered; if staggered, your dominant foot can sit a little forward. | Helps you react forward, sideways, or backward without a big reset. |
| Width | About shoulder-width apart. | Wide enough for balance, narrow enough to move quickly. |
| Knees | Slightly bent. | Prepares your legs to push instead of reaching late with your racket. |
| Weight | On the balls of your feet, not back on your heels. | Makes the first push faster, especially on cold Canadian gym floors where you do not want heavy, flat steps. |
| Racket | Held up in front of your body, slightly toward the backhand side. | Keeps your preparation compact for quick drives, blocks, and net replies. |
A good self-check: if someone pushed you gently from the front, side, or back, could you stay balanced and push off immediately? If yes, your ready stance is probably close. If you feel stuck on your heels, stand a little lower, soften your knees, and bring your weight forward before starting the first movement.
Movement 1: Split Step
The split step is the first movement in badminton footwork basics: a tiny hop or small explosive bounce that preloads your legs just before your opponent hits. It is not meant to be a big jump. The goal is to land light, feel springy through the legs, and be ready to push in any direction as soon as you read the shuttle.
Think of it as switching your body from “waiting” mode to “go” mode. When you time it well, your feet are not stuck flat on the court. Your knees are slightly bent, your weight is active, and you can push toward the forehand net, backhand net, rear court, or side defence without needing an extra reset step.
Beginner cue
As your opponent is about to strike, make a small hop and land with both feet ready. The landing is the important part: land balanced, knees soft, and push immediately toward the shuttle.
How to practise the split step
- Start relaxed but alert. Stay on the balls of your feet instead of resting on your heels.
- Make the hop small. You only need enough movement to load the legs and feel ready to push off.
- Land before you move. Do not guess too early and run before you know where the shuttle is going.
- Push from the outside leg. Once you read the direction, use the loaded leg to drive toward the shuttle.
- Stay quiet through the upper body. Keep the racket up and avoid standing tall after the hop.
Timing matters more than size
The common beginner mistake is doing the split step too early. If you hop, land, and then pause, you lose the rebound effect that should carry you into the next movement. The other mistake is doing it too late: if your opponent has already hit and you are still in the air, you will move in the right direction a fraction behind.
A good rhythm is: opponent prepares → you make a small split step → opponent contacts the shuttle → you land and push. In real rallies, the exact timing changes with the opponent’s swing speed, shot quality, and distance, so this takes game practice. At drop-in or club night, focus on being consistent rather than trying to look fast.
"The split step is small, but it decides whether your first step is explosive or late."
There is also a reason coaches care about this beyond speed. A 2024 biomechanics study of 18 male players found that split-step use significantly affects lower-limb biomechanics during lunges, with findings that point to potential benefits for performance and injury-risk reduction. For beginners, the takeaway is simple: good timing and balanced landings are part of safe movement, not just “advanced footwork.”
Self-check: if your first step feels heavy, late, or flat-footed, slow the rally down and rebuild the split-step timing before adding speed.
Once you can split step on time, the next job is covering short distance efficiently. That is where the chasse step comes in: a smooth step-together-step pattern that helps you move to the front and sides without crossing your feet unnecessarily.
Movement 2: Chasse Step
The chasse step is your beginner-friendly “step-together-step” movement. The word comes from the French chasser, meaning “to chase,” because one leg appears to chase the other as you move. Done well, it lets you cover about two steps of distance in one smooth movement instead of taking several small, slow steps.
For badminton footwork basics, think of the chasse as a controlled glide. It is especially useful for short sideways movement and for moving into front-court patterns, because it is faster and safer than crossing your feet for those short distances.
How to do a chasse step
- Stay in an athletic shape: knees slightly bent, weight on the balls of your feet, and racket up in front of your body.
- Step: move your lead foot toward the shuttle or space you want to cover.
- Together: let the other foot “chase” in the same direction so your stance narrows briefly.
- Step again: push out smoothly into the next step without standing tall or bouncing upward.
Where beginners should use it
- Side-to-side defence: use chasse steps to adjust across the middle of the court without crossing your legs. If your feet slide on indoor courts, use proper badminton footwear with grippy non-marking soles rather than running shoes.
- Front-court movement: a common beginner pattern is a directional start, then a chasse step, then a racket-leg lunge into the front corner.
- Small distance adjustments: use it when the shuttle is close enough that you do not need to turn and run.
Beginner cue
Imagine your feet are sliding along train tracks: the first foot moves, the second foot catches up, then the first foot moves again. Keep the movement smooth and low instead of hopping high.
Common mistakes to avoid
- Crossing your feet for short movements: it can make you slower to stop and change direction.
- Standing up between steps: stay low so the next push is ready.
- Letting the feet crash together: the “together” part should be quick and light, not a full stop.
Movement 3: Front-Court Lunge

The front-court lunge is your basic pattern for reaching shuttles near the net without over-running the corner. For beginners, the goal is simple: arrive balanced, make the shot in front of your body, then have enough control to recover.
Use this sequence for either front corner:
- Directional split step: land ready to push toward the front corner the shuttle is travelling to.
- Chasse step: let the non-racket leg move toward the racket leg so you glide forward instead of taking heavy, awkward steps.
- Lunge with the racket leg: right leg for right-handers, left leg for left-handers.
The important part is that the racket leg finishes the movement. If you are right-handed, your right foot should be the foot that lands in the front corner, even when you are moving to the front backhand side. That keeps your racket side close to the shuttle and gives you a stronger platform for the shot.
Lunge Form Cues
| Cue | What it should feel like |
|---|---|
| Racket leg forward | Your final step into the corner is with your racket-side leg. For a right-handed player, that means the right leg. |
| Head and torso upright | Avoid collapsing over your front knee. Keep your chest tall enough that you can see the court after contact. |
| Core strong | Brace through the middle so the lunge feels controlled, not like a fall into the shot. |
| Both legs bent | Bent legs help you control the stop and make it easier to push back out of the corner. |
| Heel-to-toe landing | Let the heel touch first, then roll through the foot instead of slapping the whole sole down at once. |
| Toes face the shuttle | Point the front foot toward the shuttle so your knee and body line up with the direction of the movement. |
Beginner Shadow Pattern
Start from your base position with your racket up. Do one directional split step, chasse toward a front corner, then lunge with your racket leg. Hold the lunge for a moment and check: upright head, strong core, bent legs, heel-to-toe landing, toes toward the shuttle.
Then reset and repeat to the other front corner. Keep the first few reps slow. The movement should feel smooth before it feels fast.
Simple self-check
If you cannot pause in the lunge without wobbling, shorten the step and bend both legs more. A smaller balanced lunge is better than a dramatic reach you cannot recover from.
Movement 4: Rear-Court Scissor Kick

The scissor kick is a rear-court movement used most often in the round-the-head corner: the rear backhand-side corner where many players choose to play an overhead shot instead of letting the shuttle drop into an awkward backhand position.
For beginners, the goal is not to jump as high as possible. The goal is to turn your body, strike while your weight is transferring, and come out of the shot already moving forward again.
How the scissor kick works
- Start with a directional split step. As your opponent hits, split and direct your first movement toward the rear-court corner.
- Pivot into the corner. Turn your body so you can load onto your racket leg rather than reaching backwards with only your arm.
- Push off the racket leg. As you strike, push from the racket leg and switch your legs in the air like scissors opening and closing.
- Rotate through the shot. The hitting action and body turn should carry your weight forward, not leave you falling backwards.
- Land balanced. Land with your legs bent and slightly wider than shoulder width so you can absorb the landing and recover quickly.
That rotation is the whole point. Without it, many beginners hit the overhead, pause on the back leg, and then have to restart their movement from a dead stop. With the rotation, your body weight transfers forward after contact, which makes the recovery step much faster.
What it should feel like
| Phase | Beginner cue |
|---|---|
| Move back | Split, turn, and get behind the shuttle instead of reaching from a square stance. |
| Strike | Push off the racket leg and switch the legs as you hit, keeping the action continuous. |
| Land | Land with bent legs slightly wider than shoulder width, ready to move forward again. |
Common beginner mistakes
- Pausing on the back leg. This breaks the rhythm of the shot. The weight transfer should flow in one continuous movement: load, hit, rotate, recover.
- Over-rotating. If you spin too far, your contact point can shift and the shuttle may fly out toward the side instead of travelling on your intended line.
- Landing too straight-legged. Stiff legs make the landing harder to control. Keep the knees bent so the landing is quiet, balanced, and ready for the next push.
- Trying to jump before you can turn. Practise the pivot and leg switch slowly first. Height is less important than timing and balance.
Treat the landing as part of the skill: if you land balanced and already moving forward, the scissor kick has done its job.
Movement 5: Recover to Base
Recovery is what happens after the shot. For beginners, this is where a lot of rallies are won or lost: not because the first movement was terrible, but because the player watches the shuttle for half a second and stays stuck in the corner.
From a front-court lunge, think of recovery as almost the reverse of how you arrived:
- Push out of the lunge with your racket leg. If you are right-handed, that is usually your right leg; if you are left-handed, it is usually your left leg.
- Bring the racket leg back toward the non-racket leg. Do not stand up tall and stroll back — stay light and ready to move again.
- Step or hop back toward the middle. From the forehand front corner, you can add a small hop on the non-racket leg to help cover the distance back to base.
- Arrive ready, not relaxed. Your next movement should start from a balanced position with your racket up, not from flat feet.
The beginner rule is simple: when you practise, return to base after each shot. Higher-level players will sometimes cheat their recovery depending on the rally, but beginners build better habits by learning the full pattern first: move out, hit, recover, prepare.
Beginner recovery checklist
- Recover after every shadow shot, even when there is no shuttle.
- Use light steps rather than heavy stomps back to the middle.
- Keep the racket up so you are not late if the next shot comes quickly.
- Prioritise clean movement before trying to do the drill faster.
There is one important tactical exception. If you play a tight, low net shot and your opponent takes it very low, you do not always need to rush all the way back to the exact middle. Another net shot is likely, so staying a little closer to the front court can make you earlier to the next shuttle while still giving you time to recover if they lift.
For now, keep the practice cue short enough that you can repeat it every rally: hit — push — centre — ready
Movement 6: Put It Together With the 6-Corner Drill

Once the individual pieces feel familiar, combine them into one simple shadow-footwork drill: start from base, split step, move to one corner, recover to base, then repeat to the next corner. The goal is not to look fast on day one. The goal is to make the pattern automatic so your feet stop stealing attention from your shot.
Beginner 6-Corner Drill
- Work: 30 seconds on.
- Rest: 30 seconds off.
- Rounds: 4 total rounds.
- Rule: split step before every movement, return to base after every corner.
- Priority: stay low and clean; speed comes after control.
Use this fixed order at first so you are not deciding where to go next. After a few sessions, you can have a partner call the corners randomly.
| Order | Corner | Main footwork | Beginner cue |
|---|---|---|---|
| 1 | Front right | Split step → chasse → lunge | Land balanced, then push back to base. |
| 2 | Front left | Split step → chasse → lunge | Keep the racket up and avoid standing tall between steps. |
| 3 | Mid right | Split step → short chasse | Think quick side movement, not a big running step. |
| 4 | Mid left | Split step → short chasse | Stay light on the balls of your feet so you can change direction. |
| 5 | Rear right | Split step → chasse or pivot → scissor kick | Let the rotation help send you back toward base. |
| 6 | Rear left | Split step → pivot → scissor kick | Land with bent legs and recover before the next split step. |
Footwear matters once you start drilling. Non-marking badminton shoes help protect indoor courts, and badminton shoes are built for lateral shifts, sudden stops, and direction changes. Browse badminton footwear or read badminton shoes vs running shoes before your next club session.
Badminton House prices are in CAD, and Canadian orders over $200 qualify for free shipping.
A good first target is simple: finish all 4 rounds without rushing your steps, popping upright, or skipping the recovery to base. If the pattern gets messy, slow down. Clean footwork at half speed teaches your body more than frantic footwork at full speed.
Which Footwork Move Should You Practise First?
If you are new to badminton footwork basics, do not try to master every pattern at full speed on day one. Start with base position and the split step, then add the movement that matches the problem you are seeing most often in games.
| Choose this focus if... | Practise first | What to practise | Why it helps |
|---|---|---|---|
| You are unsure where to stand after each shot. | Base position | Home spot and ready stance — see the base position section. | Base gives you a repeatable starting point for moving to the six main court corners. |
| You feel late reacting to your opponent’s shot. | Split step | Small hop timed to contact — see Movement 1. | The split step preloads your legs so you can change direction faster. |
| You need to cover short distances without crossing your feet. | Chasse step | Step-together-step movement — see Movement 2. | A clean chasse can cover the distance of two steps in one fluid movement. |
| You reach late for net shots or lose balance at the front court. | Front-court lunge | Racket-leg lunge pattern — see Movement 3. | The front-corner pattern uses a directional split step, chasse, then racket-leg lunge. |
| You struggle to recover after rear-court overhead shots. | Scissor kick | Rotating rear-court action — see Movement 4. | The rotation helps transfer body weight forward so recovery back toward base is quicker. |
| You hit the shuttle, then get stuck in the corner. | Recover to base | Return movement after each shot — see Movement 5. | Beginners should practise returning to the central recovery position after each movement. |
| You know each move separately and want a simple routine. | 6-corner drill | 30 seconds on, 30 seconds rest × 4 rounds — see Movement 6. | Shadow footwork builds muscle memory so your feet become less of a distraction during rallies. |
Footwork gear note. Indoor courts usually require non-marking shoes, and badminton shoes are typically non-marking by design. Badminton House currently has the Babolat Shadow Tour Men’s Badminton Shoes – Orange in stock at $119.99 CAD sale price, or you can browse the full badminton footwear collection. Free Canadian shipping applies on orders over $200.
Get Canadian badminton gear advice + restock alerts
Join the Badminton House list for buying checklists, restock alerts, and practical gear advice for Canadian players.
By subscribing, you agree to receive Badminton House emails and can unsubscribe anytime.
Footwork takes patience, but the payoff is huge: cleaner timing, better balance, and less scrambling between shots. At Badminton House, we play badminton ourselves, so if you’re unsure what shoes or beginner gear fit your level, contact us and we’ll help you choose.
Get ready for your next drop-in session
Practising split steps, lunges, and recovery feels better when your footwear is built for indoor badminton courts.
Shop Badminton Footwear10% off first order · Free shipping on $200+ · 14-day returns · Canadian badminton specialty shop
Leave a comment
This site is protected by hCaptcha and the hCaptcha Privacy Policy and Terms of Service apply.