
Last checked: August 2026 · Written by the player-led team at Badminton House
Quick answer
Use a badminton backhand drop from the rear corner when you are late enough that a smash is gone, but the opponent has not moved forward to hunt a drop. Set a bevel grip, arrive with space to rotate, and guide a controlled straight shot that lets you recover.
Drop
Default here: a controlled, neutralising reply when the front court is not already being pressed.
Clear
Choose it when the opponent has pushed forward expecting the drop and you need time to reset.
Smash
Reserve it for the earlier shuttle, when your turn and timing are already in place.
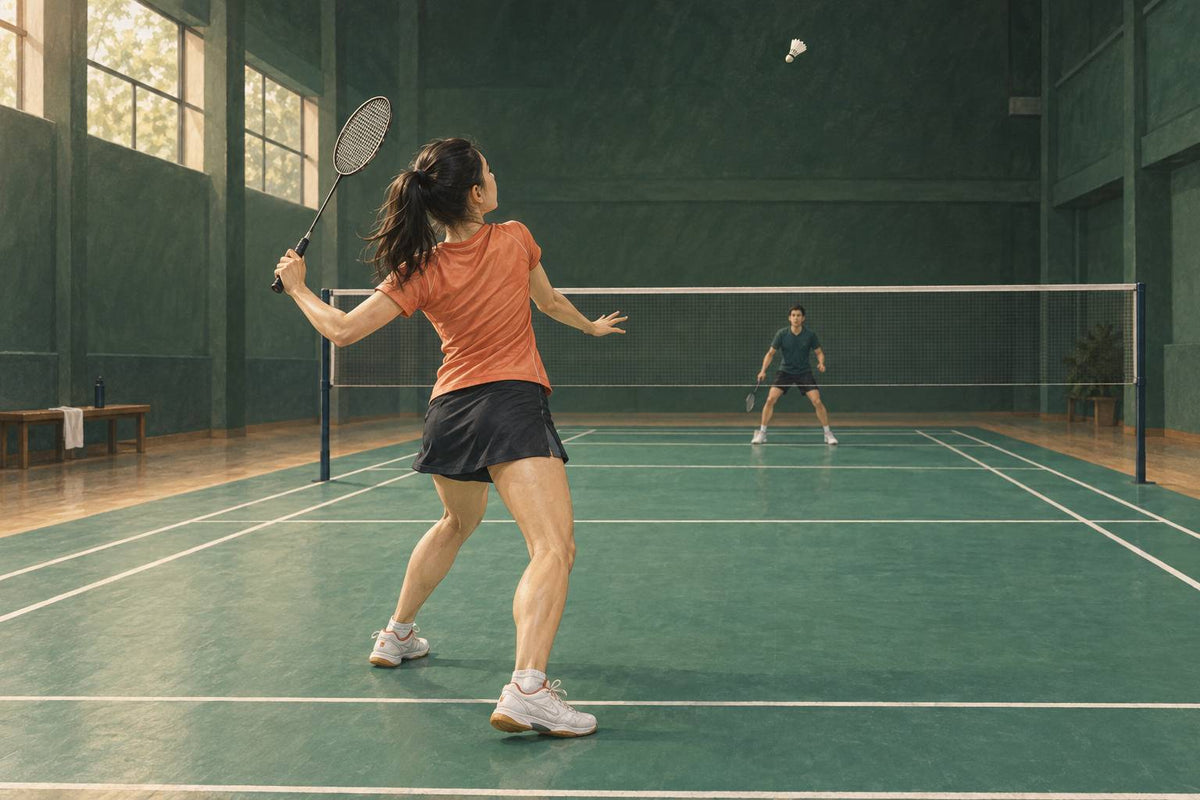
The rear backhand corner is where a rally can feel as though it has narrowed to one bad option. A backhand drop gives you another answer: it is not a miniature smash or a disguised clear. It is a controlled shot that keeps the rally neutral while moving the shuttle into the opponent’s front court.
This guide is about the standard rear-court version. It starts with the grip and movement that make the contact possible, then uses a simple decision rule for late arrivals. The practice progression at the end is editorial coaching structure, so adjust its feed quality and pace for your court and experience.
Set the Bevel Grip Before You Reach the Corner
For a standard rear-court backhand drop, use a bevel grip, not the flat-thumb backhand grip used for shots level with or in front of you. Turn the racket so the strings face diagonally and let the thumb sit on the handle’s ridge. That gives you the rear-court setup shared by the drop, clear and smash.
Badminton Insight’s grip guide makes the distinction clearly: the bevel grip is for rear-court backhand clears, drops and smashes, whereas the conventional thumb-on-top backhand grip suits contact level with or in front of the body. If your thumb is pressed flat across the wide back of the handle, reset before the shuttle arrives.
Move first, then make the shot. A useful sequence is split step, travel to the corner, turn so you can see the shuttle, then make the final racket-leg step into contact. The coaching reference places that foot on the floor just before the shuttle is struck, then uses it to push away and turn forward again. The exact number and size of steps depend on where you begin, so do not copy another player’s stride count.
Your immediate decision is simple: can you leave enough room to rotate without crowding the shuttle? If you are jammed underneath it, or so far away that the arm is locked out, do not solve the problem by reaching harder. Move for a contact where the arm can stay slightly bent and the shoulders can remain relaxed.
Guide the Shuttle, Then Recover Forward
A reliable backhand drop comes from a relaxed setup, a late squeeze of the handle, and a racket face aimed deliberately into court. It should cross with enough margin to be playable, then fall short enough to make the opponent move forward. Your next job starts immediately: push away from the corner and recover for the reply.
Keep the hand loose during preparation. At contact, close the fingers on the grip and let the racket travel through a compact, controlled action. Badminton Insight’s rear-court backhand guide recommends a relaxed hand until contact and a squeeze at contact. Treat that as a timing cue, not a cue to force a powerful swing.
Start by playing straight. It asks you to keep the racket face and recovery uncomplicated while you learn the timing. A cross-court reply changes the face and direction late, so it is a useful later variation, not proof that the basic drop is working. Likewise, a slice is not the default technique here. An angled face can add slice, but the same coaching source notes that it reduces power and accuracy on a clear. Build clean contact first, then explore variations with a coach or trusted feeder.
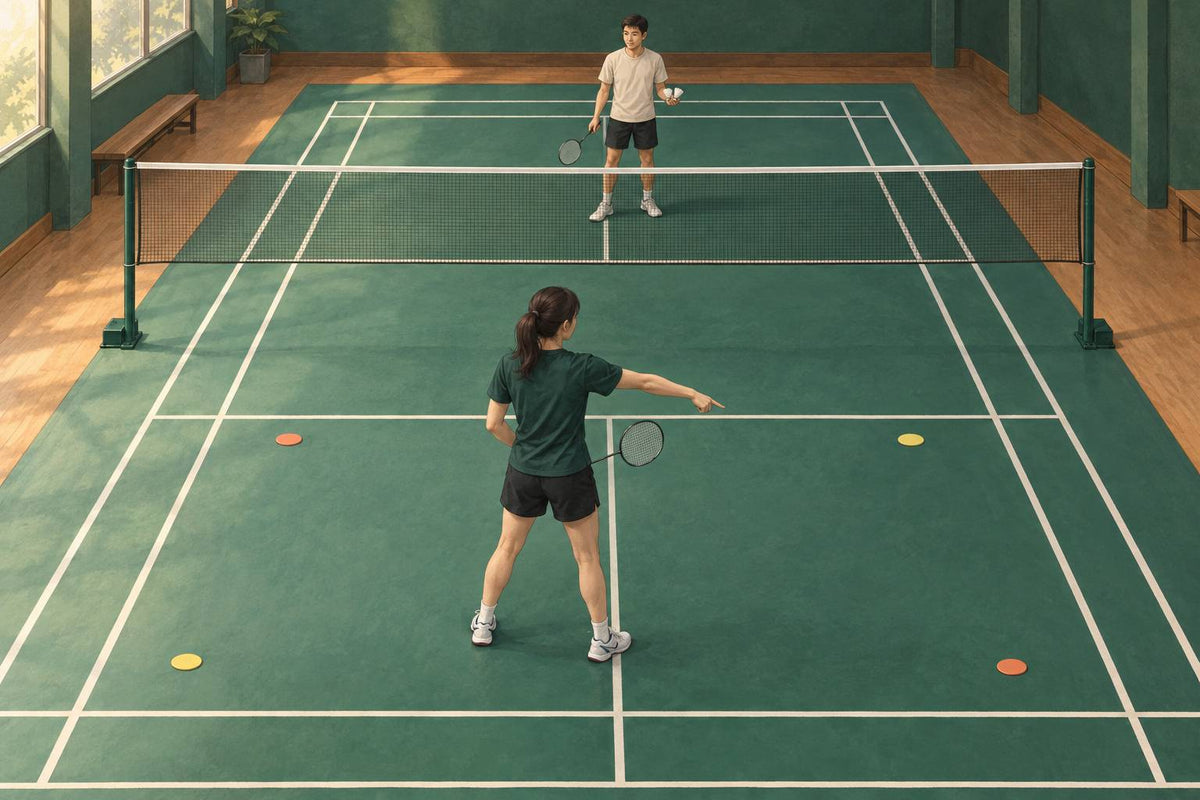
Editorial target: place a floor marker in the opponent’s front half, well inside the lines, and use it as a repeatable first target. After every feed, notice whether the shuttle crossed low enough for your own margin and whether you recovered before watching where it landed.
Two faults usually travel together. Contact that arrives after you have been pulled too far behind the shuttle often produces a floating reply. An arm-only push can also leave the shuttle high and obvious. In both cases, simplify: arrive earlier on the next feed, create a little room to rotate, keep the hand relaxed, and make a controlled straight reply rather than trying to manufacture sharpness with a bigger arm swing.
Do not judge the stroke only by whether it landed in. A drop that lands short but leaves you facing the back wall is unfinished. On your next attempt, give equal attention to the first recovery step. That turns the drill from a one-shot test into a rally skill.

When You Arrive Late: Drop, Clear, or Let It Go?
When the shuttle reaches the backhand corner, choose the drop when the opponent is not pressing forward, choose the clear when they have already moved in for a drop, and consider the smash only when you are earlier onto the shuttle. These are shot-choice cues, not guarantees about what will win the rally.
| What you see | Best first choice | Why |
|---|---|---|
| You are late, but the opponent is not crowding the front. | Backhand drop | It is the neutralising option that avoids handing over an easy attack. |
| The opponent has stepped forward expecting your drop. | Backhand clear | It buys time and sends the opponent back to reset the rally. |
| You are earlier than normal and fully organised. | Backhand smash, if trained | The smash needs earlier timing and a quicker turn than the drop or clear. |
Those choices come from the same rear-court coaching framework: the drop neutralises when the front is not pressured; the clear resets when the opponent has moved in; the smash needs earlier timing. The important part is not pretending the strokes are identical. Their preparation can look similar, but their contact and intent are different.
That shared preparation is where ordinary deception lives. Prepare as though any of the three is possible, then let the actual contact decide the shot. You do not need an exaggerated pause, a wrist flick for show, or a sliced contact to be deceptive. A player who changes grip late or visibly shortens the preparation has already announced the drop.
For the defensive option in more detail, read our badminton backhand clear technique guide. For the broader overhead family and forehand version, see the badminton drop shot technique guide.
Build the Shot From Predictable Feeds to a Live Clear
Build this shot in a predictable corner before asking it to survive a rally. The following four-stage progression is Badminton House’s editorial drill prescription: advance only when you can set the bevel grip, create contact space, play a controlled trajectory, and recover without losing balance.
- Hand feed at the corner: have a partner present the shuttle at an easy rear-corner height. Rehearse the grip change, final step, compact contact and push away. Do not aim for speed.
- Racket feed to the corner: ask for a predictable lift that gives you time to arrive. Use the same floor marker for ten to fifteen attempts and record only whether the shuttle reached the intended front-court zone and whether you recovered.
- Decision feed: keep the lift predictable but have the feeder sometimes stand forward and sometimes remain deeper. Say “drop” or “clear” before contact, then follow your own decision rule.
- Live from a clear: start a simple rally and let the feeder clear to your backhand corner. The goal is not to force drops; select one only when the opponent’s position gives it a reason.
Use one short self-check after each set: Was the grip already bevel-shaped before the final step? Did I have room for a slightly bent arm? Did the shuttle cross on a controlled line rather than float? Did I turn forward before judging the result? A phone clip from behind can make those questions easier to answer than memory alone.

Leave a comment
This site is protected by hCaptcha and the hCaptcha Privacy Policy and Terms of Service apply.