
Last reviewed: July 2026 · By Badminton House’s player-led team
Quick Answer: Badminton Court Target Zones
Badminton court target zones are six shared landing areas that turn a vague direction into a call and a score. This guide’s 1/2/5 front and 3/4/6 rear labels are a training convention, not official BWF numbering. Start with rear zones, then use random six-zone calls once both players use the labels consistently.
Rear zones
Best start: practise depth with zones 3, 4, and 6.
Front zones
Choose zones 1, 2, and 5 for net placement and short returns.
Random calls
Use all six zones once the feeder and player share the same map.
When a partner says “hit it deeper” or “push it wider,” the feedback is too vague to repeat on the next shuttle. A six-zone map gives every landing area a shared number, so a feeder can call the target quickly and you can record whether your clear, drop, push, or smash actually reached it.
Use the same numbers on both sides of the net: front zones 1, 2, and 5; rear zones 3, 4, and 6. The numbering is simply a court convention—agree it before starting—then turn placement practice into an out-of-ten score rather than a feeling.
In This Guide
How do you map six numbered badminton landing areas?
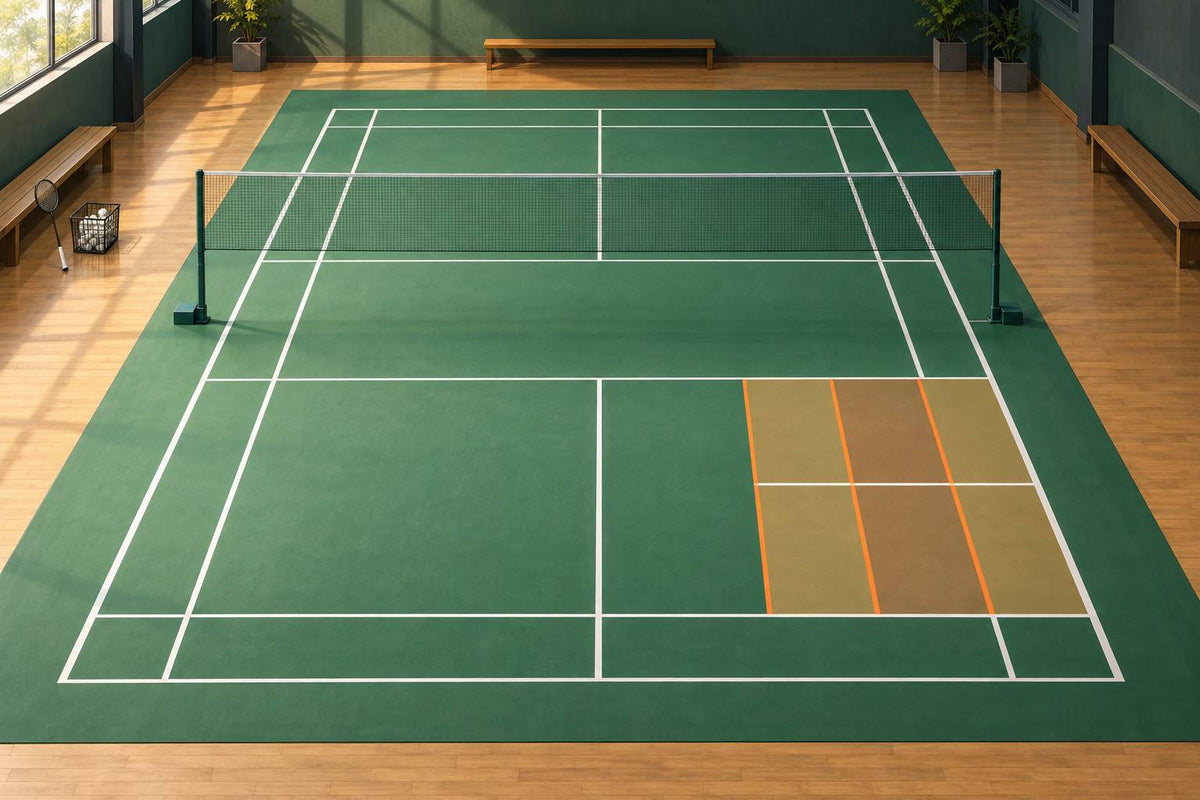
Use one half-width target area, from the centre-line extension to a sideline. The short service line separates its front and rear bands; two temporary dividers create three columns. View that area from the feeder’s side before assigning the six labels.

- Face the target half from the feeder’s side. Use the short service line as the front/rear divider, then add two temporary lateral dividers to create three columns.
- Label the front band 1, 2, 5; label its rear mirrors 3, 4, 6. At the other end, apply the same feeder-facing view, then point to all six zones together before the first feed.
Read each target area from the feeder’s side: the three columns run from the centre-line side toward the sideline, with front zones 1, 2 and 5 and rear zones 3, 4 and 6. Change your viewpoint when feeding from the other end; agree the map together before starting.
This 1/2/5–3/4/6 system is a convention defined here, not official BWF numbering. Record results by zone rather than pooling them: landing distributions differed by target area in Edel et al., Frontiers in Physiology. Check the underlying boundaries in our badminton court lines explainer.
How can you mark target zones in a shared gym?
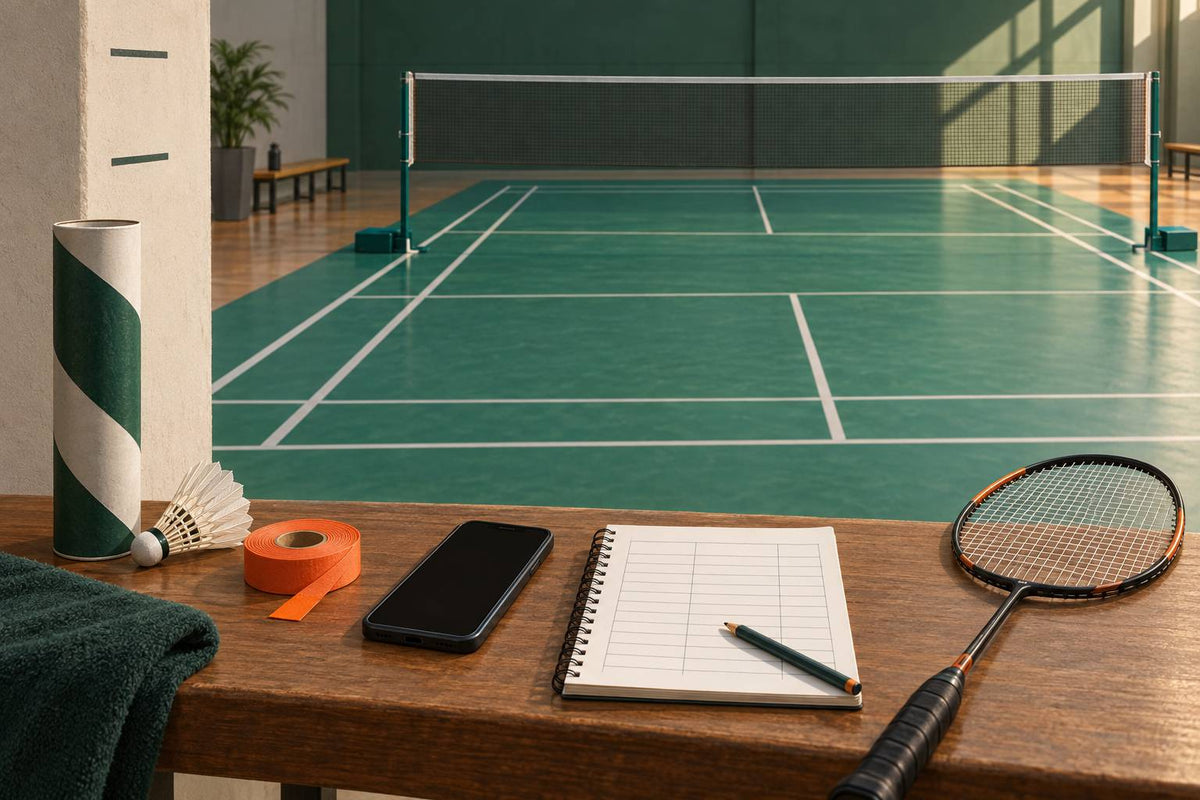
Use removable, contrasting markers for the front/rear divider and lateral boundaries. Where venue rules allow, low-tack sports-floor line-marking tape can remain for a live drill; otherwise, agree the boundaries visually while setting up. Remove any three-dimensional targets before normal play or rally scoring.

- Agree the court first. Do not assume existing multi-sport lines are badminton boundaries; decide together what each line means.
- Lay flat dividers. Avoid white or yellow—the colours the BWF Laws of Badminton prefer for court lines—so temporary boundaries are not mistaken for court markings. Spare shuttles or cones can help locate the marks before taping; BWF Shuttle Time equipment guidance also permits improvised tape and target materials.
- Set the boundary call. Agree which adjacent zone owns each divider before scoring, then count a shuttle on that line in the agreed zone.
Hoops, cones, boxes, and baskets suit static feeding, but not live rallies: a shuttle touching another object outside the court is a fault. Use flat marks or no physical target for games, and remove all three-dimensional targets afterward.
What scored games make the six-zone calls measurable?
Use three partner games: each gives the player a named destination and a clear scoring rule. The feeder calls the target before the feed, while a partner records the result as a hit, an error, or an in-court miss; pace should stay controlled when needed.

- Called-zone feeding: the feeder calls one number before each feed. Take 10 attempts; record target hits and errors separately. Suggested practice target: 3/10 in the named zone.
- Two-zone alternation: the feeder chooses two numbers and alternates calls for 30 seconds, then rests 30 seconds. Suggested practice target: six correct placements in total, logged by zone.
- Named-zone rally: one player names a zone before each rally; only that player’s shot landing in the named zone scores. Suggested practice target: five named-zone points in 10 rallies.
A hit lands in the named zone; an error is a net, missed, or out shot; an in-court landing in another zone is a miss, not an error. These are suggested practice targets, not research benchmarks. Start with called-zone feeding, then move to two-zone alternation and named-zone rallies once the map and scoring feel natural.
Which target-zone format should you choose?
Choose one zone to measure a single shot and target, two zones to practise changing direction on a call, or all six to compare accuracy across court areas. Keep each result by zone: research suggests landing distributions differ, so one total can hide a useful weakness.

| Choose | Best when | What to record |
|---|---|---|
| Single zone | You want a clean baseline for one shot and one landing intention. | Hits out of ten and misses. |
| Two zones | You need to switch direction on a call without losing the score. | Hits and errors for each named zone. |
| All six zones | You are comparing front versus rear and centre versus sideline placement. | A separate scorecard, not one total. |
For timed work, use 10-second intervals when match-like bursts matter; the elite multi-feed study cited above judged them closest to average competitive match-play loads.
Get 10% off your first order
Join the Badminton House list and we’ll email you a 10% welcome code — plus training guides, technique advice, and badminton updates.
By subscribing, you agree to receive Badminton House emails and can unsubscribe anytime.
We play badminton too, and we know that a clear training target turns vague “better placement” into feedback you can use. If you want help choosing practice gear or setting up a focused session, contact us for advice.
Keep enough shuttles ready for feeding and scoring.
Shop Shuttlecocks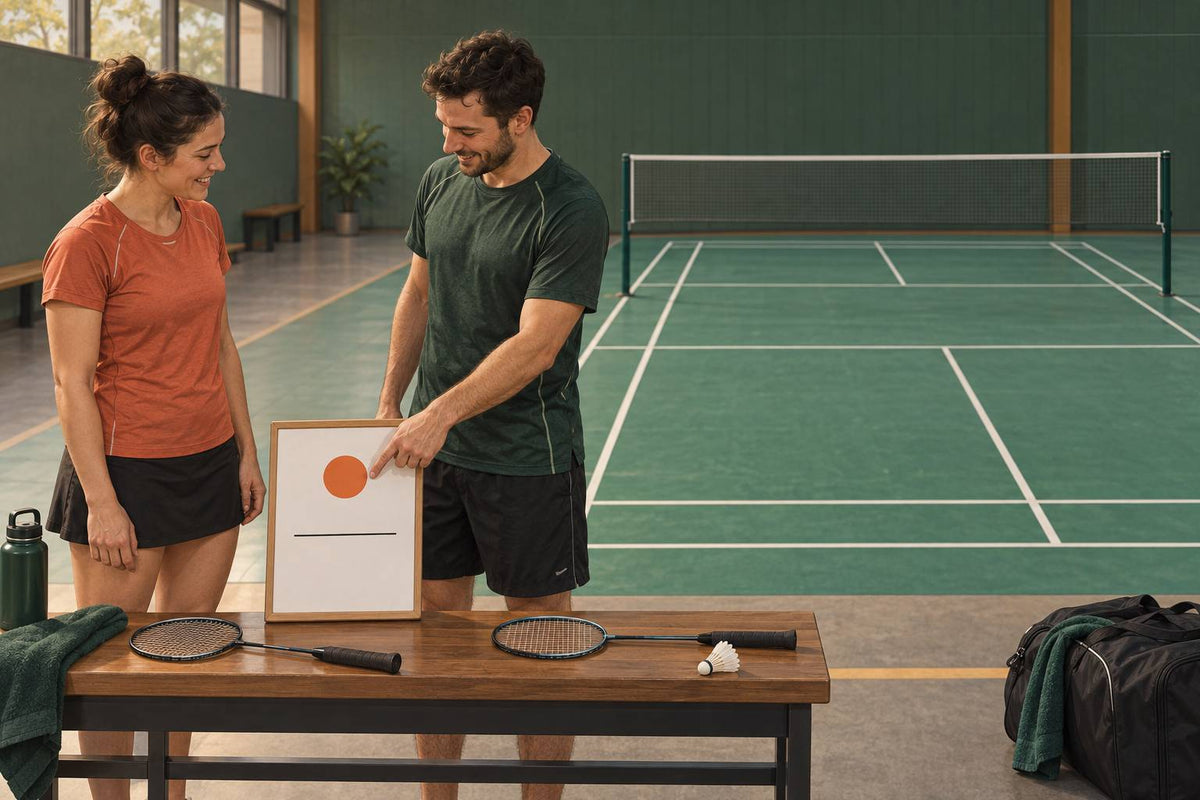

Leave a comment
This site is protected by hCaptcha and the hCaptcha Privacy Policy and Terms of Service apply.