
Last checked: August 2026 · Written by the player-led team at Badminton House
Quick answer
When you are in the forecourt with a shuttle well below tape height, a higher defensive lift can give time to recover position and balance. A long backhand defence is a midcourt-to-rear-court reply to a smash or drive, while an early forehand cross-court net shot requires balance and early contact.
Start with When a defensive lift buys recovery time
Use each cited example only in its stated contact picture: a forecourt shuttle well below tape height, a smash or drive returned from midcourt to rear court, or an early forehand cross-court net shot made with balance and early contact.
- Before choosing, identify shuttle height, contact area, balance, and whether the opponent’s shot was a smash or drive.
- From the forecourt defensive area, use the higher-lift example only when the shuttle has dropped well below tape height.
- Use the long backhand defence only when returning a smash or drive from midcourt to rear court; reserve the forehand cross-court net option for balanced early contact.
- After the rally, review the actual contact picture rather than treating one example as a universal shot chart.
Related reading: Badminton Defence-to-Attack Transition Guide — for the recovery decision after a defensive shot.
When a defensive lift buys recovery time
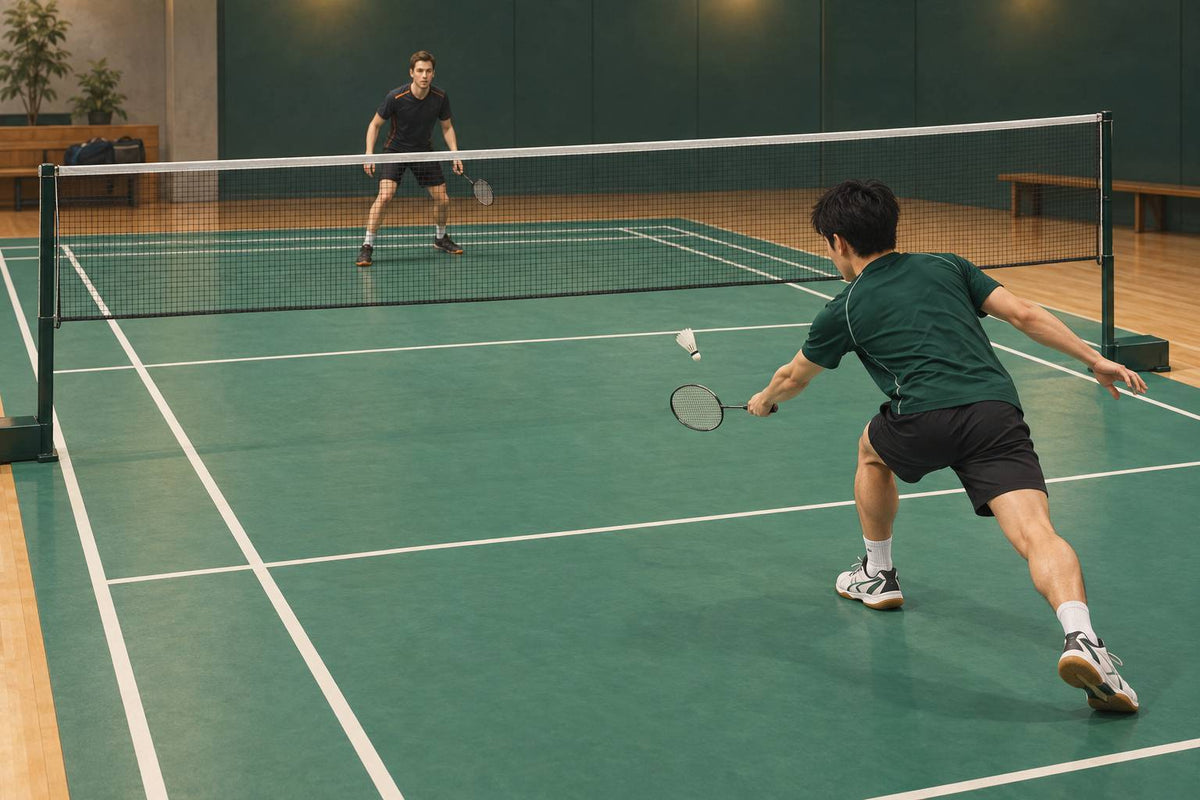
When you are in the forecourt and the shuttle has dropped well below tape height into your defensive area, a higher defensive lift can give time to recover position and balance. This is a teaching example with a specific contact picture, not a fixed protocol for every compromised position. BWF Shuttle Time Manual and BWF Level 2 Manual

Long backhand defence from midcourt
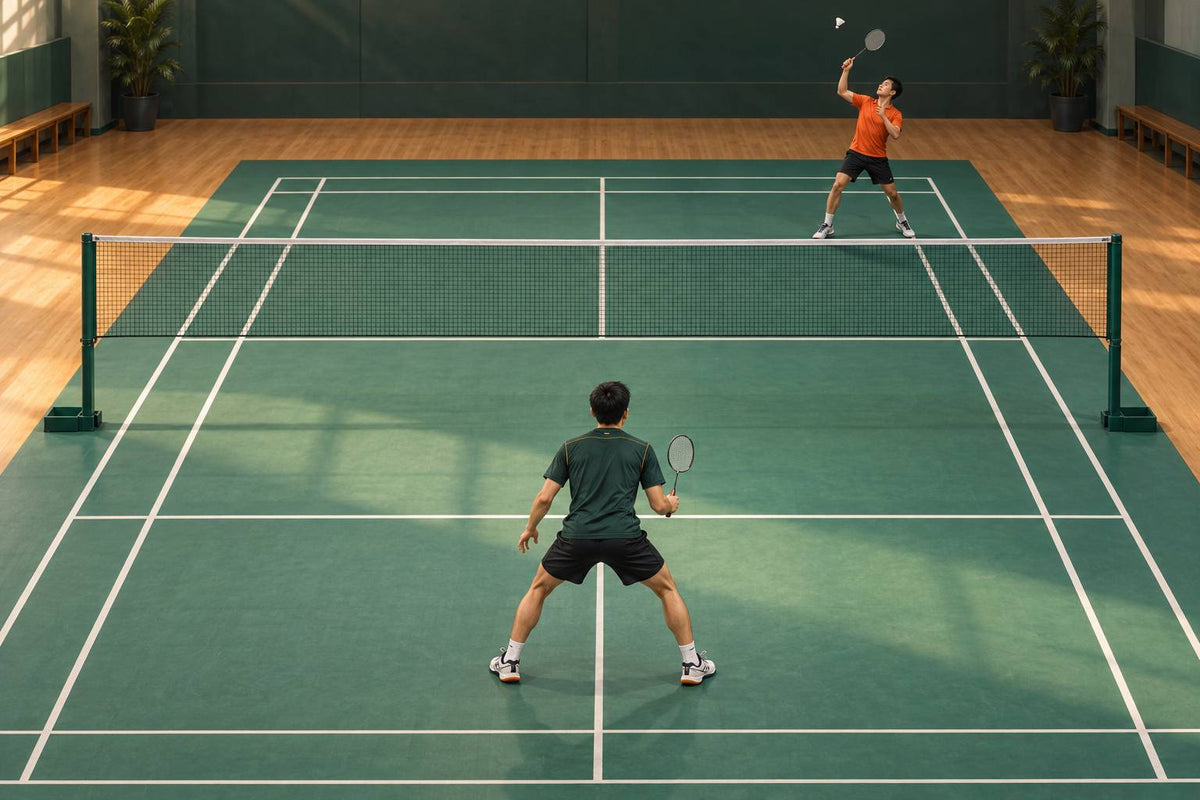
When returning a smash or drive from midcourt to the rear court, a long backhand defensive return can create time. The Level 2 manual describes that specific defensive recovery option; exact local practice choices remain outside its scope. BWF Level 2 Manual

Why balance matters before an early cross-court net reply
An early forehand cross-court net shot requires balance and early contact. The manual cautions against playing it off balance and under pressure because it can expose space for the next reply; coaches can adapt a sequence to the group and session. BWF Level 2 Manual

Use this distinction on court
Start with contact height, balance, court position and the incoming shot. A low forecourt contact, a midcourt smash or drive, and an early balanced net contact are different problems. After the rally, record the condition you saw, the reply you chose and whether it gave time to recover; a winning result alone does not establish the best choice.
Source-bound context
Questions the cited sources do not settle
- A universal winner-selection rule or percentage-based shot chart.
- A promise that one defensive response is right regardless of contact height, balance, or opponent position.
What to do next
After the rally, review whether the shot bought recovery time; on the next controlled feed, alter only one cue or option.

Leave a comment
This site is protected by hCaptcha and the hCaptcha Privacy Policy and Terms of Service apply.