
Last updated: July 2026 · Written by the team at Badminton House
Quick Answer: Badminton Smash Angle Physics
If your smash is fast but easy to lift, chase a higher contact point and steeper net-crossing angle while also considering placement, speed and recovery.
Steeper
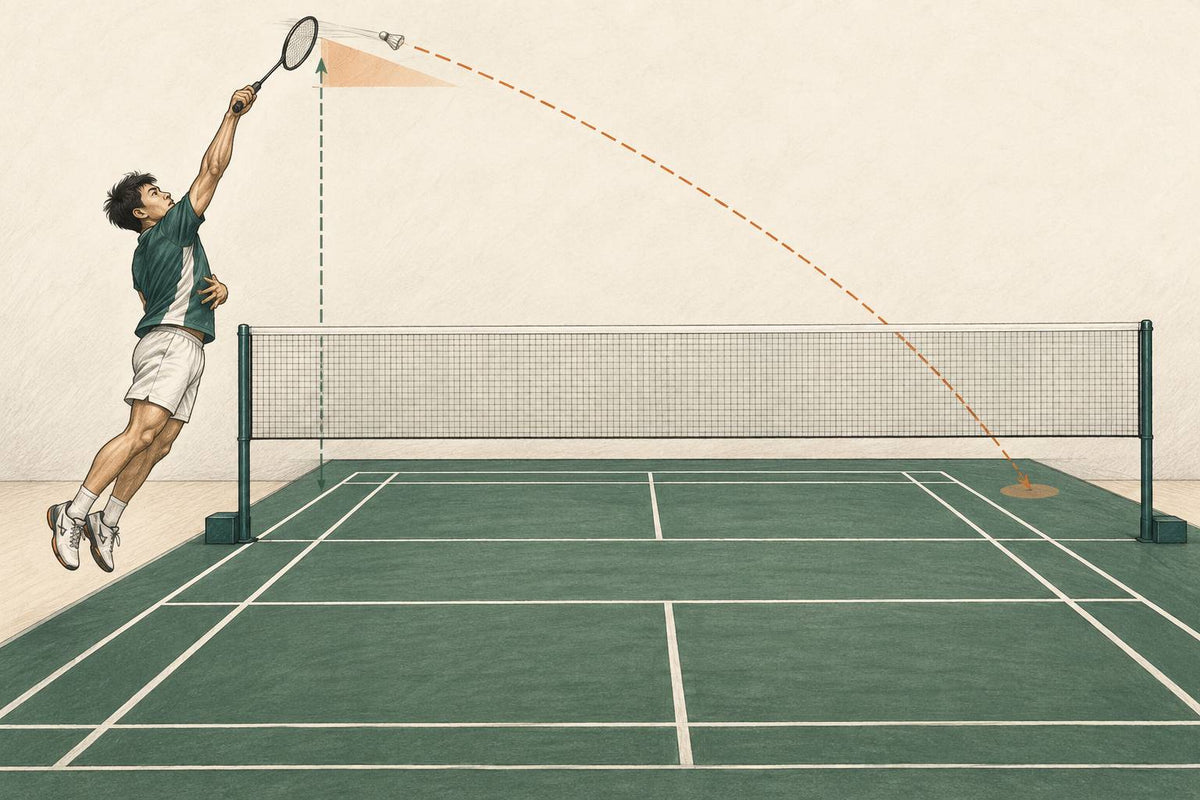
Best choice: contact the shuttle at full reach to create a useful downward path with safe net clearance.
Harder
Use when you already have height and space; extra speed helps less if the shuttle travels flat and deep.
Sliced
Use a cut smash when a change of pace and placement can disrupt the defender.
A fast smash can still be returned if its placement and trajectory suit the defender. Higher contact gives you more room to direct the shuttle downward while clearing the net; speed, accuracy and recovery still matter.
Contact height limits the available downward angle; racket-head speed, launch direction and placement all affect the resulting shot.
Train the angle before chasing power. If your racket feels slow overhead, compare badminton rackets, but make high contact your first fix.
In This Guide
Steepness Is the Real Pressure, Not Just Speed

A harder smash and a steeper smash are not the same thing. Initial speed and launch direction affect different parts of the flight. A flatter shot may reach the defender in front of the body, while a downward path can create a lower contact; the actual response still depends on placement, speed and the receiver’s position.
A lower contact point can make defence awkward, but angle alone does not set the opponent’s reaction time. Flight speed, distance, anticipation and the defender’s position all affect the time and options available.
Contact Height Sets the Angle Ceiling

The smash angle starts with simple geometry: contact the shuttle higher, and you can send it downward more steeply while still clearing the net. Contact it late, especially after it has dropped below net height, and the steep smash disappears as an option; the shuttle now has to travel flat or upward before it can cross.
That is why a jump smash is not only a power move. One measured jump smash used a 0.43 m jump to reach a 2.95 m contact height, raising the launch point enough to create a sharper downward trajectory. Usable contact height depends on reach, posture, racket position and any jump; a simple sum of body height and racket length is only a rough model. You cannot change your height mid-rally, and the racket is fixed, so timing and jump quality become the trainable levers. For the technique version, see our badminton jump smash guide.
The Net and Court Limit How Steep You Can Be

A smash is not just an arm-speed problem; it is a court-geometry problem. The badminton court is 13.4 m long and divided by a net that is 1.524 m high at the centre and 1.55 m at the posts, so every downward smash has to start high enough to clear that net before it can dive into the floor or sidelines. From the rear court, that clearance requirement eats into the angle you can use.
That is why contact height matters so much. Physics modelling of downward strokes found that the down-going family of shots — smash, drop, and kill — occupied about a quarter of the simplified reachable area under that model’s assumptions. In plain terms: many places you can reach the shuttle are not places where you can hit it steeply and still clear the net. This also explains why pro smashes from deep court can look flatter than expected: the net decides the usable downward angle before power enters the picture. For exact line and net references, see our badminton court dimensions guide.
Why Extra Speed Hits Diminishing Returns

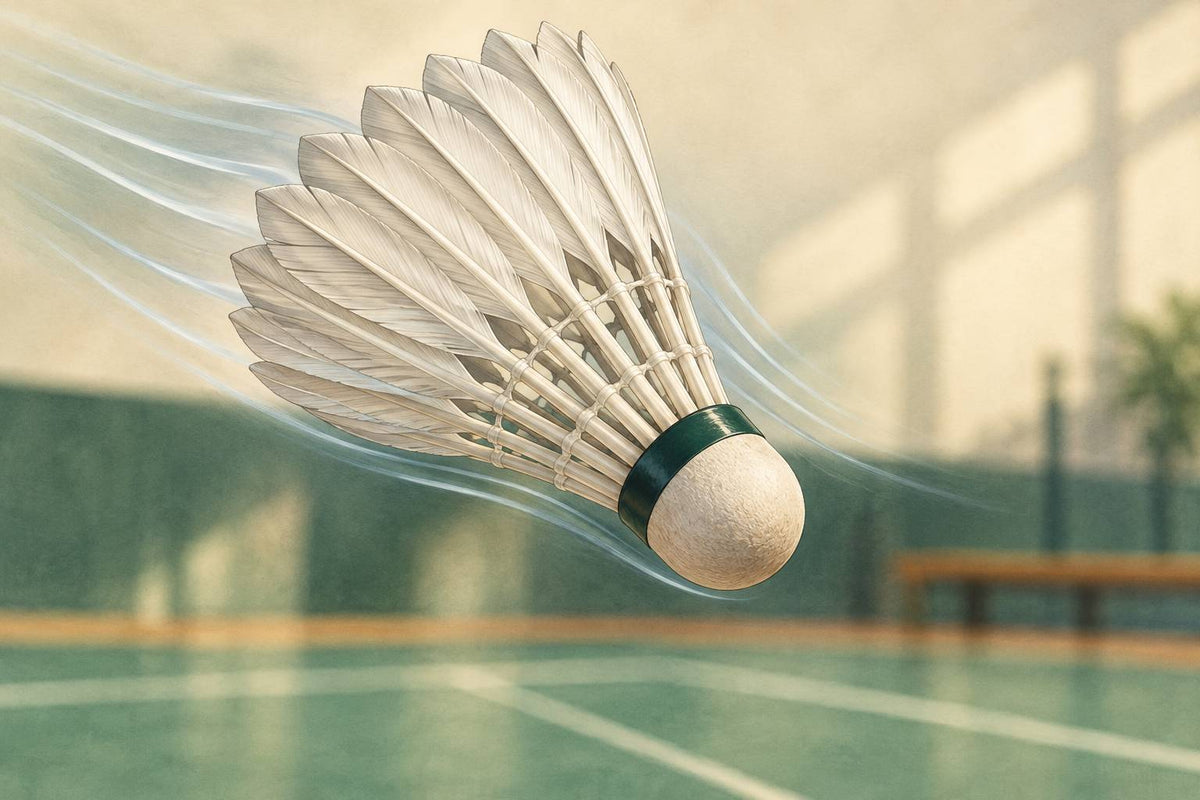
Shuttlecocks lose speed rapidly through aerodynamic drag. The amount of slowdown depends on the shuttle and conditions; a single halving distance is not a universal rule for every shot. A longer path can reduce arrival speed, but a faster or well-placed flatter smash can still be effective.
The range numbers make the same point. In Cohen and colleagues’ 2015 model, an initial speed of 137 m/s produced a maximum range of 13.8 m under the modelled conditions, barely more than the 13.4 m court length. This illustrates strong drag rather than a current speed record or proof that extra speed has little tactical value.
Choose a launch direction that your contact height can support, with enough clearance and pace for the target. Speed and angle are complementary variables; racket-head speed does not itself create contact height or select the launch angle.
What This Means for Shot Choice

In rallies, choose the smash that makes the defender lift, not the smash that only sounds loud. A flat hit that lands deep gives the shuttle a longer path and often arrives around hip height, where a prepared defender can block or drive. The better attacking smash is contacted high, sent on a sharper line, and made to pass close enough to the net that the defender must dig upward from a low, narrow-angle position; that is the problem covered in Badminton Smash Defense.
When the shuttle is slightly behind you or you cannot contact high, do not force maximum pace. Use a half-smash, body smash, or slice: slice gives up some speed, but the changed contact can alter pace and direction; do not assume spin automatically creates an extra downward force. Racket-head speed affects launch speed, while contact geometry and the swing direction help determine the path.
Which Smash Should You Choose?
When deciding between more angle and more pace, start with contact height: launch angle and impact force are separate variables, so the best smash is the one your position can support.
| Choice | Choose it when | Physics reason |
|---|---|---|
| Steep full smash | You meet the shuttle high enough to clear the net downward. | Higher contact permits a steeper angle; the response window also depends on speed and position. |
| Harder, flatter smash | A body or deeper target fits your contact height and position. | More impact force adds speed, but drag rapidly reduces shuttle velocity over distance. |
| Jump smash | You can jump without losing timing. | Jumping raises contact point; that is what lets the trajectory become steeper. |
| Sliced steep smash | The defender is waiting deep. | A slice changes contact, pace and direction without guaranteeing a sharper dive. |
| Racket check | Your technique already creates a high contact point. | Racket-head speed at impact helps convert reach into launch speed; compare badminton rackets and check live availability. |
Get 10% off your first order
Join the Badminton House list and we’ll email you a 10% welcome code — plus training guides, technique advice, and badminton updates.
By subscribing, you agree to receive Badminton House emails and can unsubscribe anytime.
That’s the practical takeaway: train the smash like a geometry problem, not an arm-speed contest. We play badminton ourselves and are happy to help you think through racket feel, swing timing, or technique questions — send us a note through our contact page.
Build a racket setup that helps you accelerate cleanly and convert high contact into a steeper, heavier smash.
Browse Badminton RacketsCheck live availability and choose by weight, balance, and feel.

Leave a comment
This site is protected by hCaptcha and the hCaptcha Privacy Policy and Terms of Service apply.