
Last updated: July 2026 · Written by the team at Badminton House
Quick Answer: When to Smash in Singles
Run the choice through five gates: contact quality, balance, opponent position, likely reply, and recovery.
Go
Commit when contact is high and in front, you are balanced, the defender is late or exposed, and you can cover the likely block.
Build first
Use a half smash, drop, or clear when the opening is partial; change the defender’s position and look for a weaker reply.
Reset
Neutralize the rally when you are late, stretched, off-balance, or unable to recover for the reply.
In singles, the smash is tempting because it feels like the cleanest way to end a rally. But if you hit it from the wrong contact point, while drifting backward, or without a realistic follow-up, your attacking shot often becomes the opponent’s easiest block to the net. Learning when to smash in badminton singles is not about whether you are allowed to attack from the rear court, midcourt, or around the head. It is about whether the moment gives you enough angle, balance, opponent pressure, and recovery time to make the smash worth the commitment.
Use this guide as an on-court decision filter: smash when the rally has opened, use a half smash when you need controlled pressure, and reset when the attack is not ready.
In This Guide
When to Smash in Badminton Singles: The Five Gates

A smash is a fast, downward attacking shot used to pressure or finish the rally.
In singles, use it sparingly and run the decision through five gates before you swing:
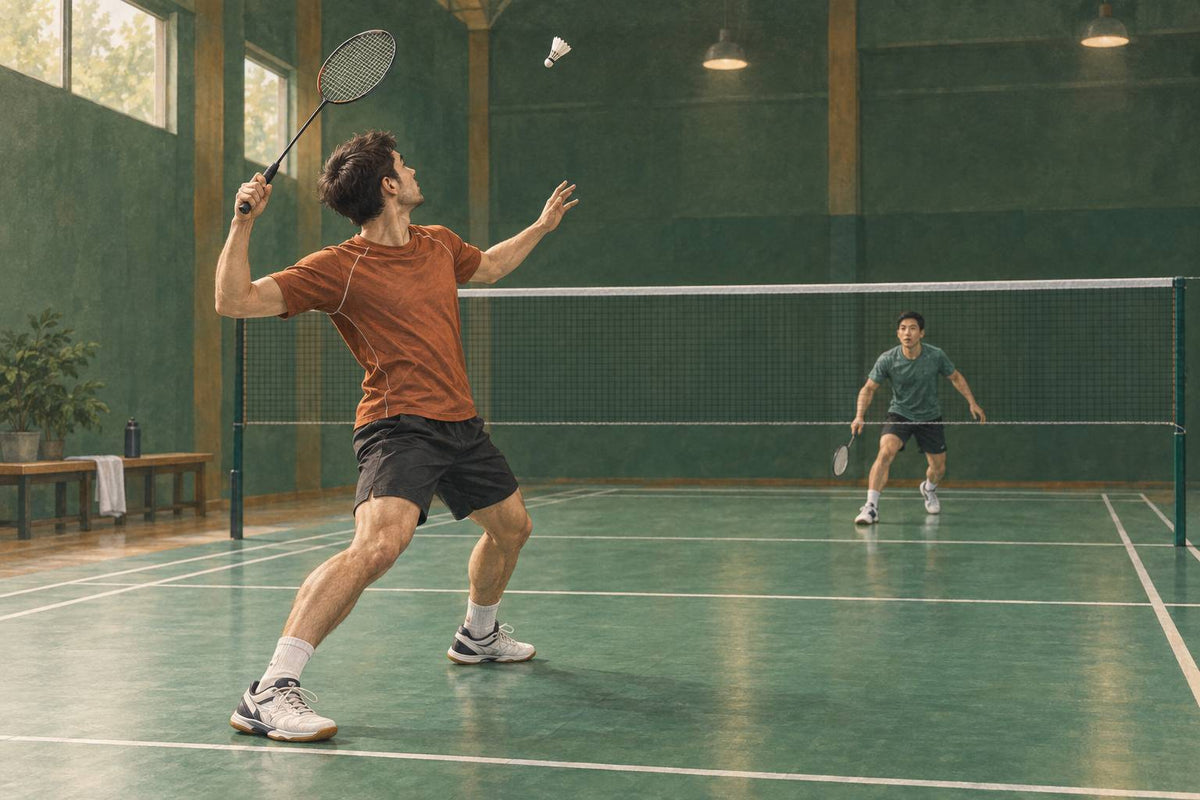
- Contact quality: Can you take the shuttle high and in front? Low contact makes the shot flatter and easier to defend.
- Balance: Are your feet and trunk organized? If you smash off-balance, a simple block may leave you unable to reach the next shuttle.
- Opponent position: Are they late, moving, or poorly set? A ready defender can counter a predictable smash.
- Likely reply: What return are you inviting: block, lift, drive, or counter? Choose the smash only if that reply helps you.
- Recovery: Can you land, move forward, and cover the follow-up?
There is no automatic “never smash from here” rule. The right smash is the one that passes the gates and improves your next position.
Contact, Balance, and Recovery Come Before Power
Before asking “how hard can I hit?”, check the contact. A singles smash starts with the shuttle high and slightly in front of your body. That height gives you angle: the higher you meet the shuttle, the steeper you can send it down. If contact drops too low, the shot becomes more like a flat drive than a true smash, which gives the defender a cleaner countering height.
Steepness can make a smash harder to counter from below net height, but pace, placement, contact position and the defender’s balance also matter; there is no universal angle-over-speed ranking. A very hard but flat smash can keep travelling long and go out; a contact point that is too low or too far forward can also drag the shuttle into the net. If you want the deeper physics behind this, read Why a Steeper Smash Beats a Harder Smash.
Read the Opponent Before You Commit
A winning smash in singles usually appears in one of two situations: your opponent is out of position, or you are in a very good position. Before you swing hard, look at what the defender can actually cover. If they are still moving or have not recovered balance, a body smash can jam their stroke and reduce their choices.
If their racket is stuck on one side, aim away from it rather than simply hitting harder. From the rear court, side placement is often more useful than body placement because a singles defender must cover the full court width alone. That is why straight or sideline-directed smashes are such common singles targets.
Be careful with the cross-court smash. It travels farther, slows more, and gives the defender extra reaction time, so use it only when the opponent’s position makes that longer angle worth the risk.
Build First or Reset When the Smash Is Not Ready

If the smash is not on, do not force a low-percentage finish. When you are late, stretched, or under pressure, choose a clear or drop that buys time and protects your next movement. A high lift or deep clear can slow the rally; a controlled drop can make the opponent move forward without gambling on full power.
Your other shots are what make the smash dangerous later. Clears, drops, lifts, slices, and net shots create weak replies by changing depth, height, and pace. For more on using tempo rather than constant speed, see Badminton Change of Pace Tactics.
- Go: the opening is already there.
- Build first: use variation to make the next lift weaker.
- Reset: slow the rally and recover before attacking again.
If you still want attacking pressure without overcommitting, a half smash is often the safer bridge between building and finishing.
Which Smash Decision Should You Choose?
| Decision | Play the next shot | Reassess when... |
|---|---|---|
| Go | Commit to the smash, land under control, and move forward for a block or short lift. | The defender counters cleanly or your recovery reaches the next shuttle late. |
| Build first | Change pace or depth, then watch whether the defender lifts shorter, contacts later, or loses balance. | Your building shot produces a neutral reply instead of a weaker one. |
| Reset | Choose height or control, recover to a balanced base, and restart the five-gate check. | A fresh opening appears; then move back to build first or go. |
Get 10% off your first order
Join the Badminton House list and we’ll email you a 10% welcome code — plus training guides, technique advice, and badminton updates.
By subscribing, you agree to receive Badminton House emails and can unsubscribe anytime.
Use the smash like a player, not a reflex: if the contact, balance, opponent cue, and recovery are there, commit; if not, build one more shot. We play badminton too, so if you want help matching your technique goals to racket feel, contact us and tell us how you play.
Set up your attack with the right racket feel.
Browse Badminton RacketsChoose by the weight, balance, and flex that suit how you build and finish rallies.


Leave a comment
This site is protected by hCaptcha and the hCaptcha Privacy Policy and Terms of Service apply.