
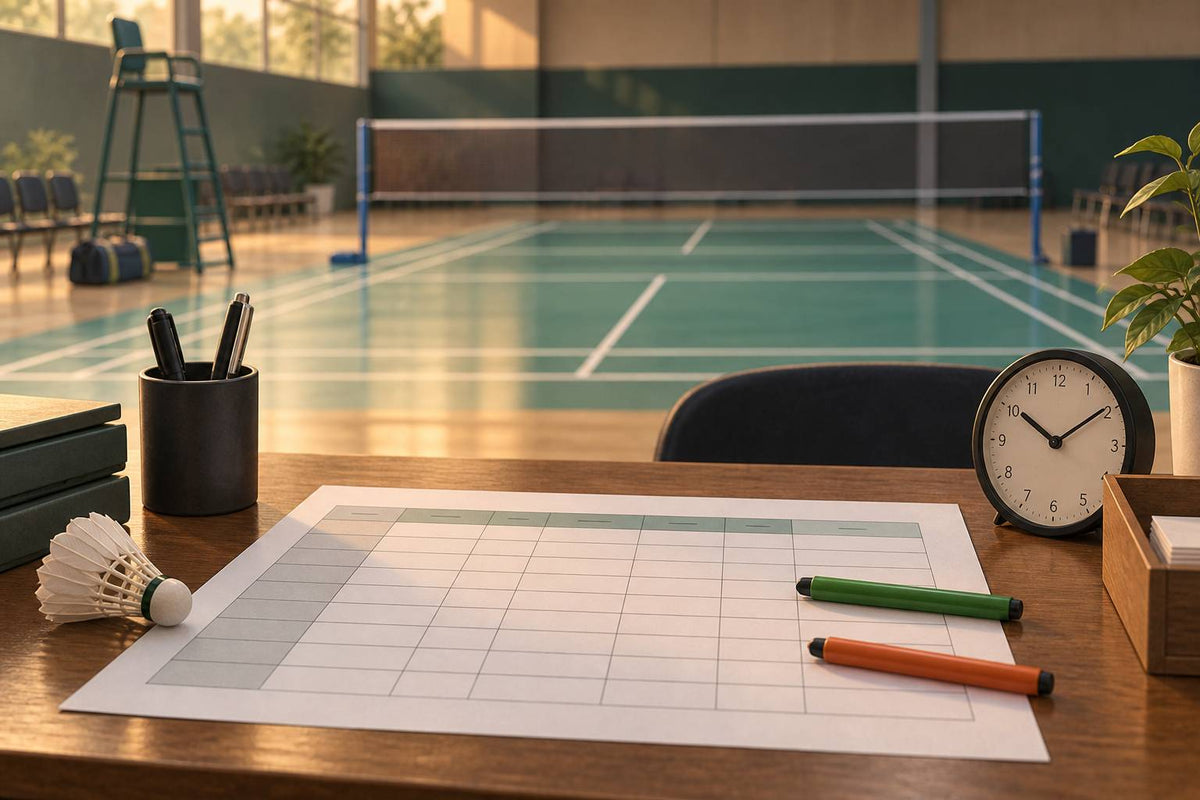
Badminton Team Match Order of Play: Avoid Back-to-Backs
Build a live badminton team match order of play from court count, player eligibility, and the event's rest rule, with three-court and four-court examples.
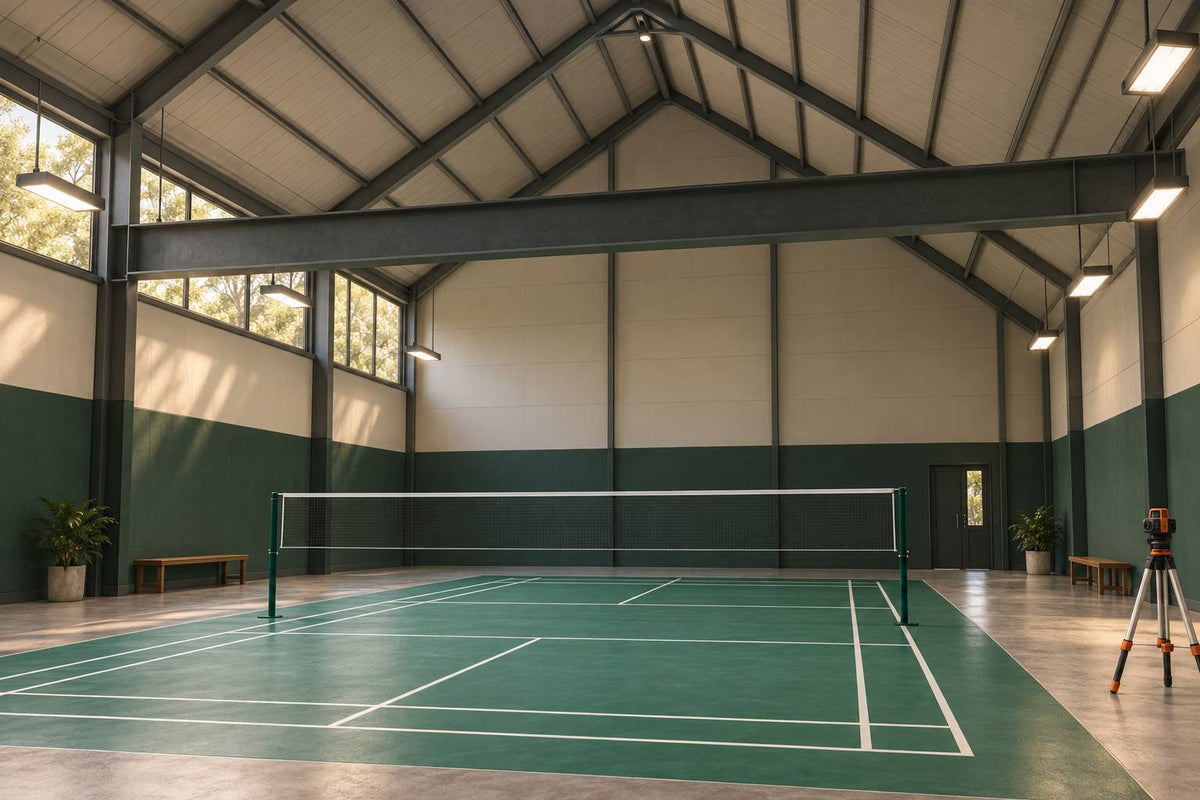
Badminton Hall Ceiling Height, Lighting and Run-Off Numbers
Badminton hall ceiling height is facility guidance, not a playing Law: use the right height band, then check clear run-off, lighting and floor.
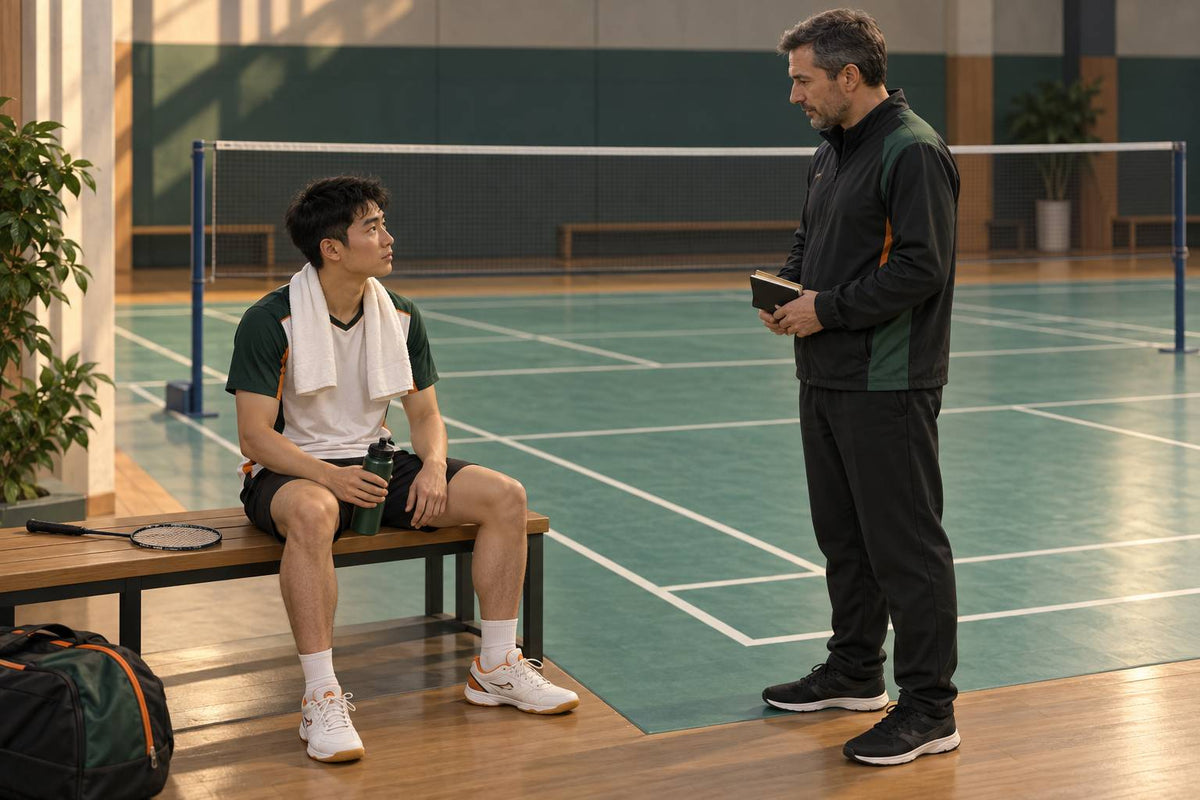
Badminton 60-Second Interval: What to Say at the Break
Use a two-line courtside script during the badminton 60-second interval: one observed tactical action, one behavioural cue, then stop at the official call.
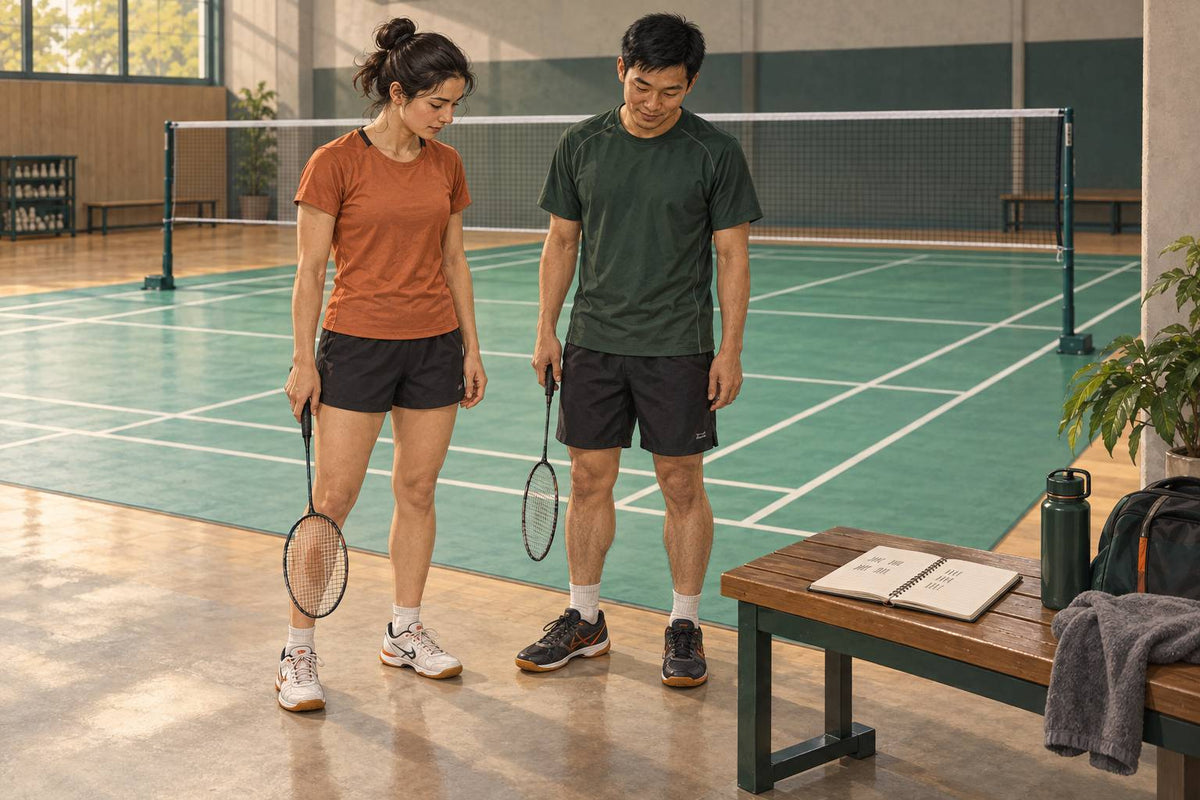
Playing Against Better Badminton Players: How to Use Those Games
Turn games against much better badminton players into useful practice with one process goal, a simple tally, an agreed constraint, and focused feedback.
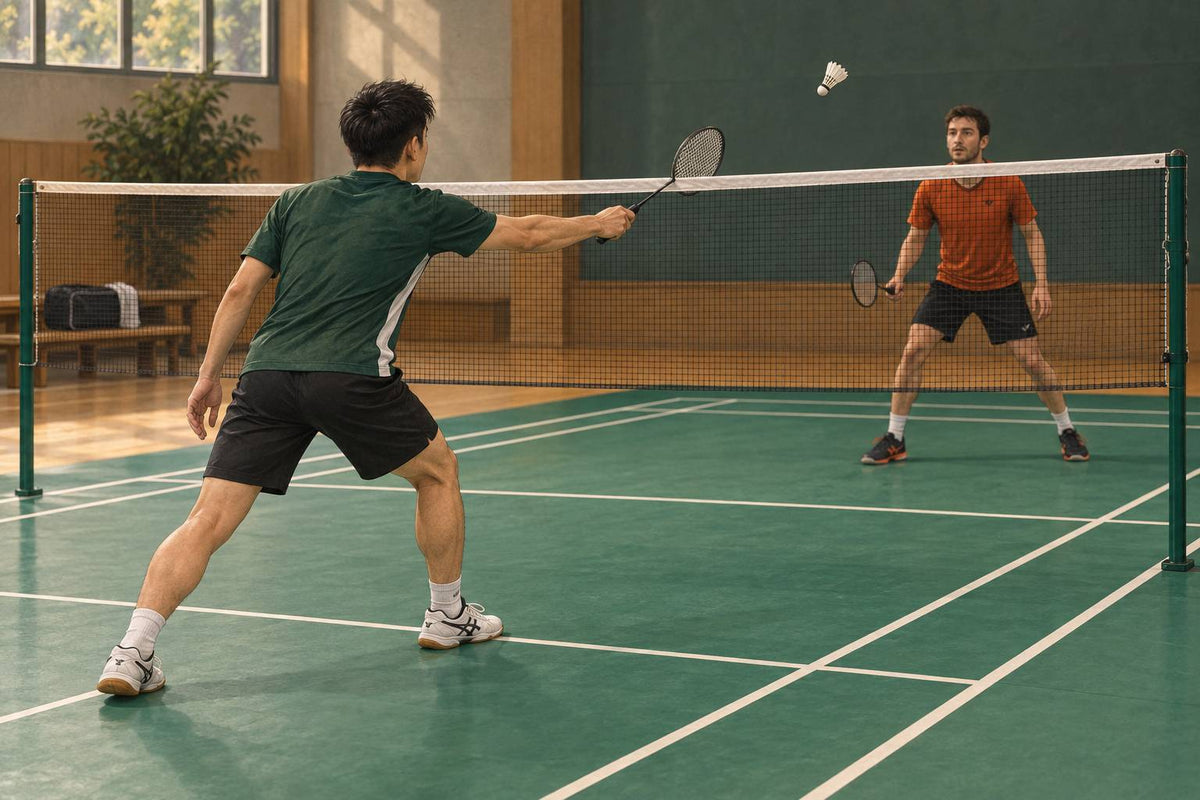
Touching the Net in Badminton: Which Contacts Are Faults
Learn when net, tape, post, clothing, and under-net contact is a badminton fault, plus when a rally has already ended.
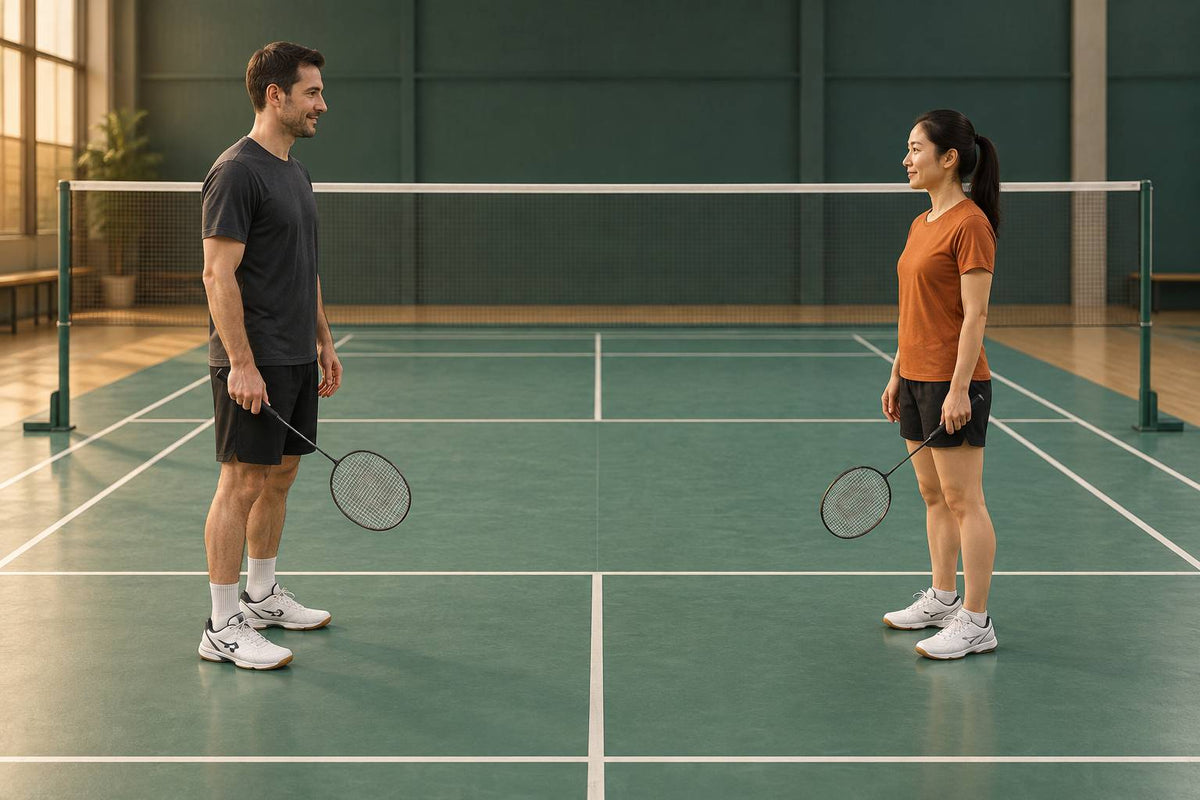
Learning Badminton Left-Handed: How to Mirror the Basics
A left-handed player's guide to translating right-handed badminton coaching, diagrams, and video into clear racket-side cues.
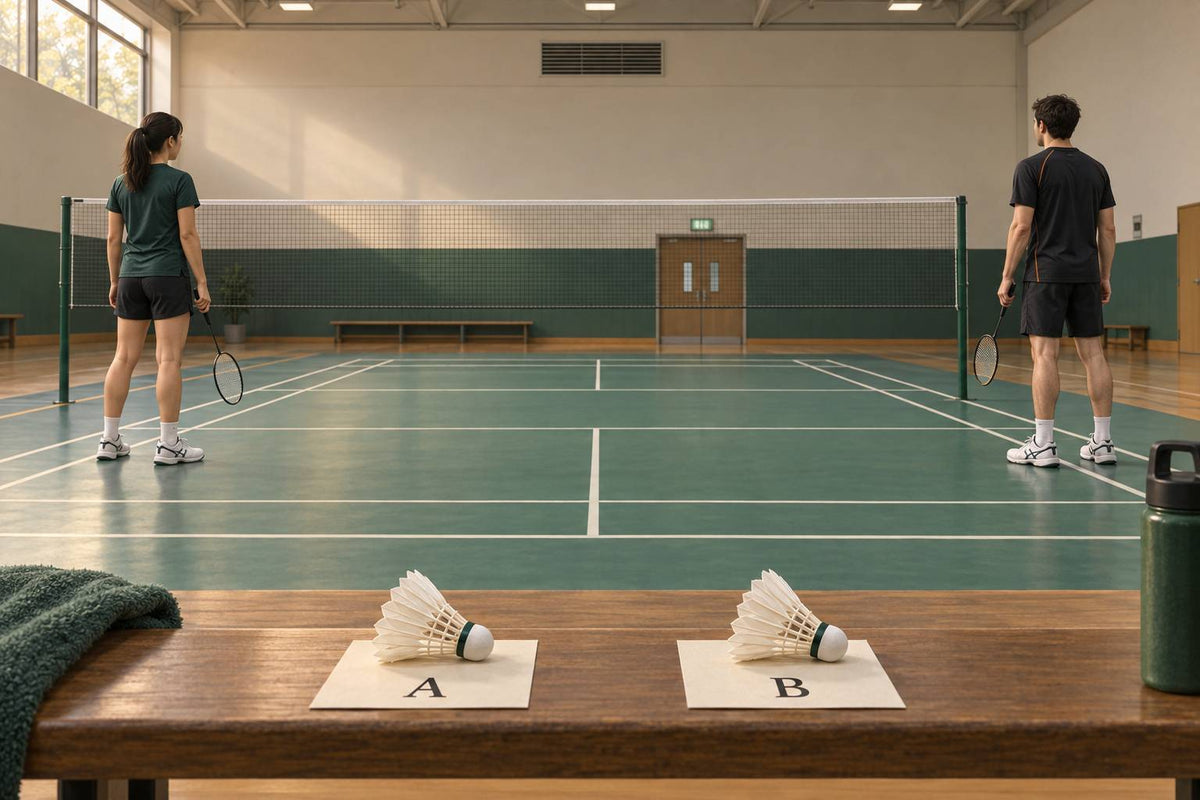
Badminton Shuttle Drift: Check Airflow, Shuttle, or Contact
Use a two-player, two-shuttle check to find whether indoor shuttle drift follows the hall, one shuttle, or one player’s contact.
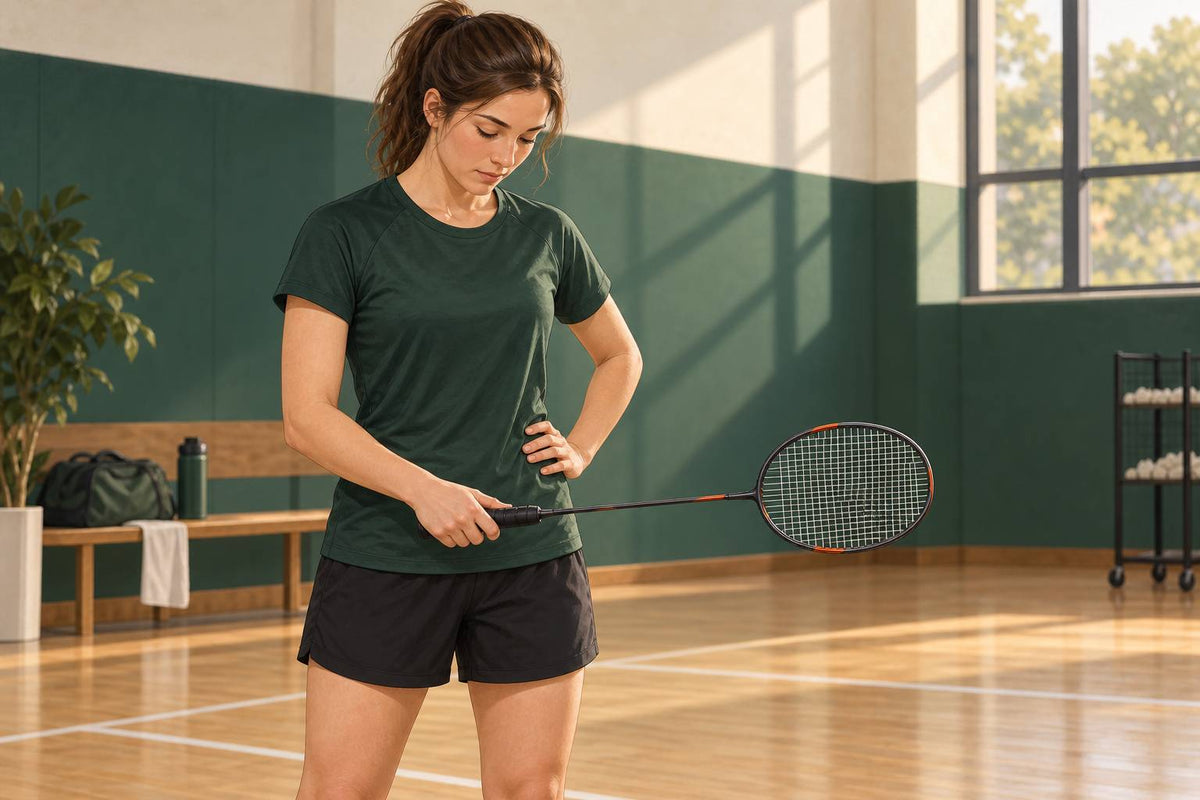
Badminton Grip Change Drill: Roll Forehand to Backhand
Use one four-step badminton grip change drill to practise forehand-to-backhand changes before the racket reaches the shuttle.
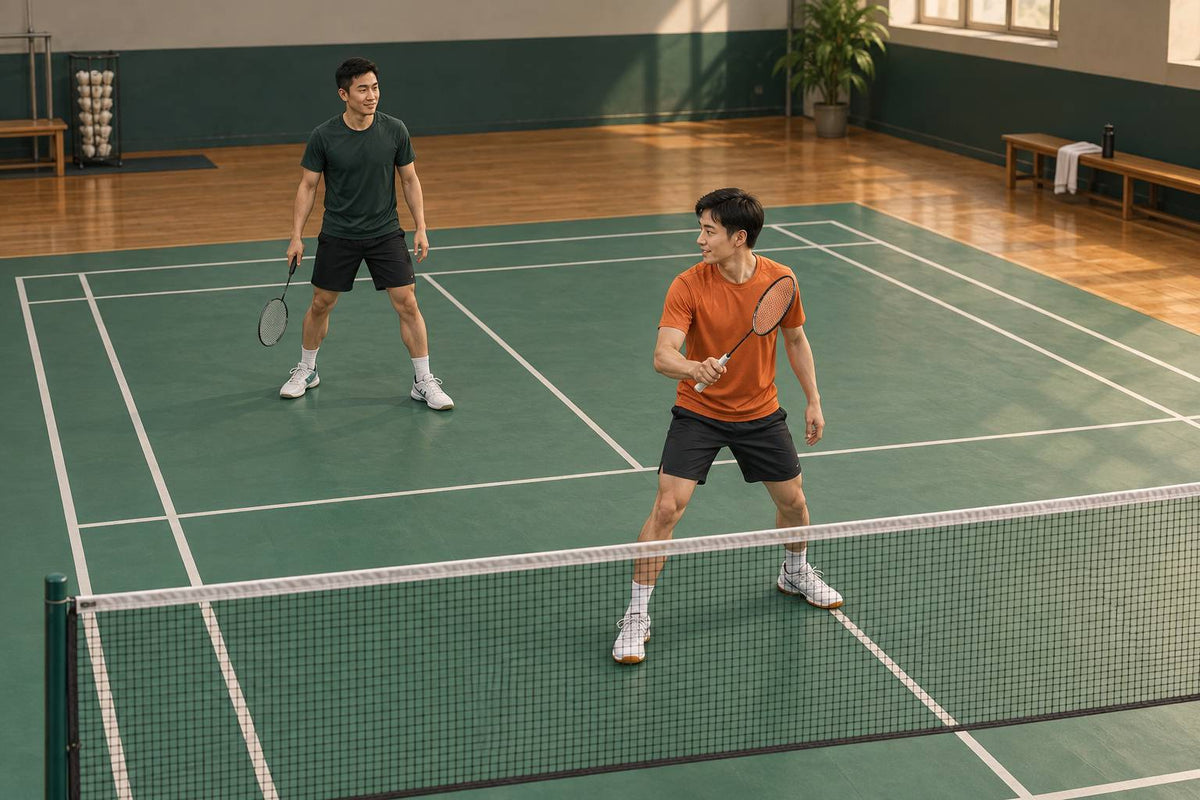
Badminton Doubles Racket Clash: Why It Happens and How to Stop
Reduce badminton doubles racket clashes by fixing swing space, zone ownership, racket height, and early calling habits.
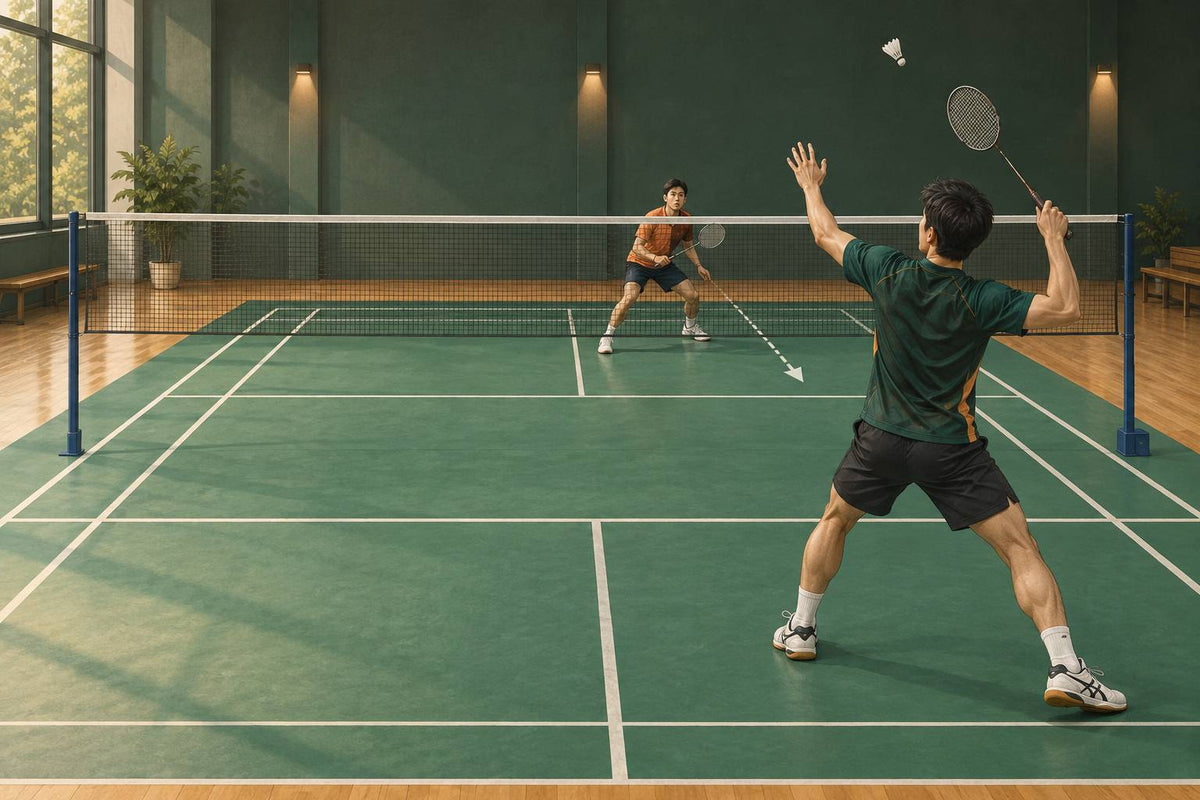
Cross-Court Smash Badminton: When It Wins and When It Loses
Learn when a cross-court smash creates pressure, when it exposes the straight block, and how to recover after playing it.
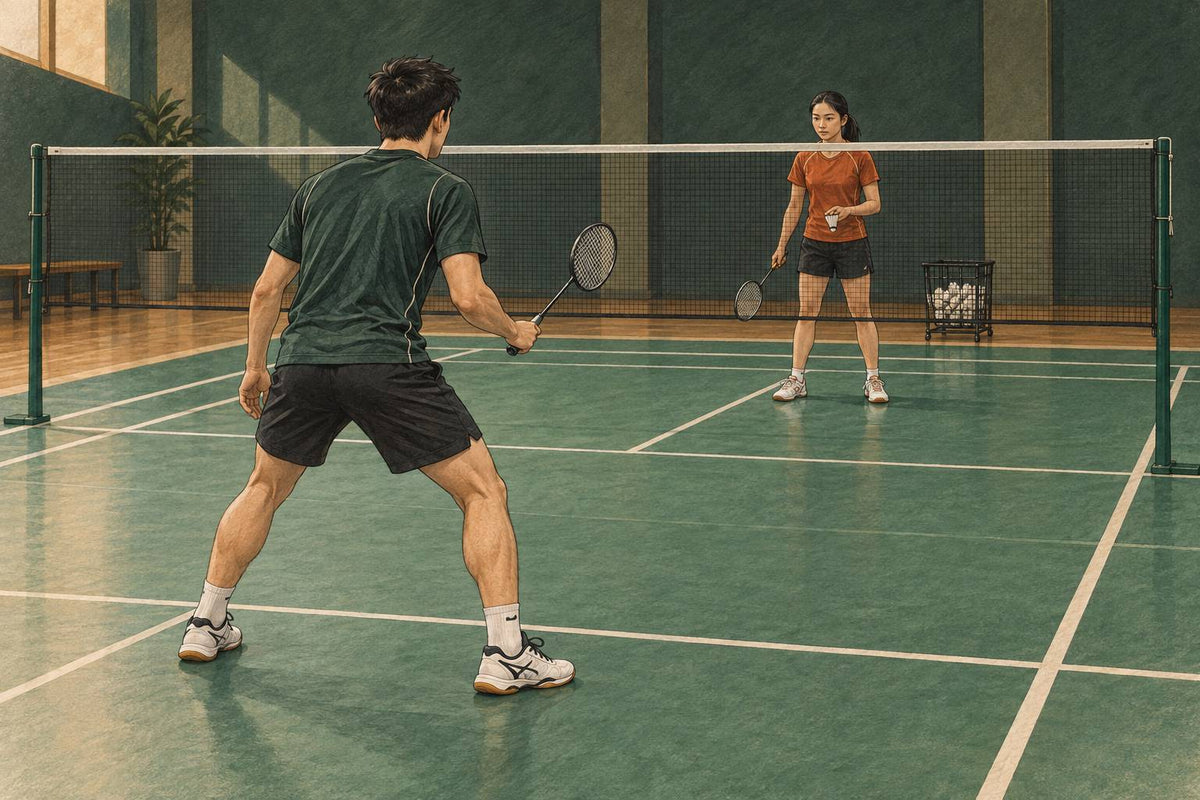
Continuous Smash Defence Drill: Survive 30 Shuttles
Build repeatable smash defence with a compact preparation, 10-to-30-shuttle blocks, and a simple score that exposes when your racket is late.
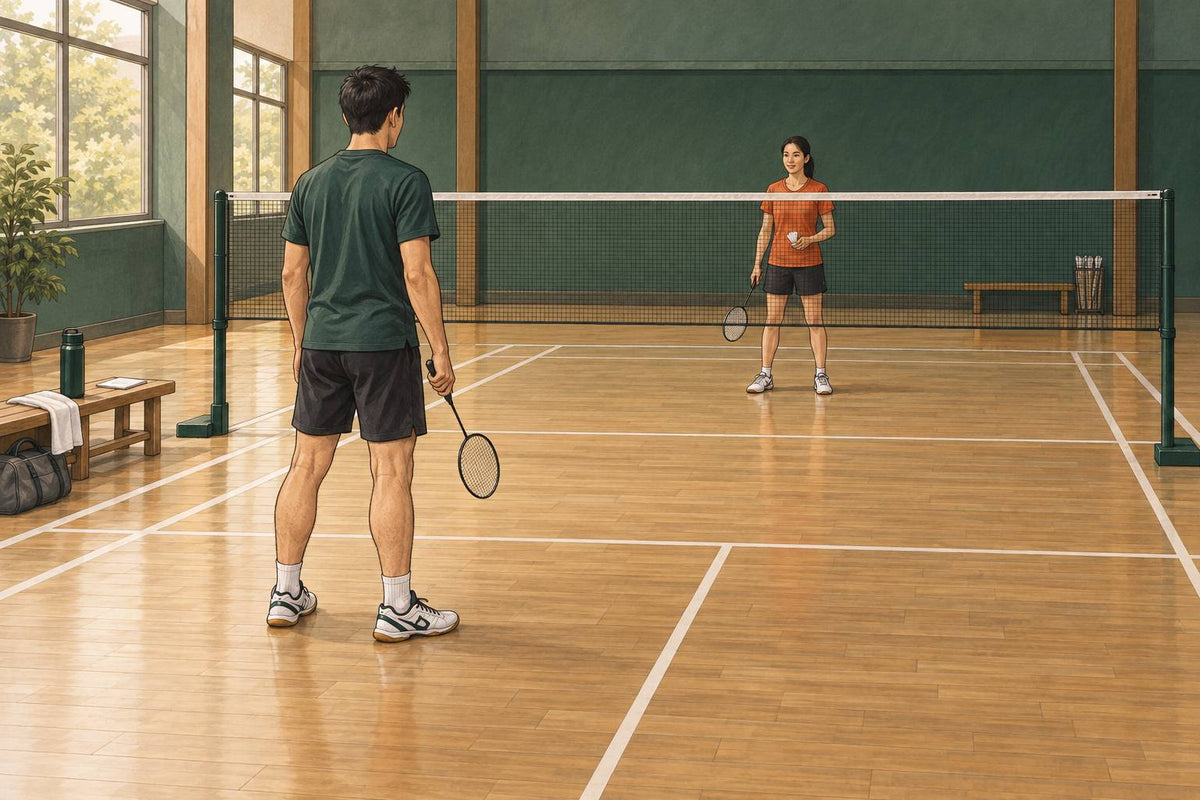
Badminton Pattern Practice: Five Fixed Rally Sequences
Use five cooperative badminton patterns to rehearse shot, movement and recovery links, then progress each sequence toward genuine rally choice.