
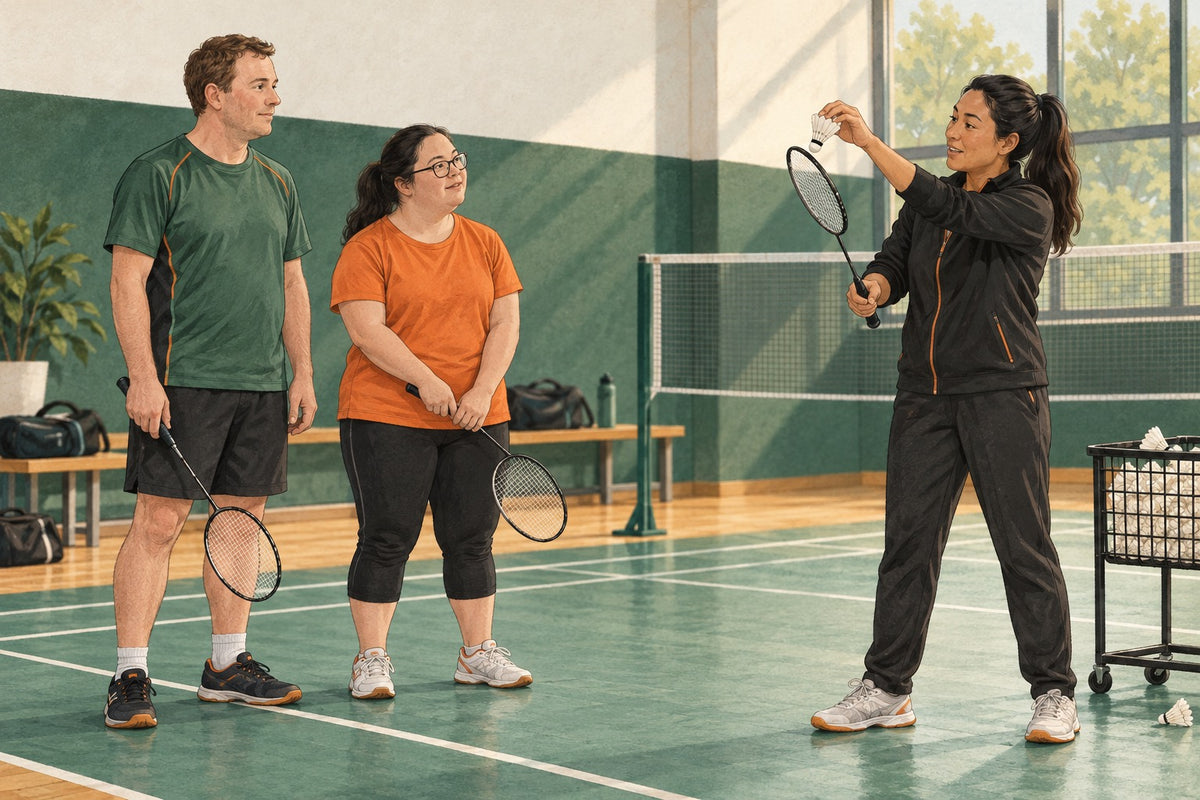
Special Olympics Badminton: Divisioning and Unified Doubles
Understand Special Olympics badminton divisioning, the available events, competitive Unified doubles, and a practical non-official starter session for clubs.
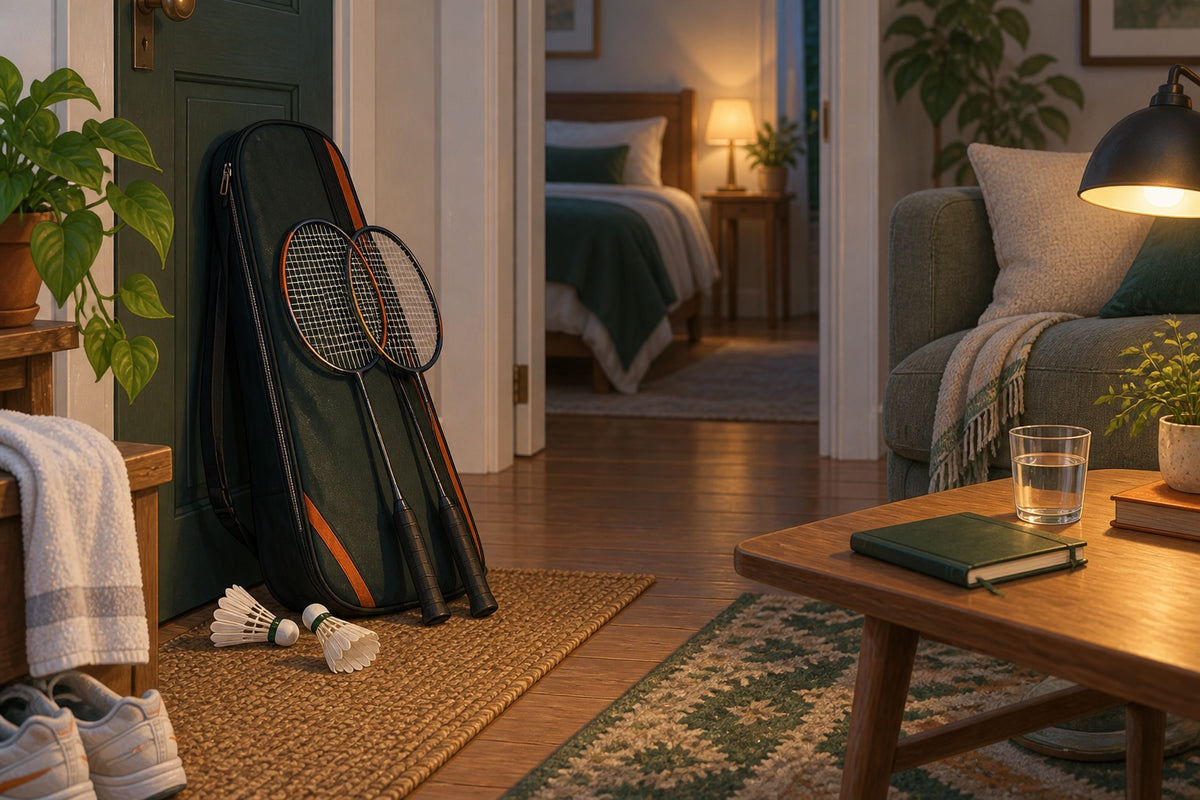
Sleep After Evening Badminton: How to Wind Down Faster
Late badminton does not automatically ruin sleep. Use an evidence-informed 60-minute wind-down, make caffeine a deliberate trade-off and put next-morning safety first.
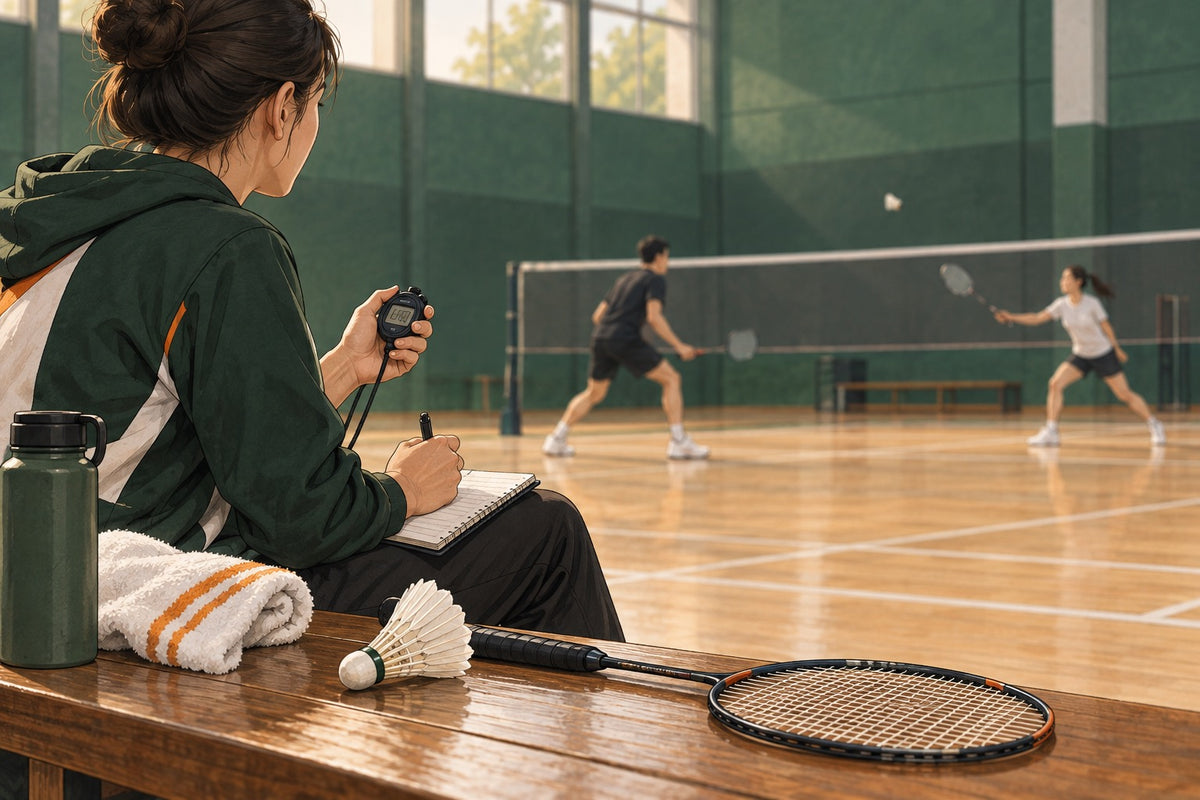
How Long Is a Badminton Rally? Build Your Intervals From It
Recent five-event evidence puts event-average badminton rallies at roughly five to ten seconds, but event and level matter; learn to turn your own range into intervals.

Badminton Shadow Swing: 100 Swings and the Towel Drill
Use shadow swings to inspect one visible overhead checkpoint, not to chase 100 repetitions or imitate an unsupported forehand towel drill.

Badminton Adjustment Step: Recover After the Lunge
Learn the badminton adjustment step as a post-lunge bridge, then choose the BWF recovery for a defensive lift or an early net shot.
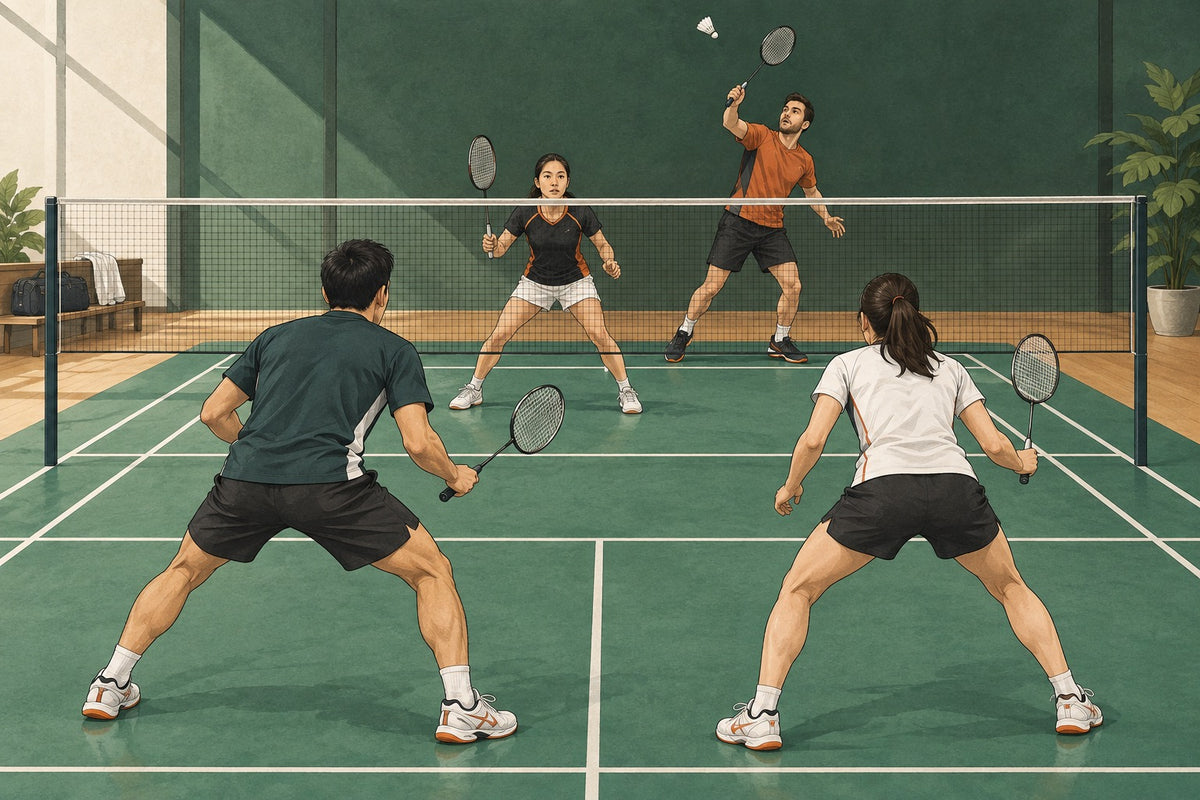
Targeted in Badminton Doubles? A Pair Response Plan
Use a pair response plan when opponents repeatedly route play toward one doubles player: verify the pattern, restore shape, and choose one exit.
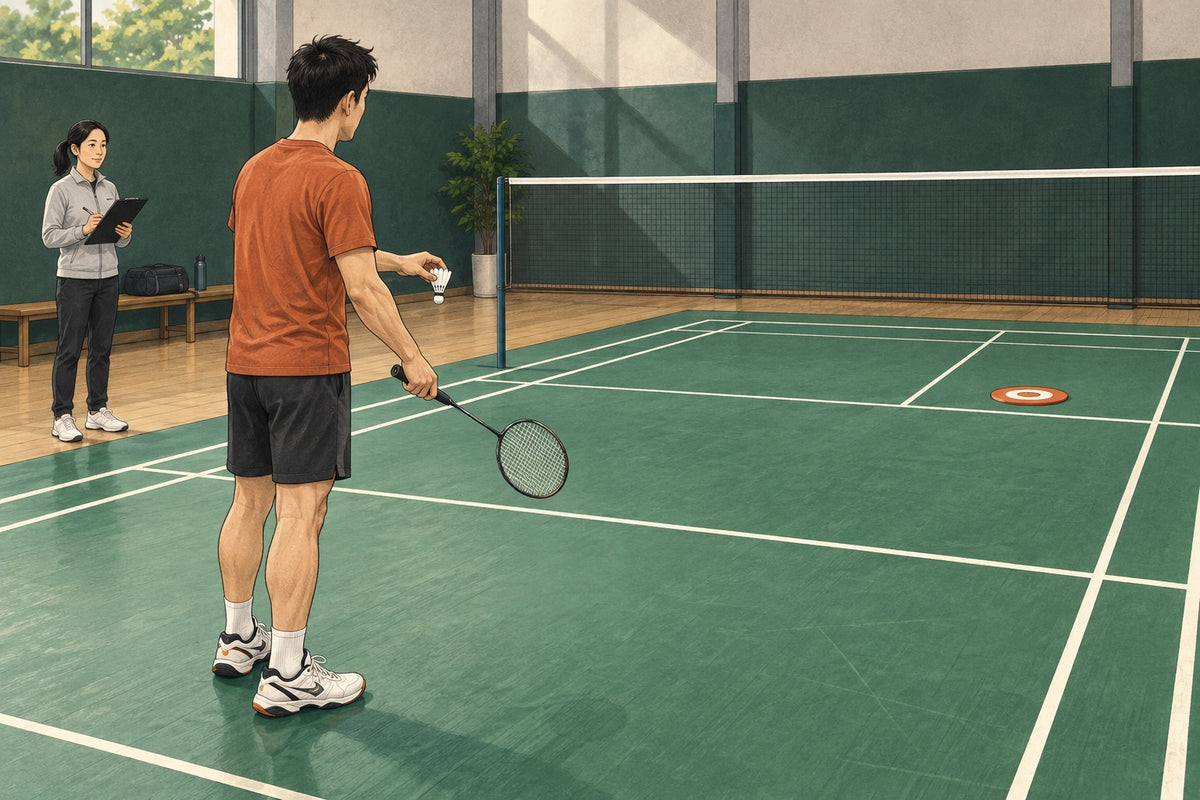
Badminton Serve Practice: A Repeatable Scored Routine
Use one repeatable short-serve scorecard to separate legal delivery, target accuracy, and flight quality before choosing what to practise next.
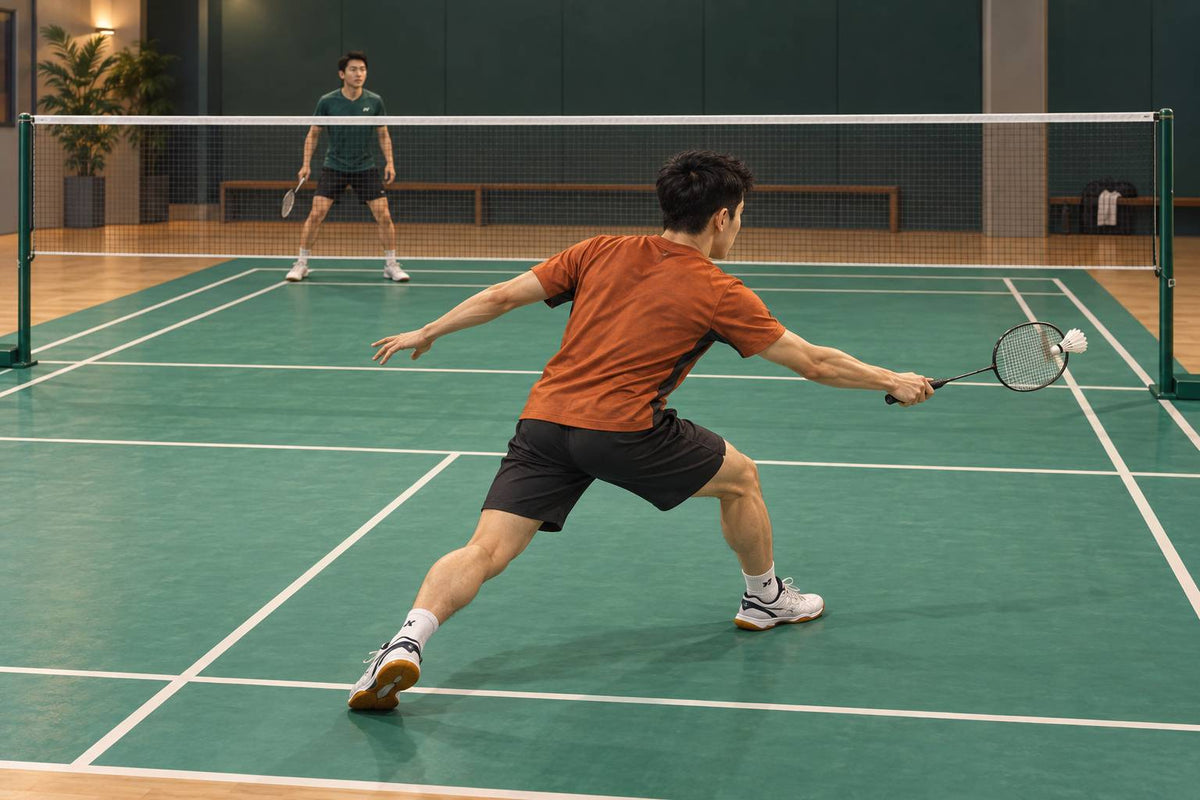
Badminton Mid-Court Footwork for Wide Smash Defence
A practical split, lateral-travel, lunge, block and recovery sequence for defending wide smashes in singles and reconnecting a doubles pair.
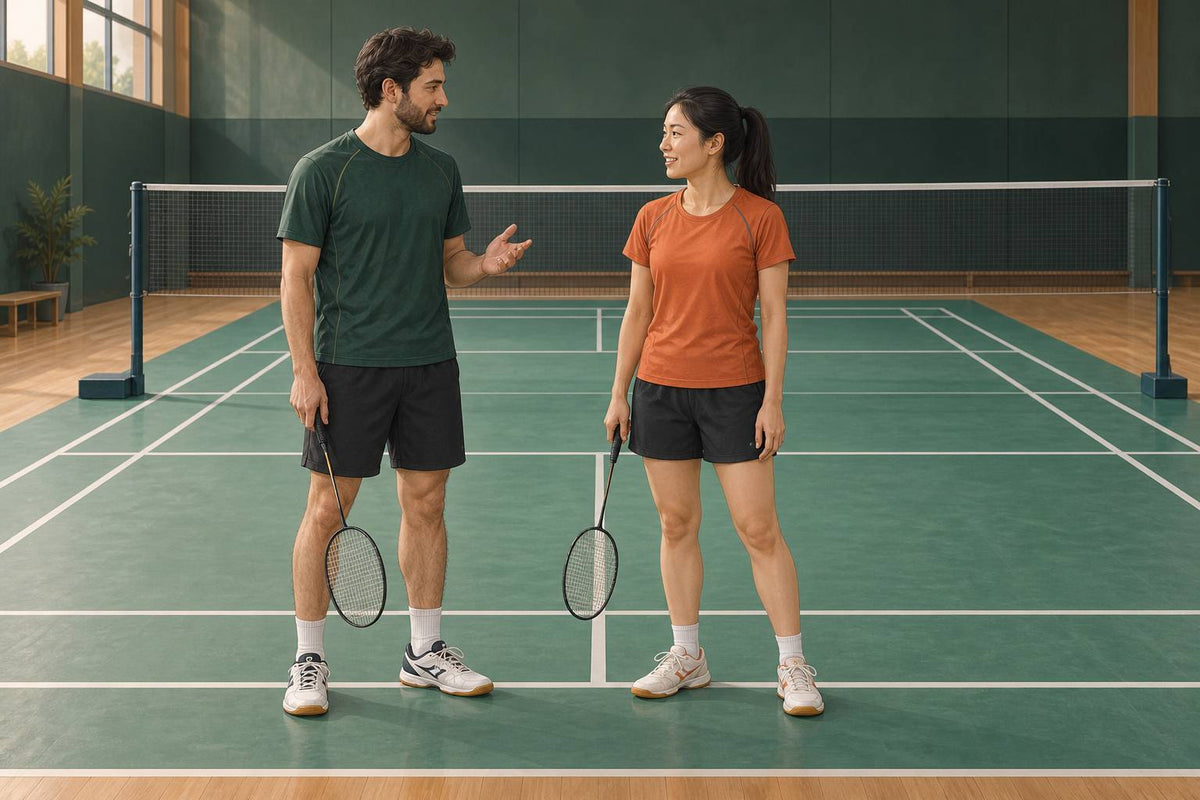
Badminton Doubles With a Weaker Partner: Play the Mismatch
A five-step doubles workflow for naming one current mismatch, assigning temporary roles, connecting the next shot and changing formation without hiding a partner.
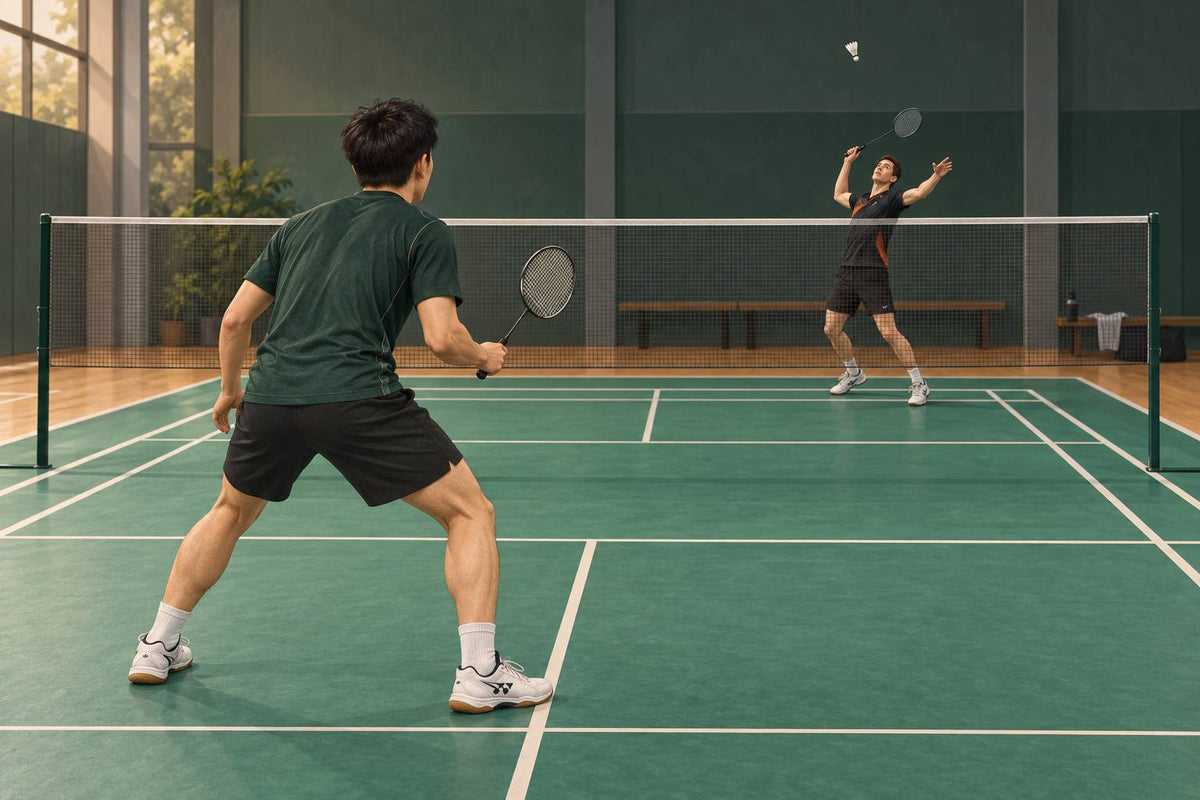
How to Read Deception in Badminton and Stop Guessing
A practical cue order, split-step timing, two partner drills, and a review loop for responding to deceptive badminton shots without relying on guesses.
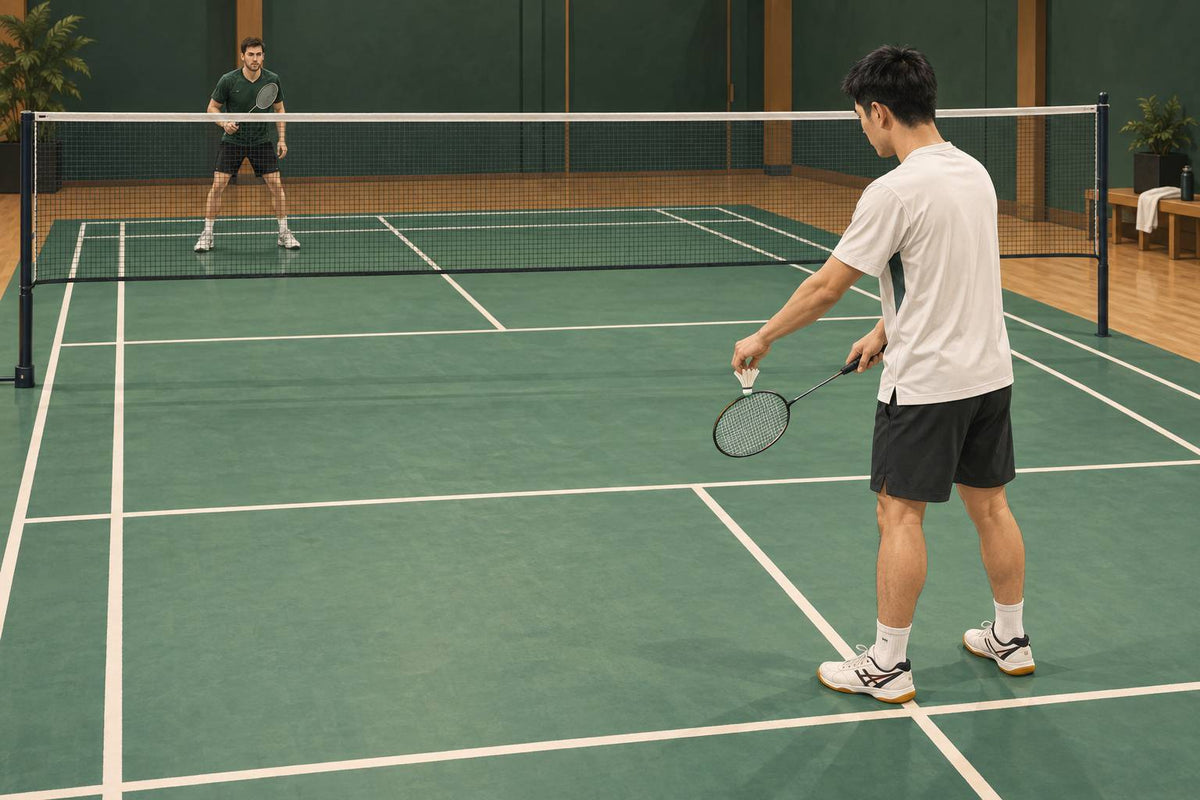
The Badminton Drive Serve: When a Flat, Fast Serve Wins
A practical guide to the drive serve: current-law checks, tactical reads, target choices, receiver counters, and a practice test for server and receiver.
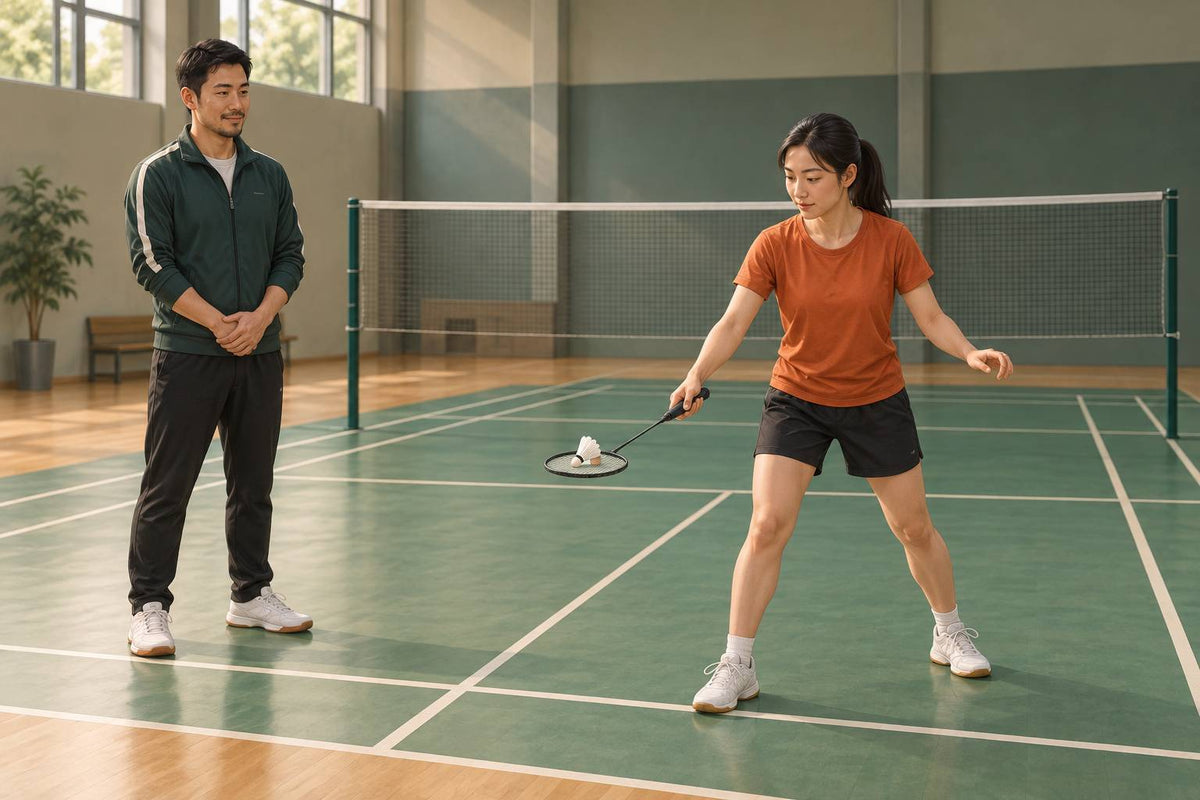
What to Learn First in Badminton: A Skill Order That Works
A flexible seven-step path for learning badminton, with movement built into every stage and readiness checks instead of a fixed calendar.