
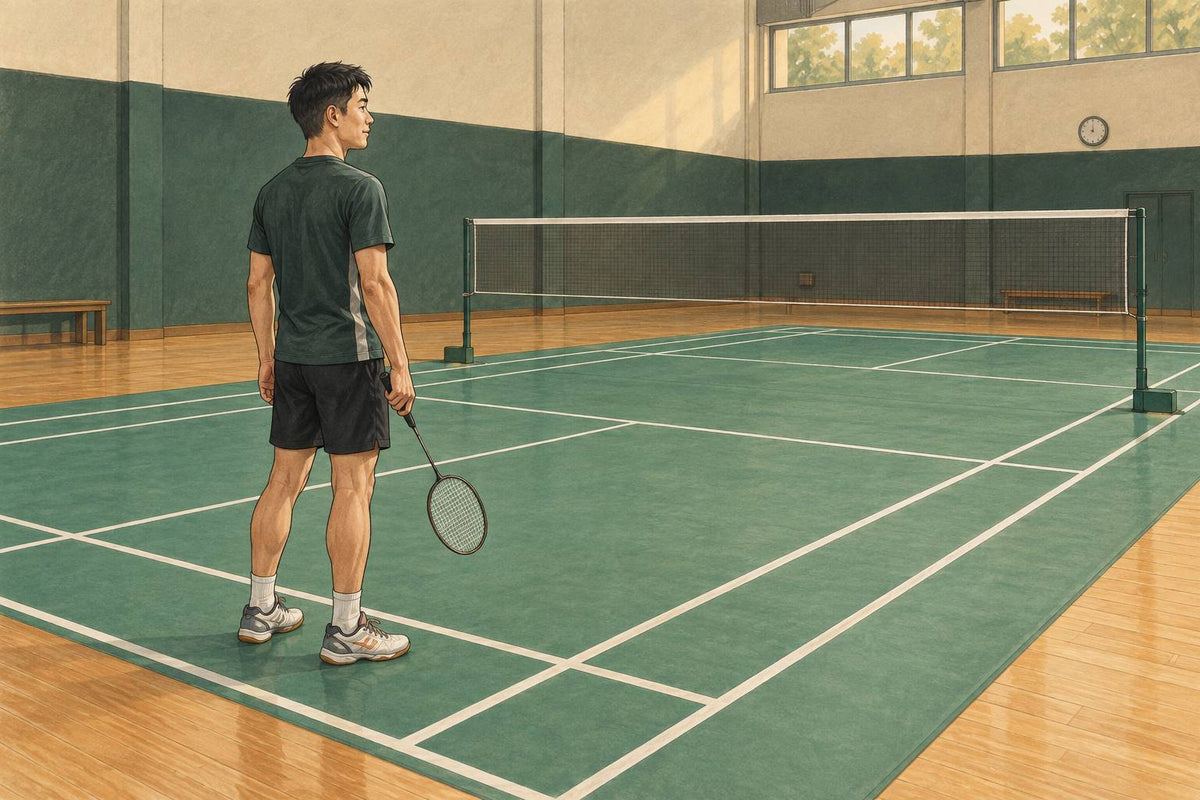
Breathing in Badminton: A Practical Rally and Recovery Rhythm
Use regular breathing in badminton to notice accidental breath-holding, reset between rallies and practise without chasing a perfect rhythm.
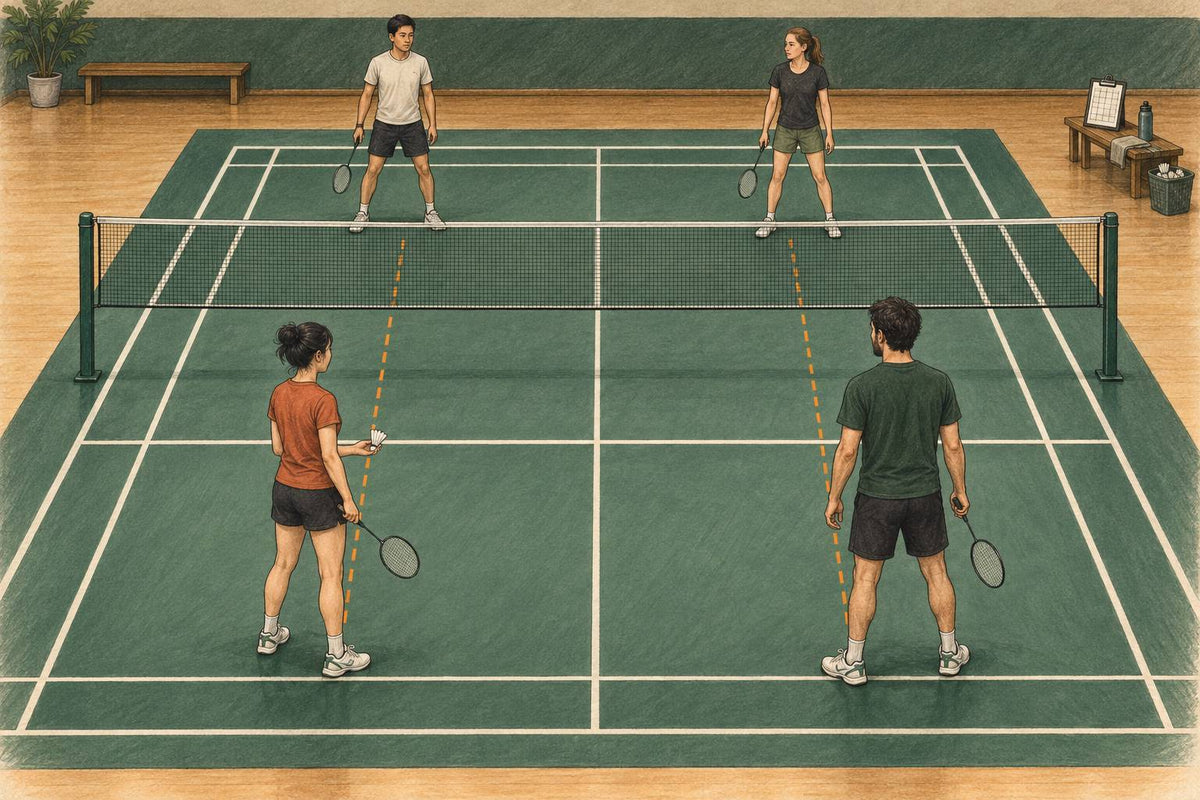
Four Player Badminton Game: Lives, One Shuttle, Own Half Court
Run a four-player badminton game with five lives, one shuttle, and a dead-ground rule that keeps every player involved.
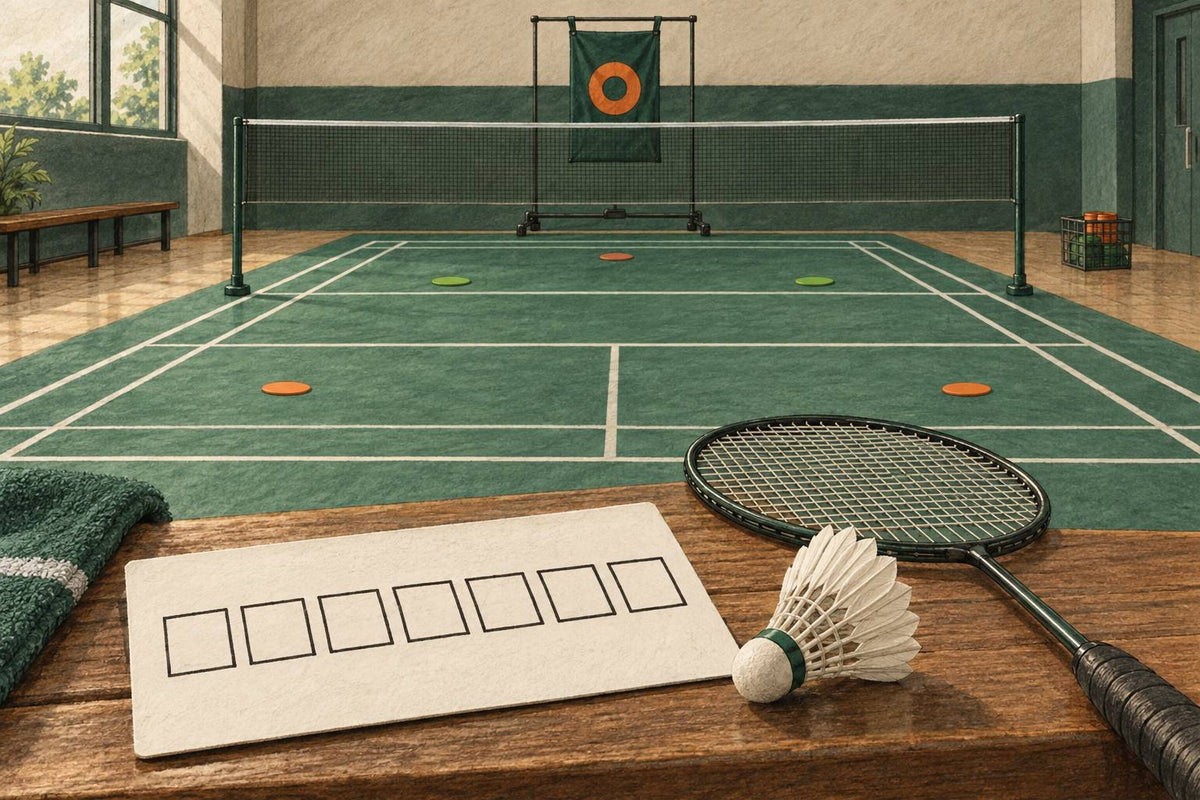
Badminton Zone Game: Capture Court Areas, Not Points
Run the Badminton House seven-zone capture game to reveal which court areas you use, avoid, and need to practise.
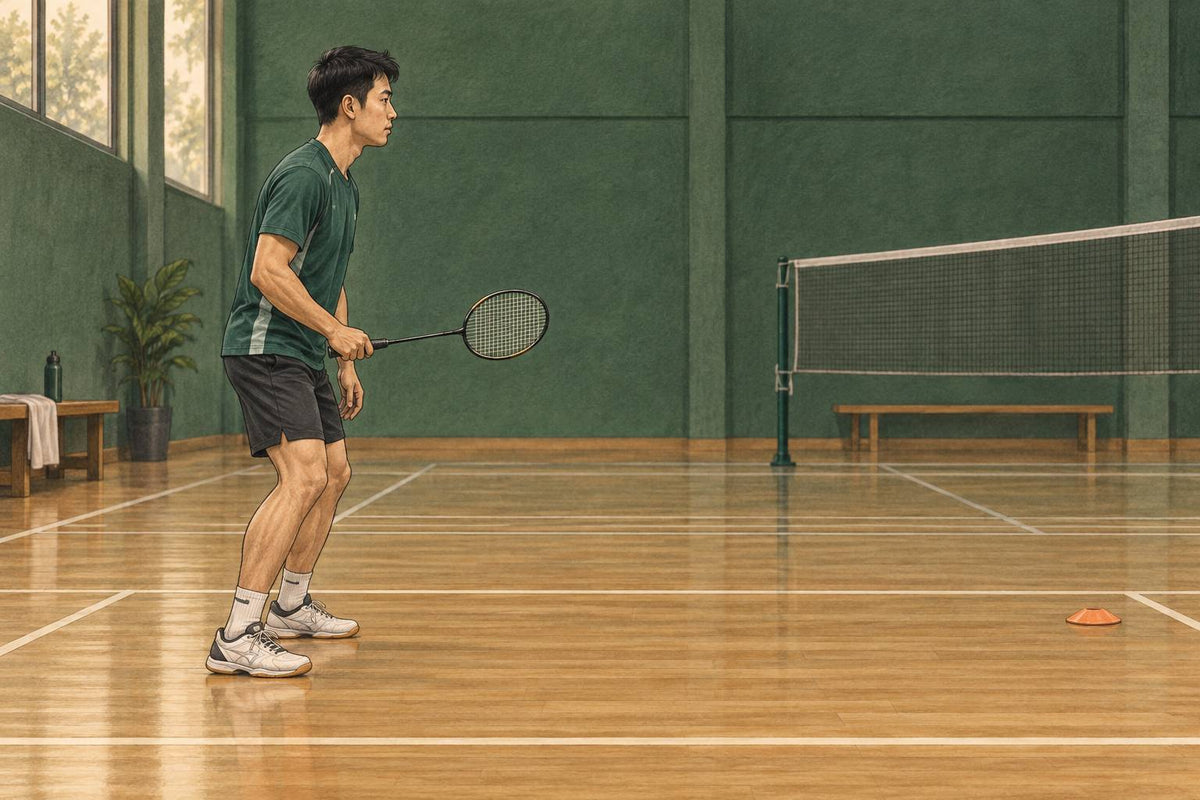
Badminton Centre of Gravity: Lean Before You Step
Understand centre of gravity as a practical badminton movement idea, spot heel-loaded starts and try three controlled weight-shift drills.
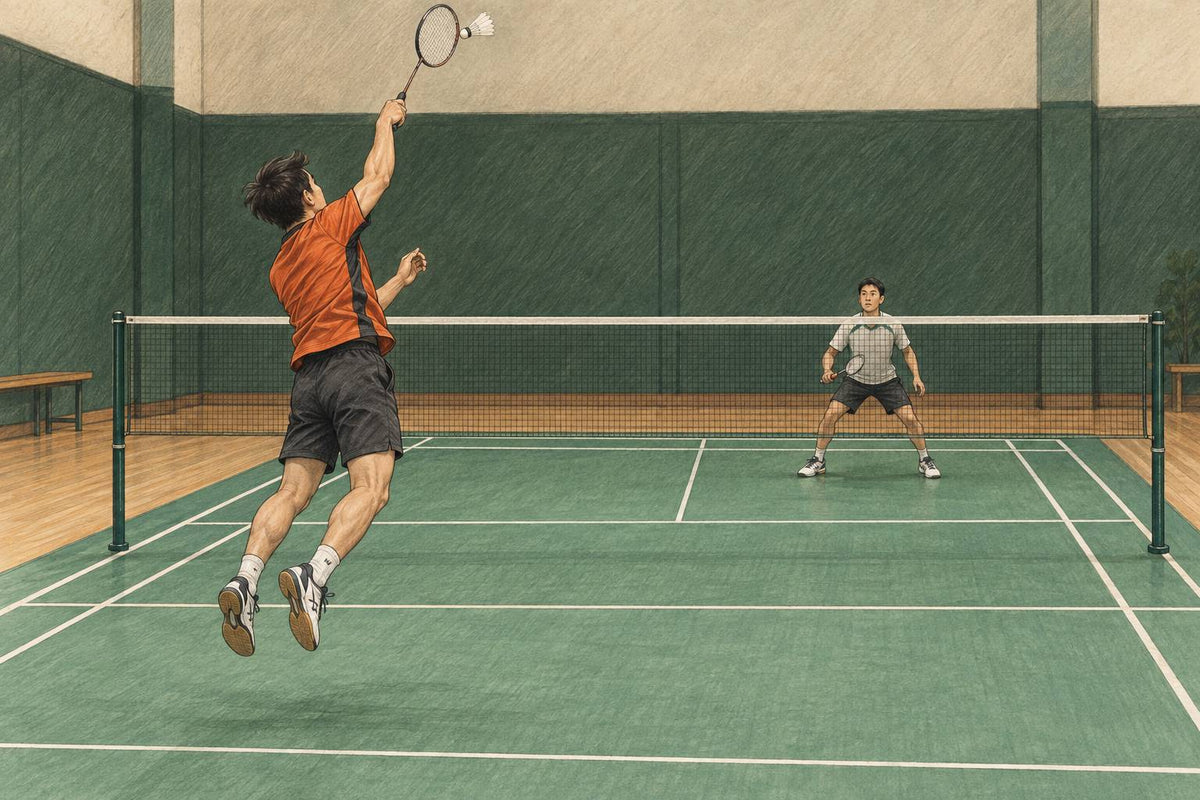
When to Jump Smash in Badminton: 5 Readiness Checks
Use five practical checks to decide whether the rally, contact point, rear-court position, landing control, and current symptoms support a jump smash.
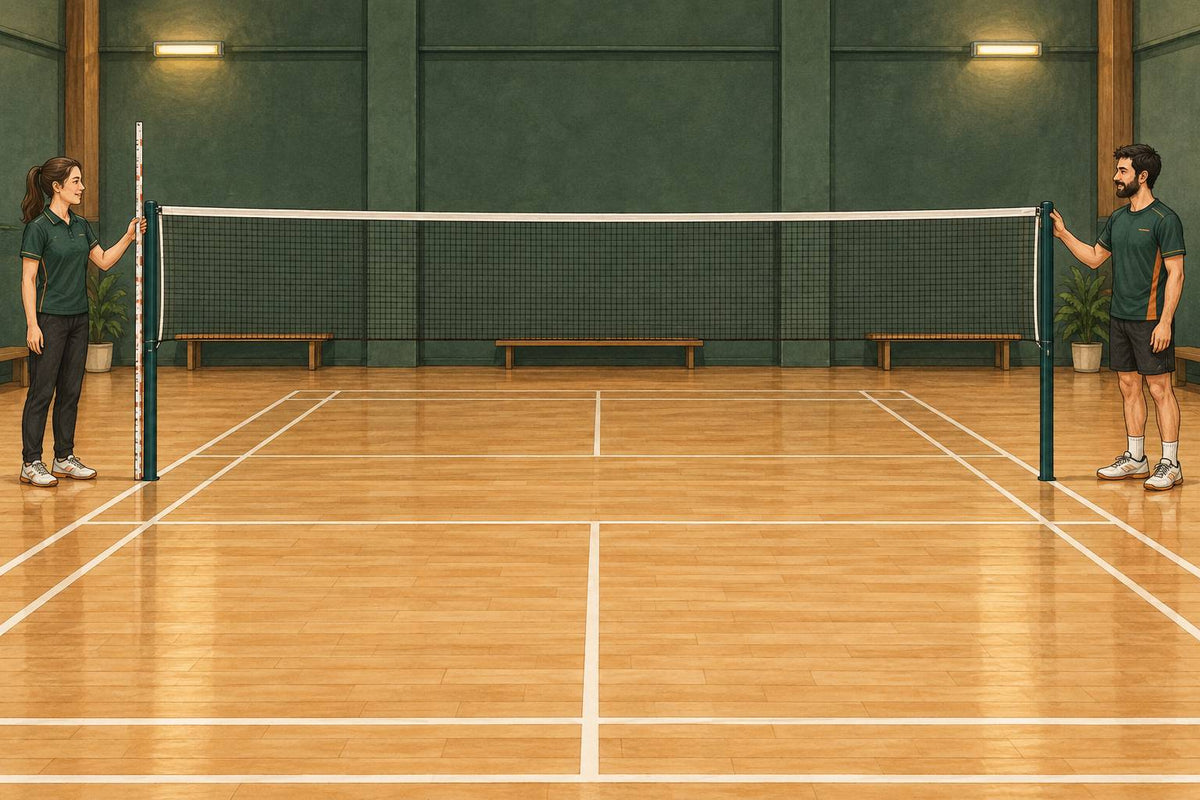
How to Set Up a Badminton Net and Check It Is Legal
Use a practical two-person sequence to hang, tension, measure, and inspect an indoor badminton net against current legal dimensions.
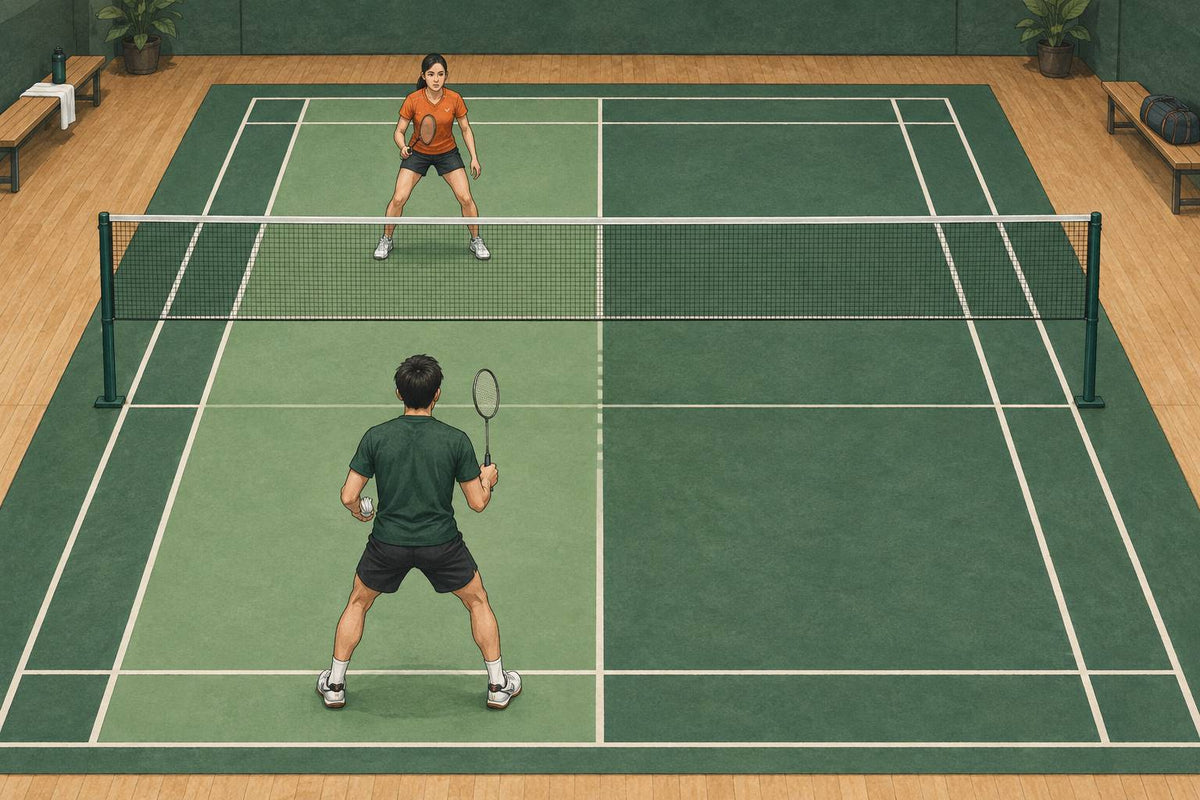
Half-Court Drive Drill: A Four-Stage Speed Ladder
Run a two-player half-court drive drill through four clear stages, with pass criteria, regressions, and a simple practice record.
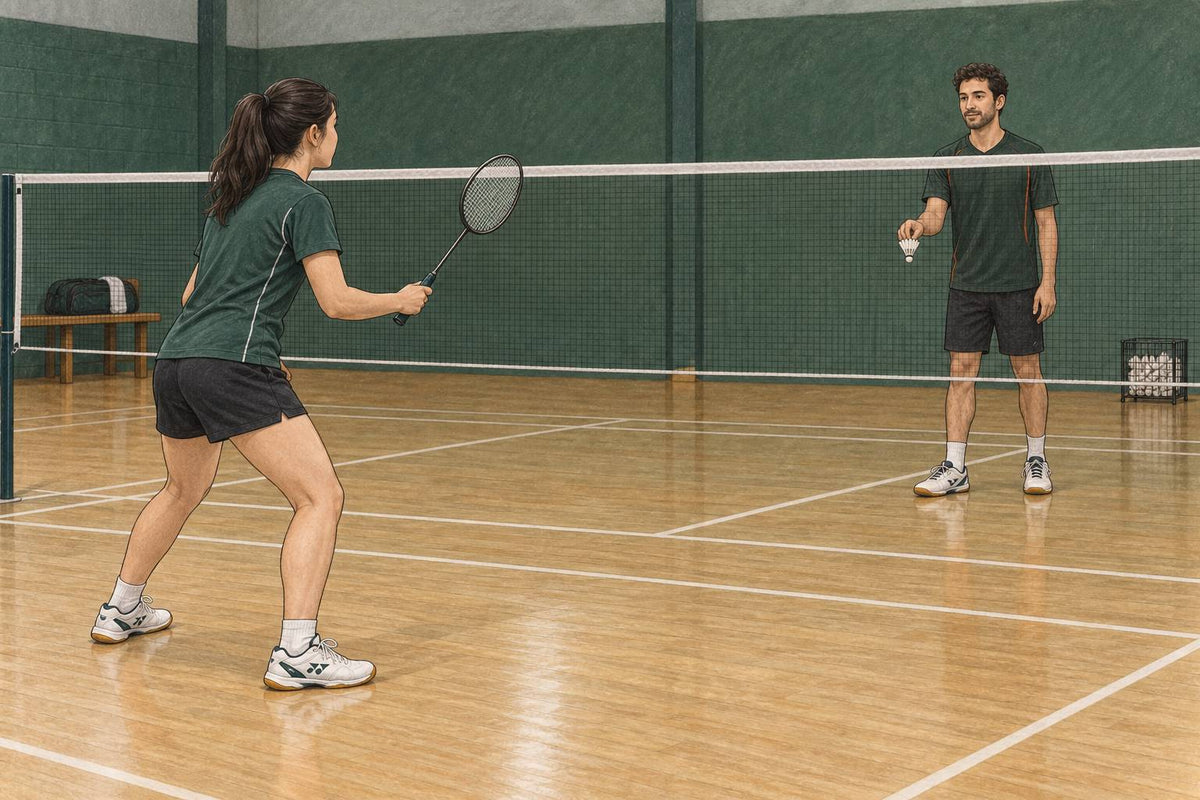
The 4-Step Badminton Net Shot Drill Progression
Build a basic net shot through four BWF Shuttle Time movement rungs, then graduate predictable feeding to varied net play.
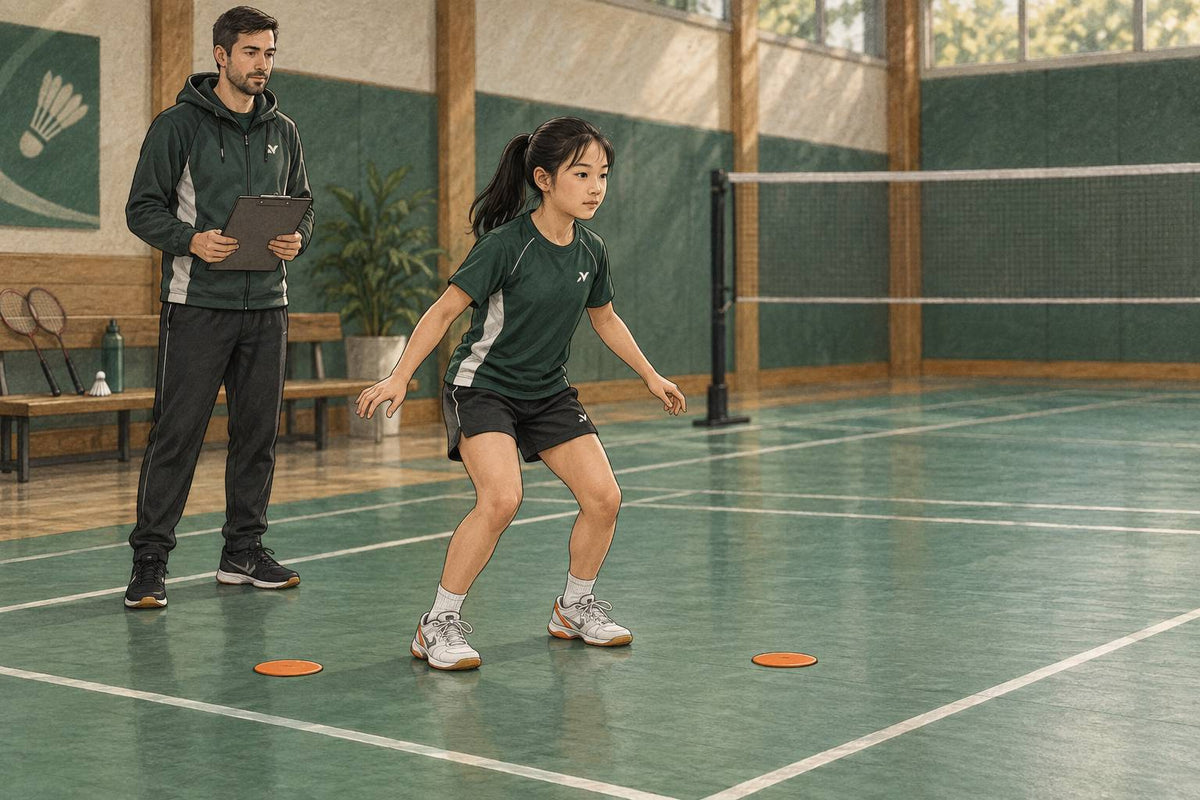
Badminton Movement Skills: Five Qualities Behind Footwork
Audit five broad movement qualities before prescribing more badminton footwork, then route the observed problem to a useful next task.
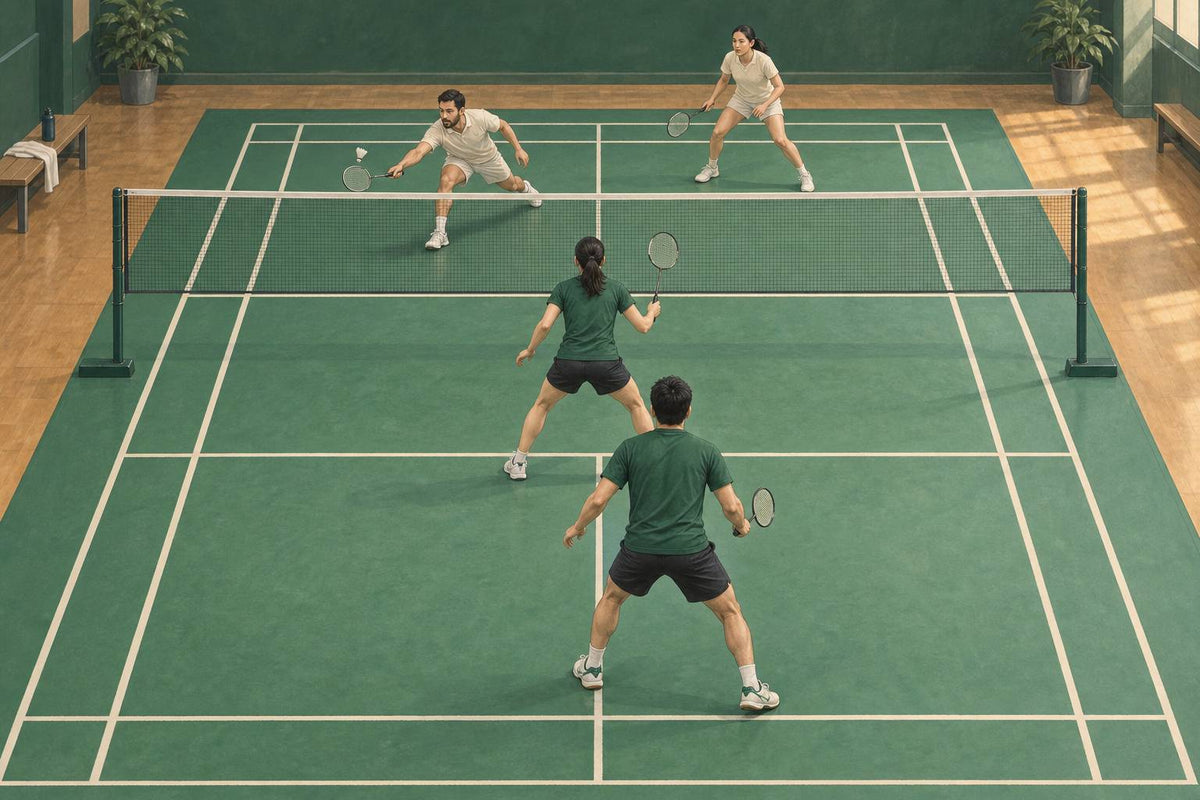
Badminton Doubles Double-Front Pressure: Triggers and Recovery
Learn when both doubles partners can pressure the net briefly, who takes each reply, and how one player recovers when the counter goes over the top.
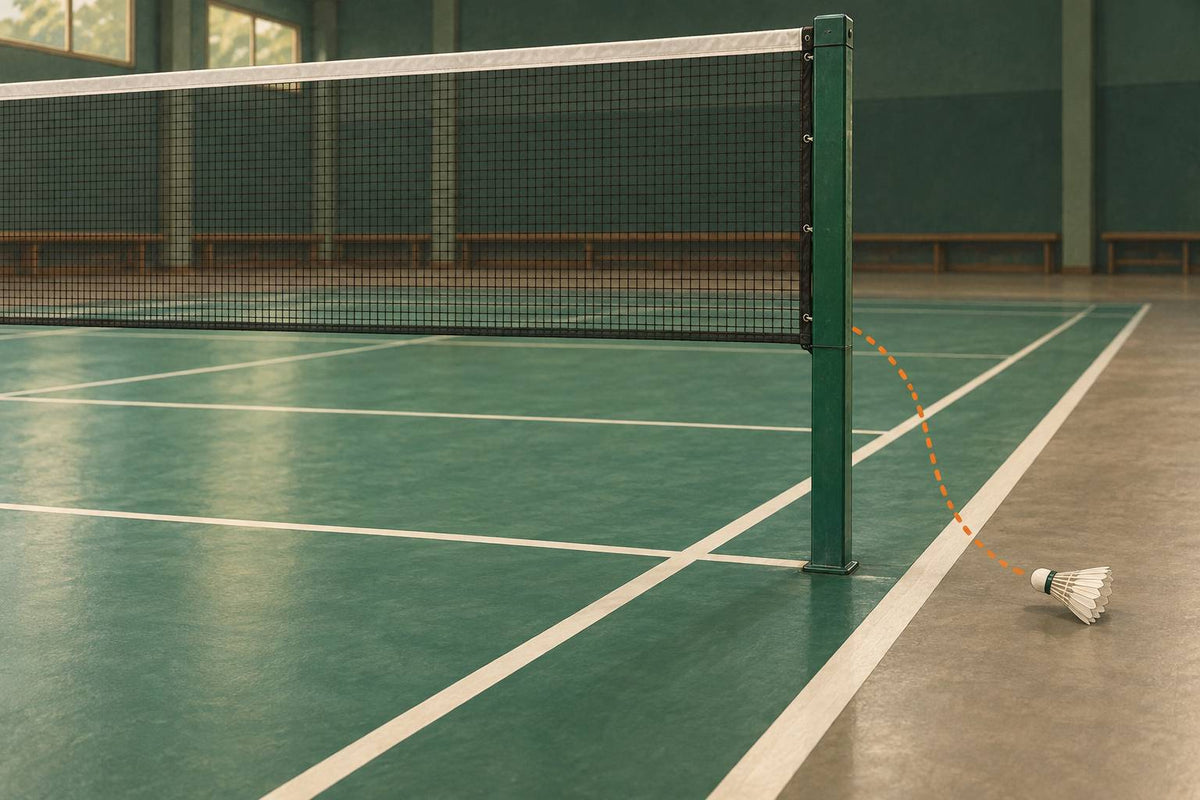
Can a Badminton Shuttle Go Around the Net Post? Rule Explained
The current BWF Laws require the shuttle to pass over the net. Here is why an around-post path is a fault, plus the legal low-shot alternative.
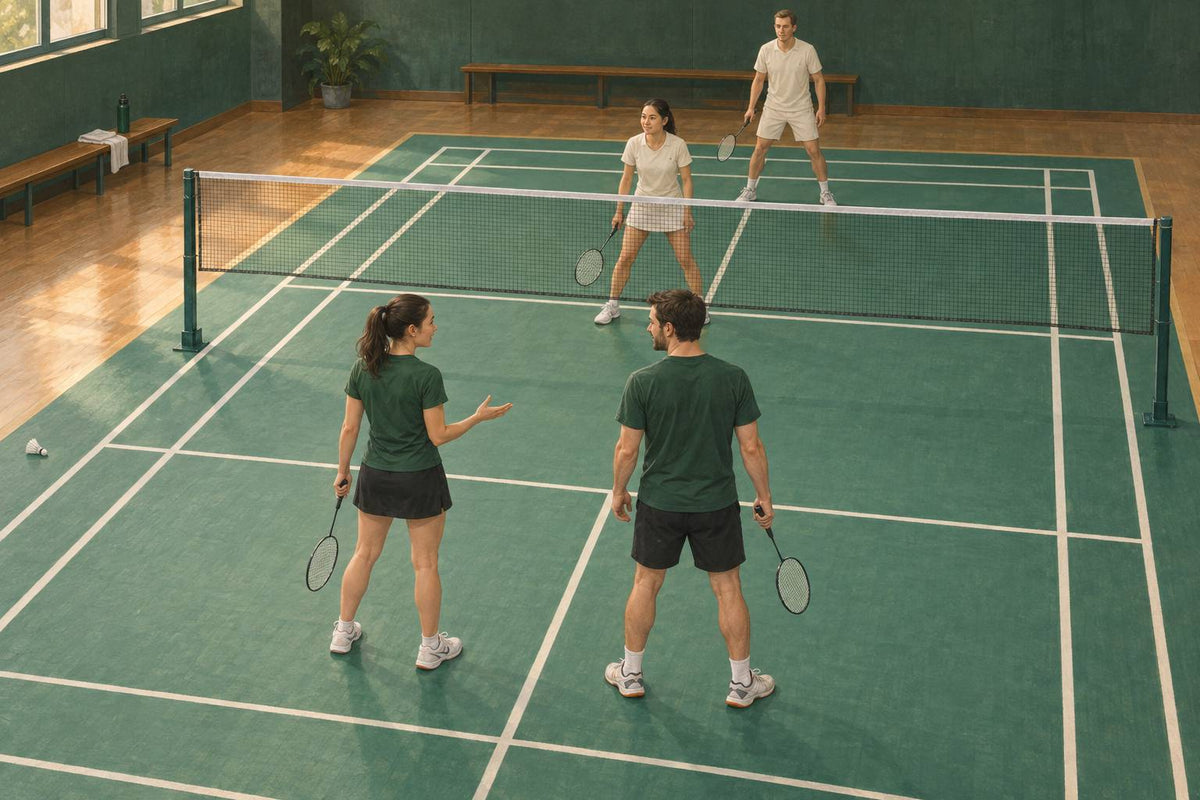
How to Teach Badminton Doubles With Four Simple Games
Run four simple badminton doubles games that teach defence, attack, serve-return responsibility, and transition through constrained play.