Last updated: June 2026 · Written by the team at Badminton House
Quick Answer: How to Hit a Badminton Clear
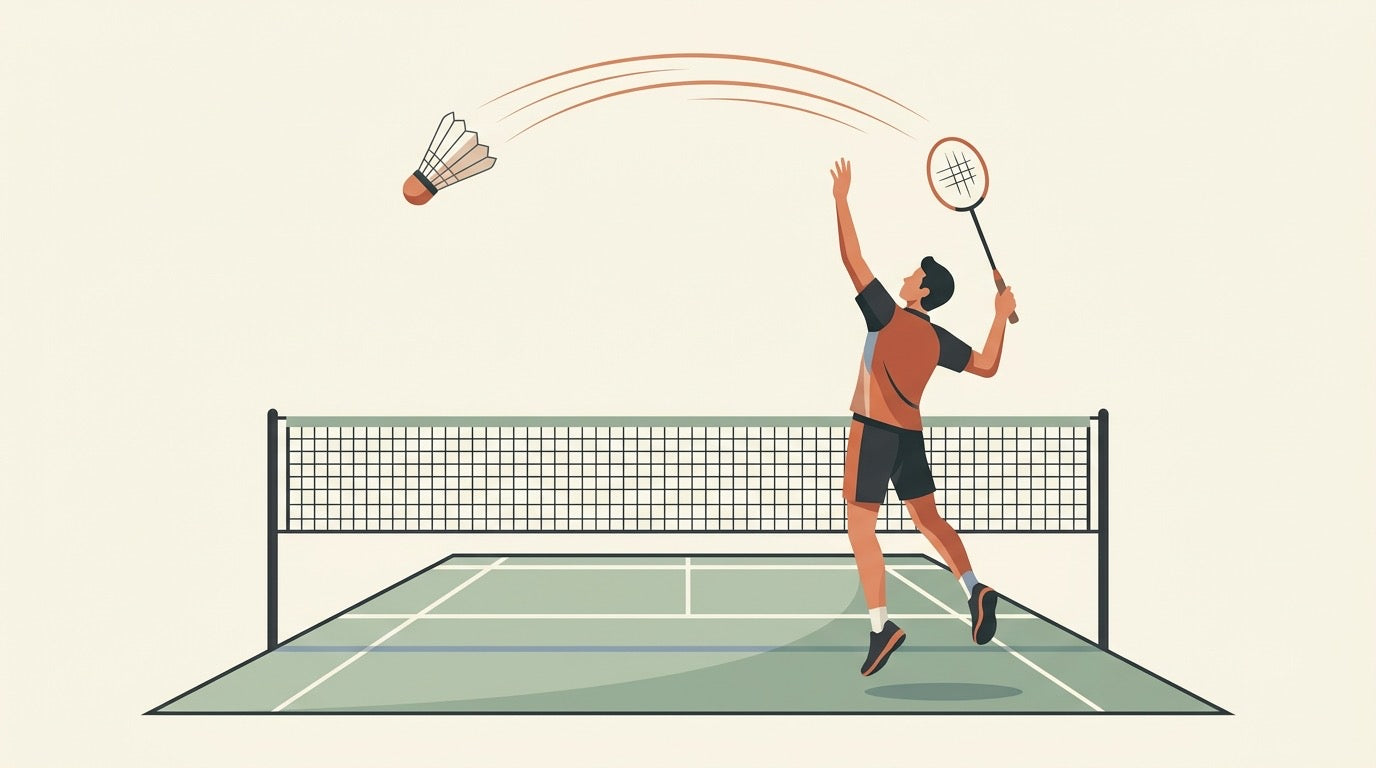
Start with a high, deep defensive clear: turn sideways, use a loose forehand grip lower on the handle, contact the shuttle high, and throw through it with your full body instead of your arm alone.
Default
Best choice: hit a defensive clear high and deep toward the back line when you need time to recover to the centre of the court.
Attack
Use an attacking clear when you can take the shuttle early: it flies flatter and faster, just over your opponent’s reach, to push them backward and rush the reply.
Fix
If your clear falls short, check the usual causes first: arm-only swing, late contact, feet facing the net, or gripping too high on the handle.
If your badminton clear keeps landing mid-court, the problem usually is not that you are weak. It is more often timing, body position, grip pressure, and whether your legs, hips, shoulder, forearm, and wrist are working together instead of your arm trying to do everything.
A good overhead clear sends the shuttle high and deep toward the back of your opponent’s court. It can buy you recovery time, push an opponent away from the net, and set up the same overhead preparation you will later use for drops and smashes. That is why learning how to hit a badminton clear is one of the best technique upgrades for Canadian beginners and club players.
This guide focuses on the forehand overhead clear: what the shot is supposed to do, how defensive and attacking clears differ, and why clean power comes from a relaxed throwing action rather than muscling the shuttle.
Technique first, racket second. Once your clear mechanics are sound, you can compare weight, balance, and flex in our badminton rackets collection to find a frame that fits your swing.
In This Guide
- What a Badminton Clear Is Supposed to Do
- Defensive Clear vs Attacking Clear
- Start With the Right Stance and Grip
- Why Power Comes From the Kinetic Chain, Not Your Arm
- Contact Point, Pronation and Follow-Through
- Why Your Clear Falls Short
- Gear Helps Only After Technique Is Sound
- Which Clear Should You Choose?
What a Badminton Clear Is Supposed to Do
A badminton clear is a common overhead stroke that sends the shuttle high and deep toward the back of your opponent’s court, ideally close to the end line. If you are learning how to hit a badminton clear, start with this simple goal: make the shuttle travel far enough that your opponent has to move backward, while you get time to recover your position.
That recovery time is the main reason the clear matters so much in singles, doubles, lessons, and club nights across Canada. When you are late, off balance, or under pressure, a deep clear can reset the rally by pushing your opponent away from the net and giving you a chance to return toward the centre of the court.
Think of the clear as your overhead foundation. If your clear, smash, and drop shot all look similar at the start, your opponent has less time to guess what is coming.
A good clear is not just a “lob.” It is a length shot with purpose. You are either buying time, changing the rally’s tempo, or forcing your opponent to hit from the rear court instead of attacking comfortably from mid-court.
| What the clear should do | Why it helps |
|---|---|
| Travel high and deep | It sends the shuttle toward the opponent’s rear court, preferably near the end line. |
| Move your opponent back | It makes them hit from farther behind the court instead of stepping forward to attack. |
| Buy recovery time | A higher, deeper flight gives you time to move back toward the centre and prepare for the next shot. |
| Disguise your overhead game | Because the clear, smash, and drop use a similar overhead preparation, your opponent should not know the shot too early. |
Once you understand that purpose, the technique becomes easier to judge. A clear that only reaches mid-court is dangerous because it gives your opponent an attacking chance. A clear that reaches deep, with enough height for the situation, gives you breathing room and keeps the rally under control.
Defensive Clear vs Attacking Clear
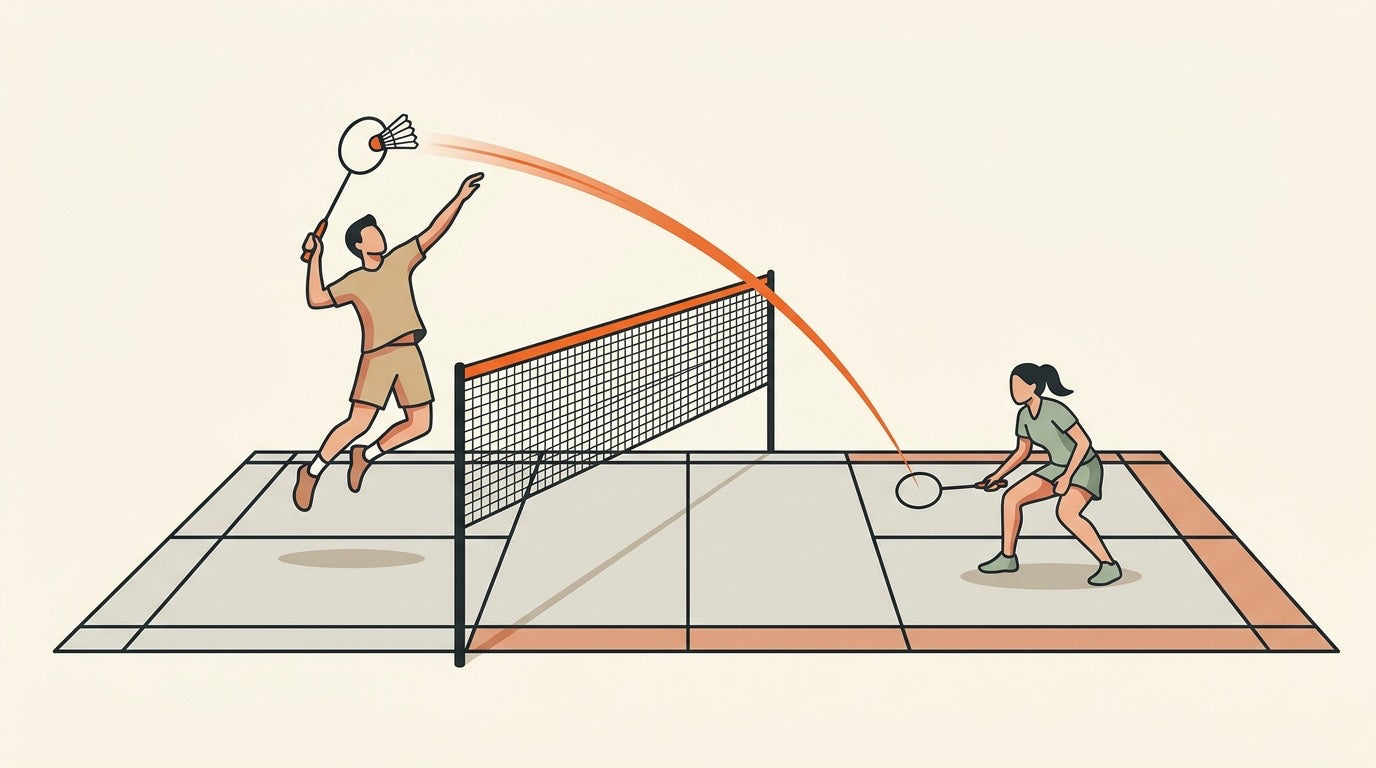
When players ask how to hit a badminton clear, they often picture one shot. In practice, there are two main clear shapes you need: the high defensive clear and the flatter attacking clear, also called a punch clear.
Both should send the shuttle deep toward the back of the opponent’s court. The difference is the flight path and the tactical purpose.
| Clear type | Flight path | Main purpose |
|---|---|---|
| Defensive clear | High, deep, and looping, landing close to the opponent’s back line. | Buys maximum recovery time so you can return toward the centre of the court. |
| Attacking clear / punch clear | Flatter and faster, travelling just over the opponent’s reach. | Pushes the opponent back quickly and can force a weaker reply. |
The defensive clear: height first, depth always
A defensive clear is your reset button. You hit the shuttle high enough that it travels in a looping arc, then drops close to the opponent’s back line. That extra height gives you time to recover your balance and move back toward a neutral court position.
Use this clear when you are late, stretched, or under pressure. The goal is not to rush the opponent; the goal is to make them take the shuttle from the rear court while you recover.
The attacking clear: flatter, faster, and more direct
An attacking clear, or punch clear, is still aimed deep, but it does not climb as high. It travels flatter and faster, just above the opponent’s reach, so they have less time to move back and set up comfortably.
To create that flatter trajectory, contact the shuttle slightly more in front of your body and send your momentum forward through the shot. It should feel like a fast length shot, not a smash with extra height.
Practice target: whether you are hitting defensive clears or punch clears, aim for the deep corners from tramline to tramline. A clear that lands short gives the opponent time and space to attack.
A good player can hit both versions consistently. If every clear is high and slow, stronger opponents may wait underneath it. If every clear is flat, you may not get enough recovery time when you are under pressure. The skill is choosing the right clear for the rally situation.
For a wider view of how the clear fits with drops, drives, smashes, and net shots, see our badminton shot types guide.
Start With the Right Stance and Grip
Before you think about “hitting harder,” set your body up so the clear can feel like a throw. A good overhead clear starts with a sideways stance: feet about shoulder-width apart, body turned side-on to the net, non-racket shoulder facing forward, and non-racket foot forward. Your racket leg should carry most of your weight, with the knee slightly more bent so you are loaded to push and rotate into the shuttle.
Raise your non-racket hand toward the shuttle. This does two useful things: it helps you track the shuttle earlier, and it gives your upper body balance while your racket arm draws back. At the same time, prepare the racket high and early behind your shoulder. If your racket only goes back after the shuttle is already dropping, you will usually contact late and lose length.
Clear setup checklist
- Feet: about shoulder-width apart, not square and flat to the net.
- Body: turned sideways, with your non-racket shoulder and non-racket foot forward.
- Weight: mostly on the back/racket leg so you can push, rotate, and transfer forward.
- Non-racket hand: raised for balance and shuttle tracking.
- Racket preparation: drawn back high and early, ready for a throwing action.
Now fix the grip. Use a loose forehand grip, not a panhandle grip. When you look down at your racket hand, the thumb and index finger should form a relaxed “V” shape on the handle, with a little space between the index and middle finger. Hold farther down the handle rather than choking up high; the lower hand position creates a longer lever, which helps you swing through the shuttle with more natural power.
Keep the grip relaxed during preparation. Then, as you strike the shuttle, squeeze briefly at impact. That relaxed-then-squeeze action helps the racket head accelerate; gripping tight from the start usually makes the arm stiff and cuts off the kinetic chain before it reaches the shuttle.
Grip unsure? If your clear keeps slicing, floating short, or feeling like a push, review the forehand grip details in our badminton grip guide before adding more swing speed.
Why Power Comes From the Kinetic Chain, Not Your Arm
If your clear keeps landing mid-court, the problem is usually not that your arm is weak. A deep overhead clear should feel more like throwing the racket through the shuttle than muscling it with your shoulder. The power starts from the ground up: legs first, then hips and trunk, then shoulder, elbow, forearm and wrist.
Use this cue: big muscles start, small muscles finish. Your legs and body rotation create the main momentum; your arm, forearm and wrist add speed at the end. When the sequence is timed well, the shuttle travels deep with less effort. When the sequence breaks, players often compensate by tightening the shoulder and swinging harder, which usually makes the clear shorter, not longer.
Simple timing cue. Push from the floor, rotate the hips and trunk, let the shoulder and elbow follow, then finish with forearm rotation and a relaxed squeeze at contact. For a deeper breakdown, read our badminton kinetic chain power guide.
A useful way to feel it is to shadow the shot slowly without a shuttle. Start side-on, load your weight onto the racket-leg side, then let the body unwind in order. If your arm races ahead before your hips and trunk have turned, you have skipped the bigger muscles and forced the smaller ones to do too much work.
| Part of the chain | What it should do | Common short-clear error |
|---|---|---|
| Legs | Start the movement by pushing from the ground. | Standing too square or flat-footed, so the arm has to create the shot alone. |
| Hips and trunk | Rotate after the leg drive, adding body momentum into the swing. | Swinging the arm before the body has turned. |
| Shoulder and elbow | Carry the racket through like a throwing action. | Tensing the shoulder and pushing the shuttle instead of throwing through it. |
| Forearm and wrist | Finish the shot with forearm rotation, racket-head speed and a relaxed squeeze at impact. | Gripping tight too early, which slows the racket head before contact. |
Two small cues help many players immediately: keep the shoulders relaxed, and breathe out at contact. Holding your breath often goes with tightening the neck, shoulder and grip. Breathing out encourages a looser swing and helps the final acceleration happen at the shuttle instead of before it.
The honest test is how the shot feels. If every clear feels like a maximum-effort lift, your kinetic chain is probably broken somewhere. Slow the swing down, rebuild the order, then add speed only when the sequence stays smooth: legs and body start it, arm delivers it, forearm and wrist finish it.
Contact Point, Pronation and Follow-Through
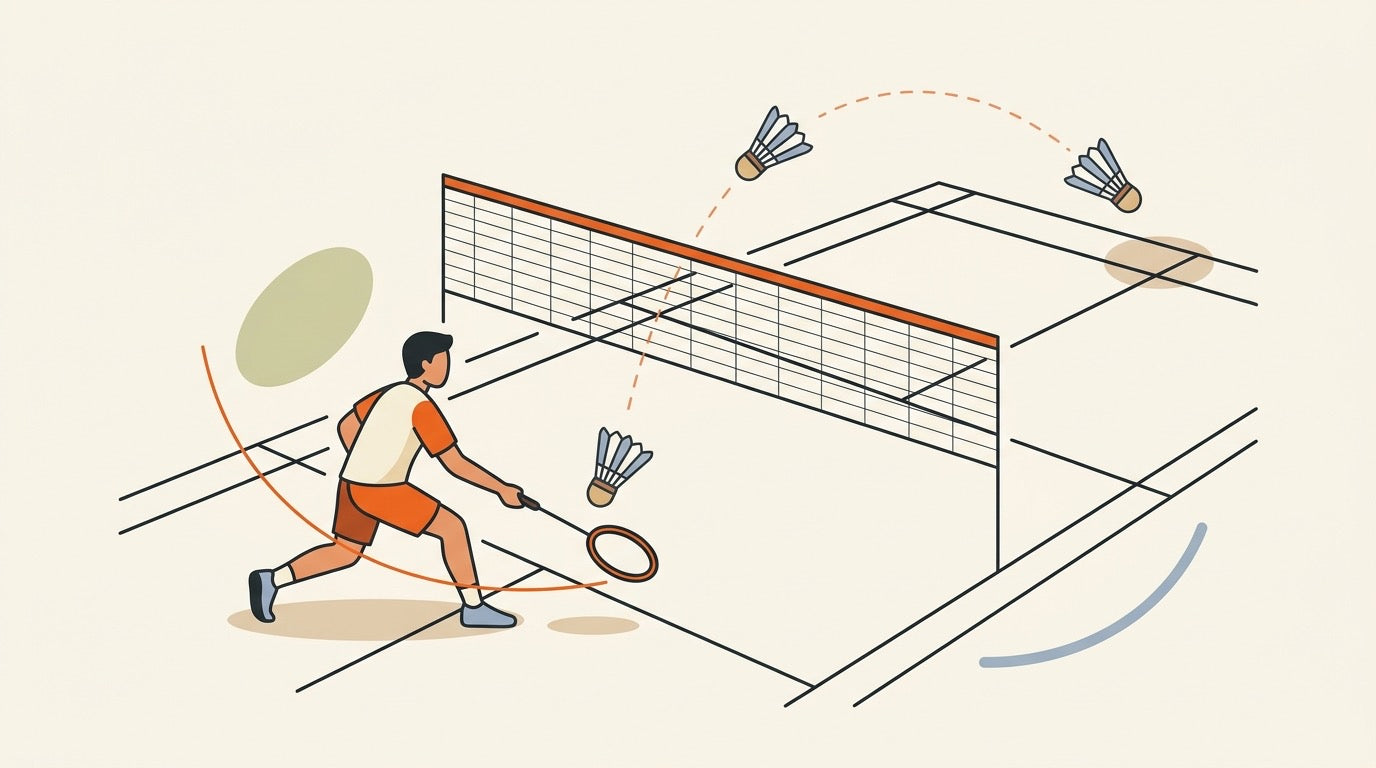
For a clean overhead clear, contact the shuttle at the highest comfortable point you can reach. The ideal contact is high and slightly in front of your body, not beside your ear and definitely not behind your head. That small forward contact helps the shuttle leave on a useful deep trajectory instead of floating short or popping straight up.
Think of the swing like a throwing motion. As the racket comes forward, your forearm rotates inward through the strike — this is pronation. You are not trying to “flick” only with the wrist. The forearm rotation, timed after your shoulder and elbow come through, helps the racket head accelerate into the shuttle.
A simple contact-point cue
If you freeze the moment of impact, your racket arm should be extended but not locked, your hitting shoulder should be open to the shuttle, and the shuttle should be just ahead of your hitting shoulder. For a high defensive clear, that contact may feel almost above you. For a flatter attacking clear, it will feel a little more in front.
- Too far back: the shuttle usually falls short because you are chasing it with the arm.
- Too low: you lose angle, power, and disguise.
- Too tense: the racket slows down before impact.
Relax, squeeze, then let the racket travel
Keep the grip relaxed as the racket accelerates, then squeeze at the strike. That brief squeeze helps transfer speed into the shuttle without tightening your whole arm too early. If you want the deeper grip-pressure breakdown, see our guide to relaxing, then squeezing at impact.
After contact, do not stab at the shuttle and stop. Let the racket continue in a long, relaxed follow-through across your body. Your hitting arm should decelerate naturally, your chest should keep rotating, and your eyes should track the shuttle as it flies toward the back court. A short, blocked finish usually means you tightened up before the shuttle left the strings.
Practice cue for your next club night
Say this in order: high contact, loose hand, pronate, finish across. If the clear still lands around mid-court, the issue is usually timing or contact position before it is racket choice.
Pronation is also a key part of other overhead shots, especially smashes. For more detail on how the forearm creates racket-head speed, read our badminton forearm pronation guide.
Once the movement is consistent, gear tuning can help. A fast, maneuverable frame and suitable string tension can make clean clears feel easier, but they will not fix late contact. You can browse current badminton rackets, check the Yonex Astrox Series, or use our in-house stringing service if your setup needs adjusting. Badminton House offers free Canadian shipping on orders over $200.
Why Your Clear Falls Short
If your clear keeps landing around mid-court, do not assume you are simply “not strong enough.” Most short clears come from a broken sequence: you arrive late, contact the shuttle in the wrong place, then try to rescue the shot with your arm.
| Common problem | Why it makes the clear short | Practical fix |
|---|---|---|
| Swinging with the arm only | You lose the ground-up sequence: legs, hips, trunk, shoulder, elbow, forearm and wrist. | Use shadow badminton: rehearse the full clear motion without a shuttle until the body turn and throwing action feel automatic. |
| Contacting too late | Late contact reduces power and limits your shot options. | Improve your rear-court movement so you reach the shuttle sooner instead of hitting after it has dropped. |
| Not hitting at maximum height | Lower contact gives the shuttle a weaker trajectory and makes it harder to send it deep. | Prepare earlier, raise the racket sooner, and aim to contact at the highest comfortable point above your shoulder. |
| Hitting behind your head | The swing becomes cramped, the shoulder cannot rotate cleanly, and the shuttle is harder to drive to the back line. | Move sooner and set up sideways so the shuttle is above you or slightly in front, not already behind you. |
| Feet parallel and facing the net | You block hip and shoulder rotation, so the stroke becomes mostly arm-driven. | Turn sideways with your non-racket shoulder toward the net before you swing. |
| Incorrect grip | A poor grip reduces control and increases the chance of mis-contacting the shuttle. | Use a loose forehand grip, then squeeze at impact instead of holding the racket tightly through the whole swing. |
| Gripping too high on the handle | You shorten the lever and make it harder to generate easy length. | Hold slightly lower on the handle for overhead clears, while keeping the grip relaxed until contact. |
| Arm too straight or too bent | Too straight relies too much on the shoulder; too bent limits rotation and reduces power. | Use a slightly bent arm so the forearm and wrist can rotate through the shuttle. |
Best practice fix: combine shadow badminton with better rear-court footwork. Footwork helps you reach the shuttle earlier and recover back toward the middle faster; start with Badminton Footwork Basics if your clear breaks down because you are always late.
A useful checkpoint: if the clear feels like a hard shoulder swing, reset. Turn sideways, get behind the shuttle earlier, contact high, and let the whole body throw the racket through the shot.
Gear Helps Only After Technique Is Sound
A better racket will not fix an arm-only clear, late contact, or a grip that is too high on the handle. But once your stance, contact point, pronation, and kinetic-chain timing are improving, your setup can make the shot feel easier.
For the clear, the useful upgrade is not simply “more power.” It is a racket you can accelerate smoothly without tensing up. A fast, maneuverable frame helps you create racket-head speed at the end of the swing, especially when you are trying to stay relaxed until the squeeze at impact.
If you are comparing options, start with the badminton rackets collection and pay attention to whether the racket feels quick enough for your swing. If you like a more attacking, rear-court style, you can also compare the Yonex Astrox Series, but judge any racket by how well you can time it — not by the series name alone.
Strings matter too. Lower tension can add easier repulsion; higher tension can add control but asks more from your timing and swing speed. Use this as a practical starting point, not a rule that every player must follow.
| String tension | Best fit | Clear-shot takeaway |
|---|---|---|
| 22–24 lbs | Beginners and developing players | More effortless repulsion from the trampoline effect, which can help the shuttle travel deeper while your technique is still developing. |
| 24–26 lbs | Most intermediate players | A common balance of repulsion and control once you can consistently contact the shuttle high and slightly in front. |
| 26–30+ lbs | Advanced players with clean timing and high swing speed | More control, but less forgiveness. If your clear is already falling short, jumping too high in tension usually makes the problem worse. |
If you are unsure where to string your racket, keep the decision simple: choose a forgiving tension first, then adjust after a few sessions based on depth, control, and comfort. For help choosing a tension or booking a restring, use our stringing service.
Badminton House ships badminton gear Canada-wide, with free Canadian shipping on orders over $200. The best setup is the one that supports clean technique — relaxed preparation, high contact, full-body rotation, and a smooth finish to the next recovery step.
Which Clear Should You Choose?
Use the clear that solves the rally problem in front of you. If you are late, under pressure, or need time, choose height and depth. If you are balanced and want to rush your opponent, choose a flatter attacking clear.
| Choose this | Best when | Main cue |
|---|---|---|
| Defensive clear | You need recovery time and want to push the opponent deep toward the back line. | Hit high and deep with a looping flight path, then recover back toward the centre. |
| Attacking clear | You are balanced, the opponent is reachable but not fully set, and you want to force a rushed rear-court reply. | Hit flatter and faster, slightly more in front, so the shuttle travels just over the opponent’s reach. |
| Technique reset | Your clear falls short, feels effortful, or you are muscling the shuttle with your arm. | Go back to the kinetic chain: legs, hips, trunk, shoulder, elbow, forearm, then wrist. For more detail, see our badminton kinetic chain power guide. |
| Grip and contact check | You are contacting late, using a panhandle grip, gripping too high, or losing control at impact. | Use a loose forehand grip lower on the handle, contact high and slightly in front, then squeeze at impact. The relax-then-squeeze grip guide pairs well with this fix. |
| String tension check | Your swing mechanics are consistent, but the racket still feels unforgiving or hard to launch deep. | Compare your setup with beginner and intermediate tension guidance, or use Badminton House in-house stringing service if your strings need a reset. |
| Racket upgrade later | Your clear already reaches deep with clean timing, and you want a frame that better matches your swing style. | Browse current badminton rackets or compare power-focused Yonex Astrox Series options when available; frame design can influence swing speed, but it will not replace clean timing. |
For most Canadian club players learning how to hit a badminton clear, the best first choice is the defensive clear: it builds length, buys recovery time, and teaches the same overhead preparation that supports drops and smashes later.
Get Canadian badminton gear advice + restock alerts
Join the Badminton House list for buying checklists, restock alerts, and practical gear advice for Canadian players.
By subscribing, you agree to receive Badminton House emails and can unsubscribe anytime.
Keep the clear simple: get sideways early, contact high, stay relaxed, and let the full throwing motion do the work. We play badminton ourselves, so if you want help matching your technique, string tension, or racket feel to your level, contact us and we’ll point you in the right direction.
Ready to make your clear feel easier?
Technique comes first, but the right racket and string setup can help once your timing is sound.
Browse Badminton Rackets10% off first order · Free shipping on $200+ · 14-day returns · Canadian badminton specialty shop
Leave a comment
This site is protected by hCaptcha and the hCaptcha Privacy Policy and Terms of Service apply.