
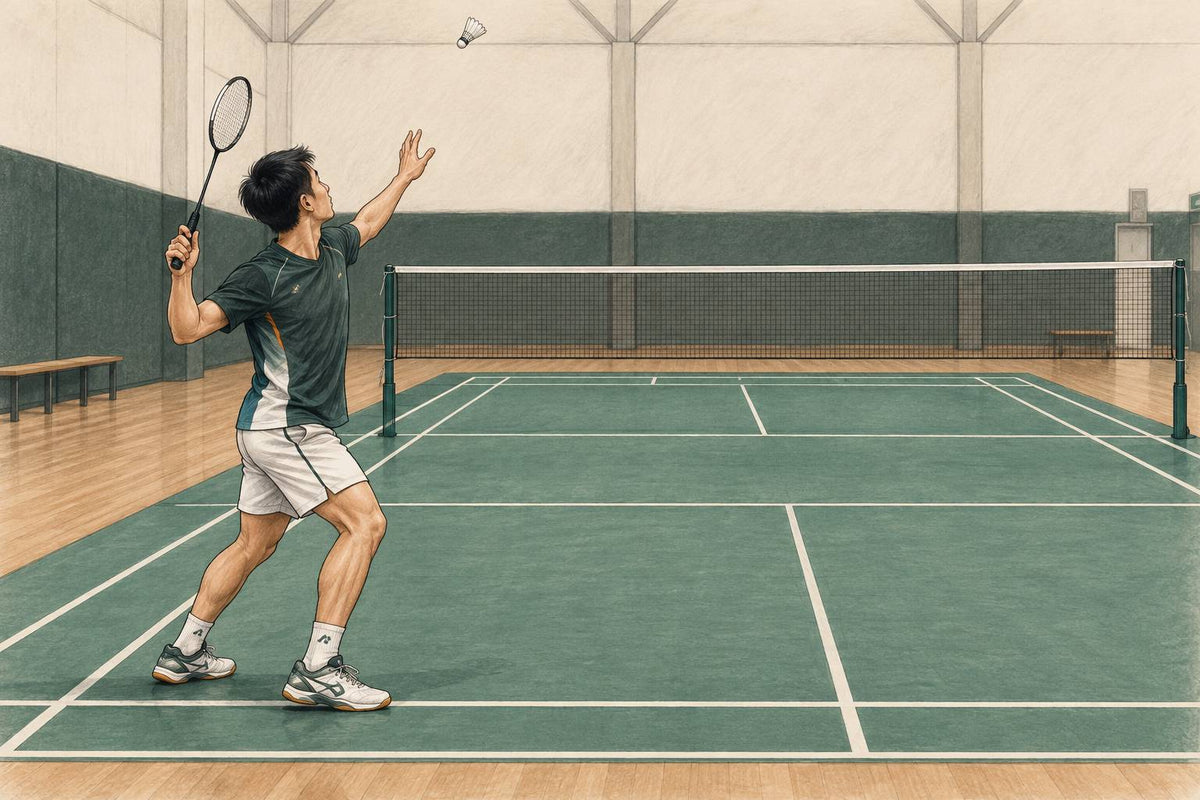
Badminton Rear Court Footwork: Choose the Right Travel Pattern
Learn badminton rear court footwork pattern choices: scissor jump, china jump, adjustment steps, timing, and balanced recovery.
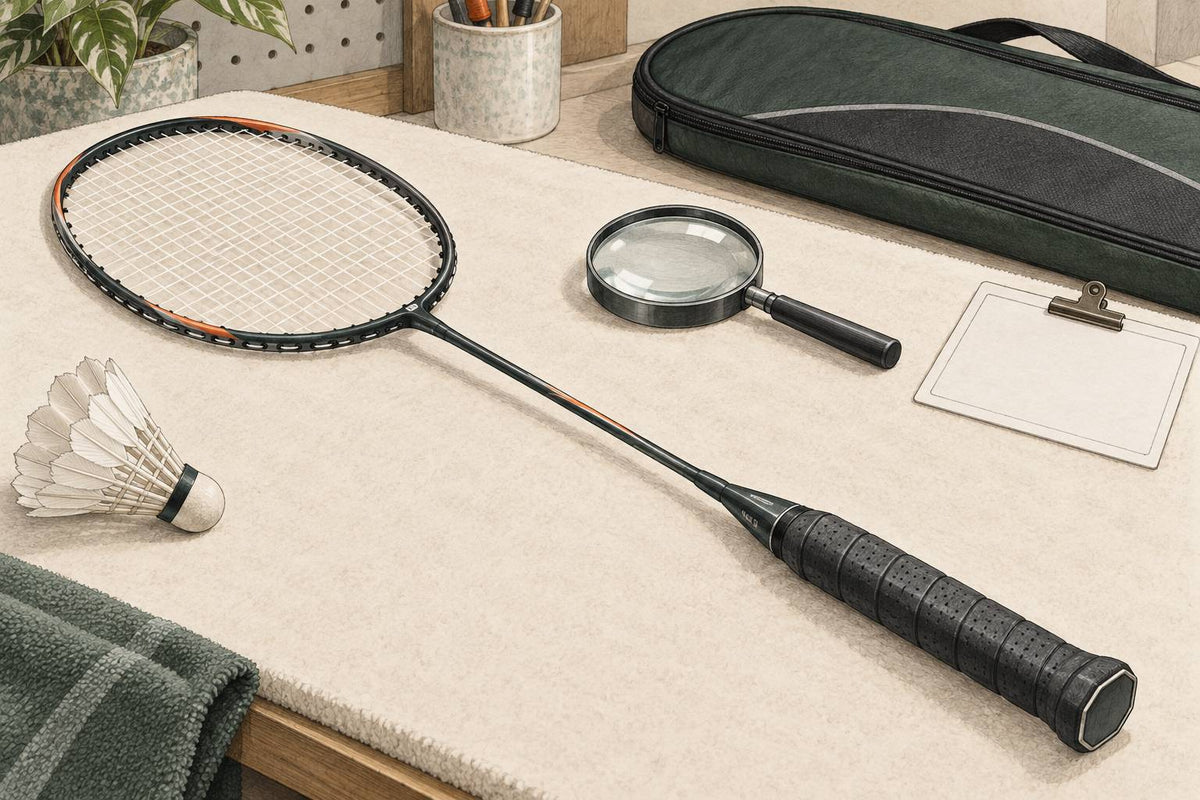
Badminton Racket Rattle: What the Noise Could Mean
Badminton racket rattle? Use a safe, non-destructive check to separate external parts from noises that need inspection.
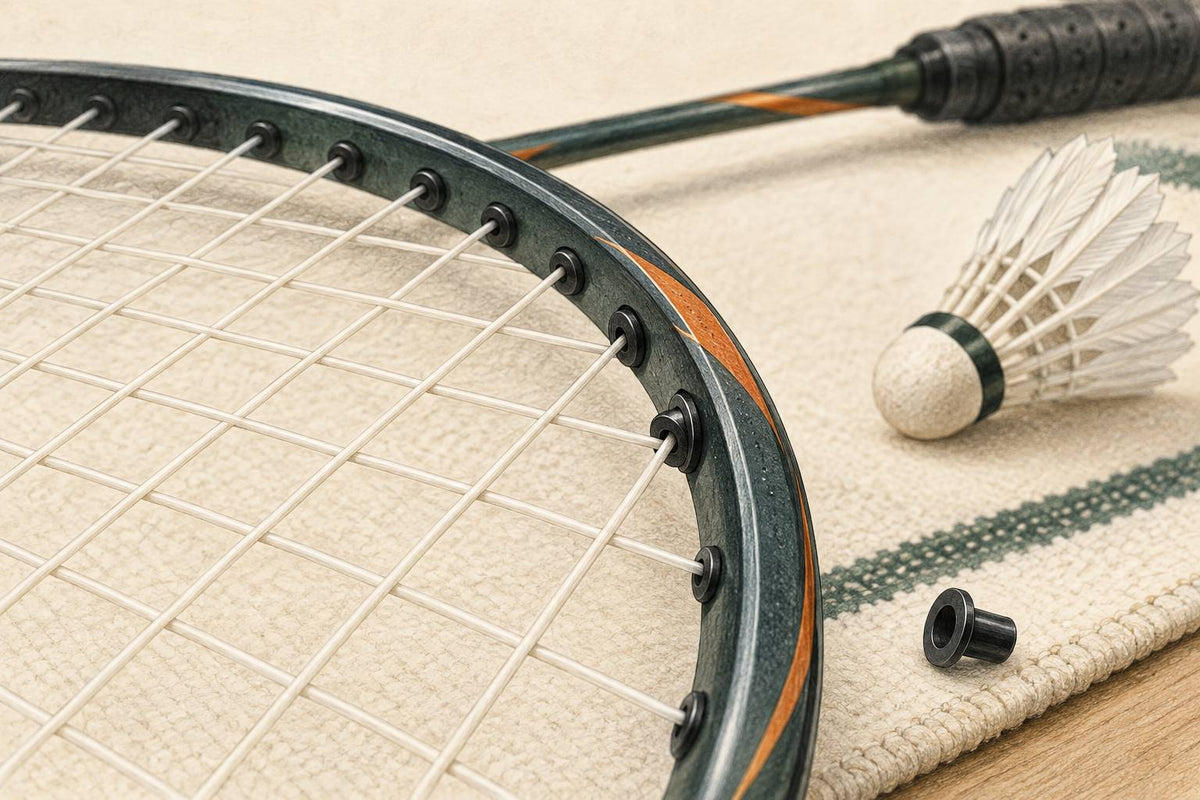
Badminton Racket Grommet Replacement: When to Act
Badminton racket grommet replacement: spot split, sunken, or missing grommets before restringing and know when to ask a stringer.
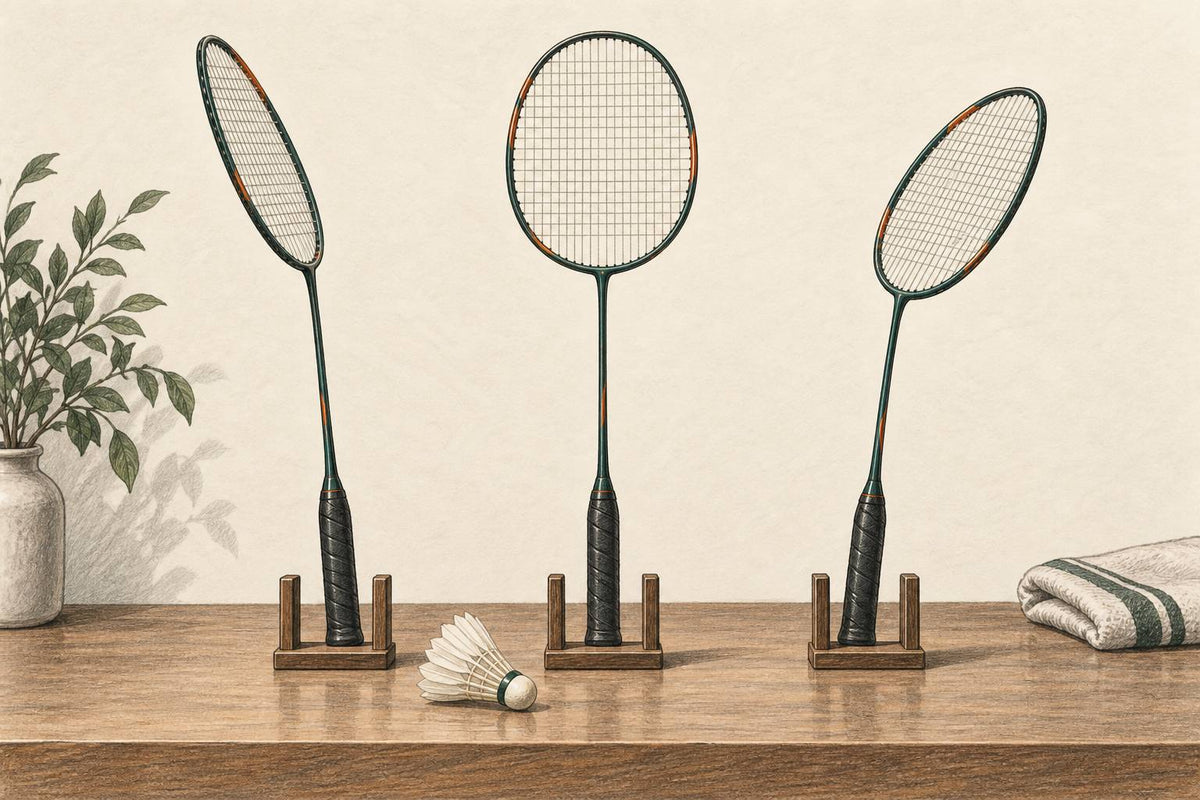
Badminton Racket Face Angle: Control Direction and Height
See how badminton racket face angle changes direction and height, with contact-point cues for net shots, lifts, clears, drops, and smashes.
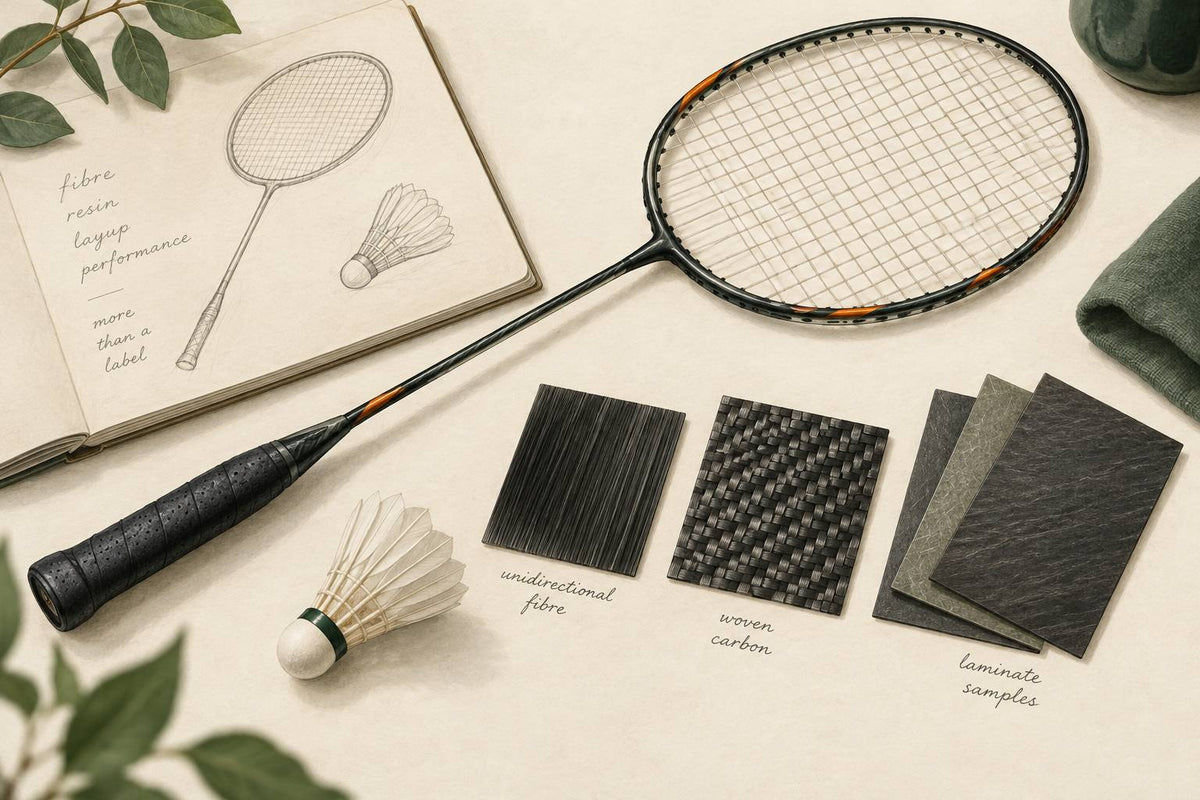
Badminton Racket Carbon Labels: Modulus, Tonnage, and Hype
Badminton racket carbon labels explained: learn why T, tonnage, K-count and fibre grade don't predict finished racket feel.
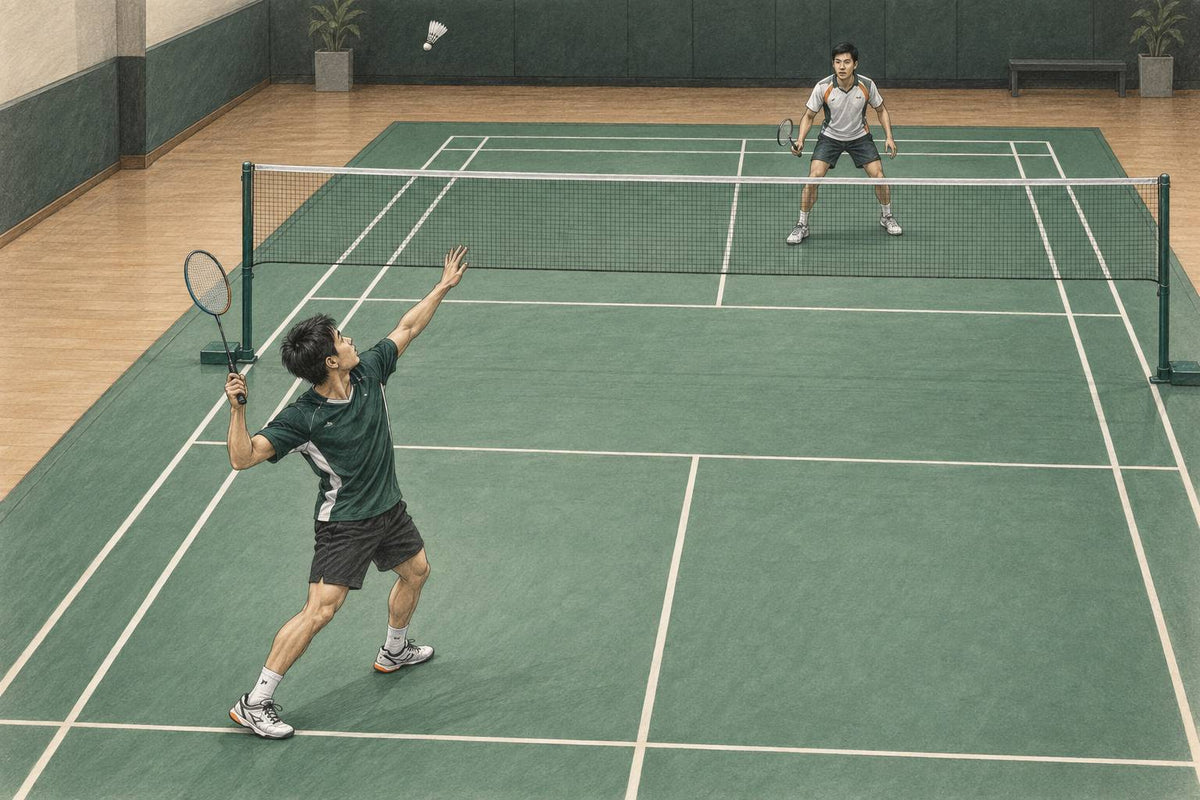
Badminton Punch Clear: Technique, Height, and Timing
Learn the badminton punch clear: how it differs from a high clear, how to set height, and when a flatter clear becomes attackable.

Badminton Pressure Training Drills for Match Nerves
Build badminton pressure drills with game-point starts, score deficits, serve stakes, safe progression, and useful debriefs.
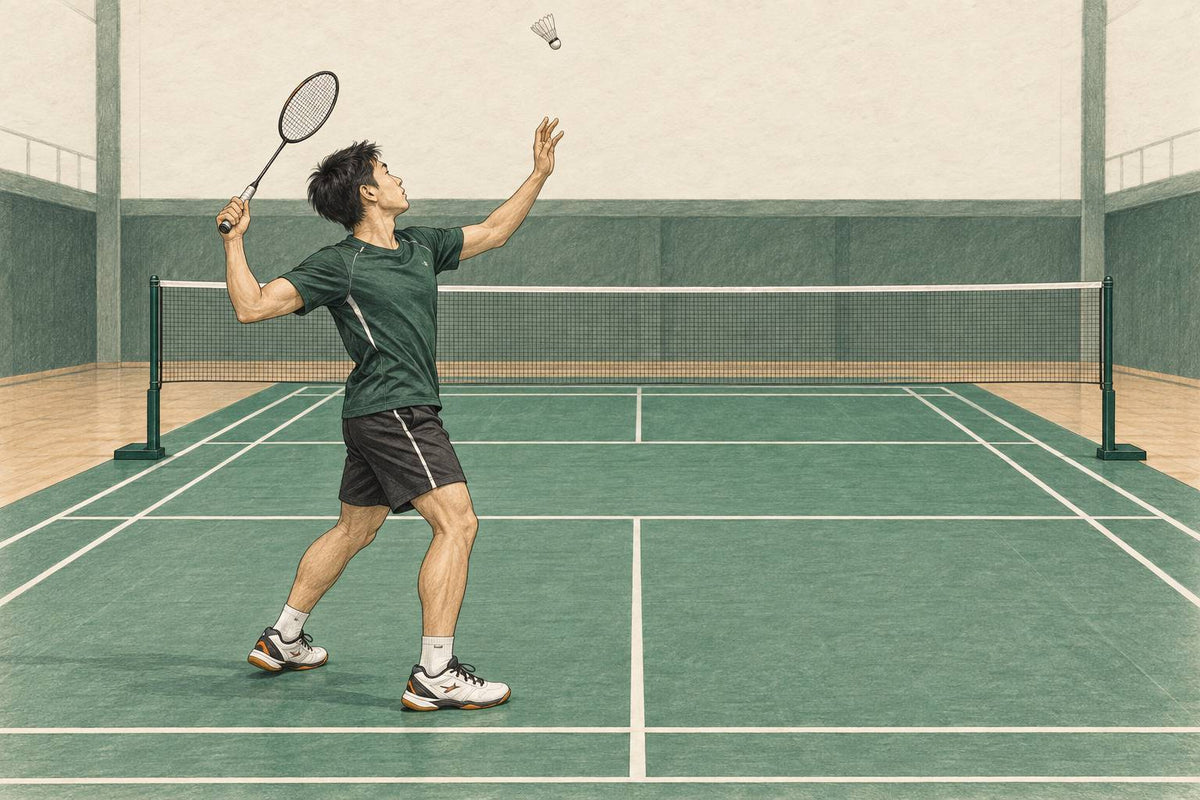
Badminton Non-Racket Arm: Balance Better on Overheads
Improve your badminton non-racket arm on overheads with timing cues, fault fixes, and drills for cleaner balance and spacing.
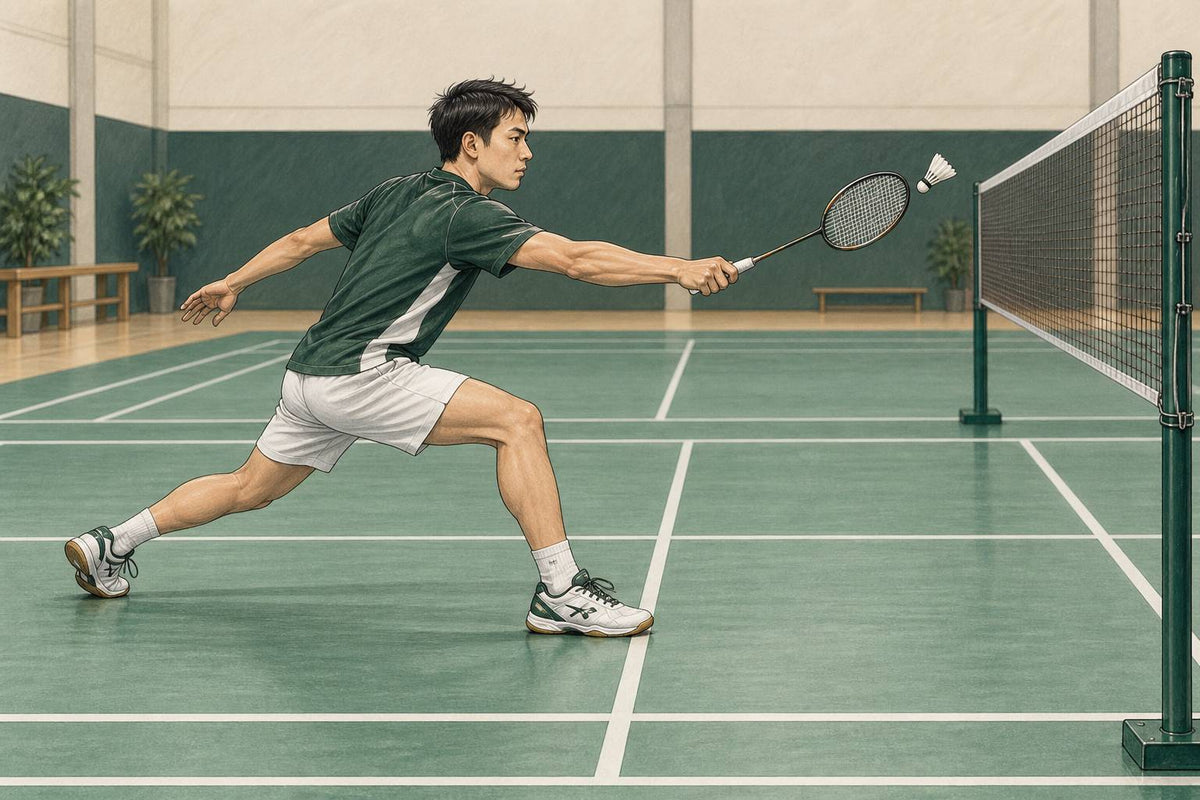
Badminton Net Approach Footwork: One Step or Two?
Badminton net approach footwork: know when to use one step, two steps, or a running approach for cleaner reach and recovery.

Badminton Training During Your Period: Symptom-Led Decisions
Badminton training during your period: use symptoms, bleeding, function and care cues to decide whether to train, modify or stop.
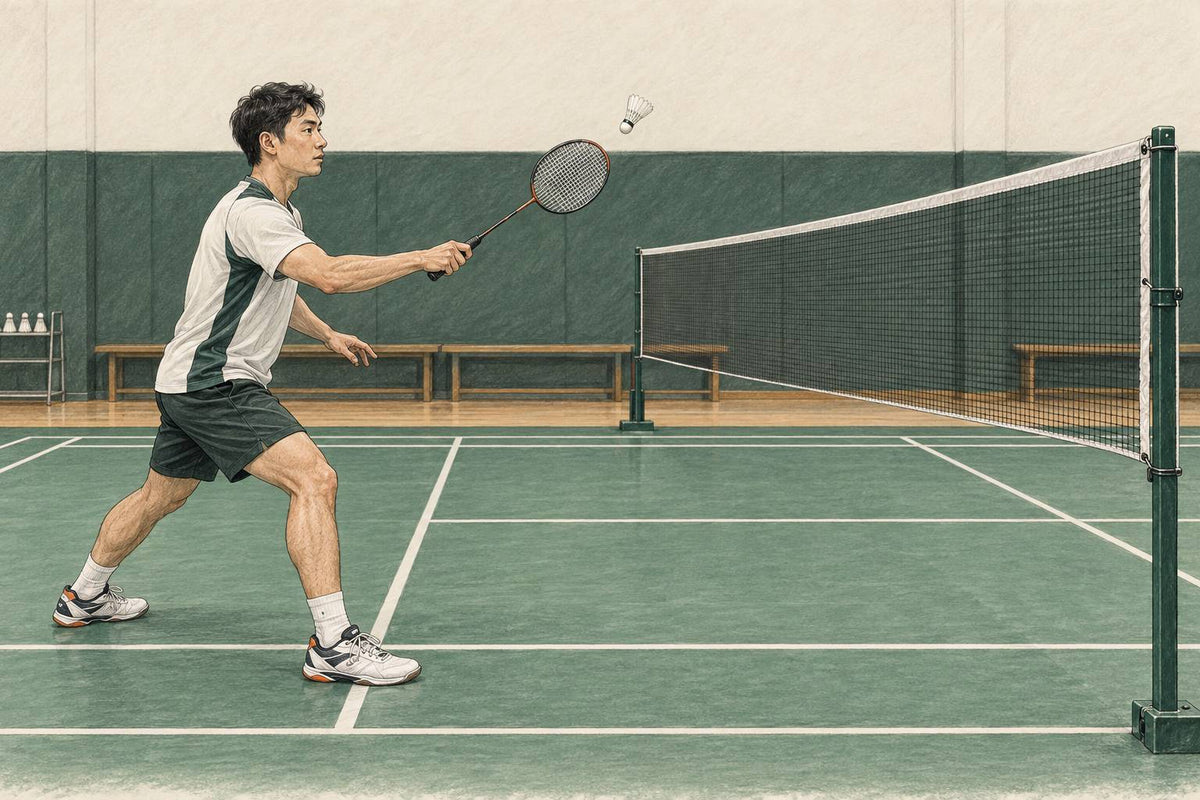
Badminton Hold Shot Carry Fault: Where Legal Contact Ends
Badminton hold shot carry fault guide: learn where legal deception ends, why there’s no millisecond test, and what umpires judge.
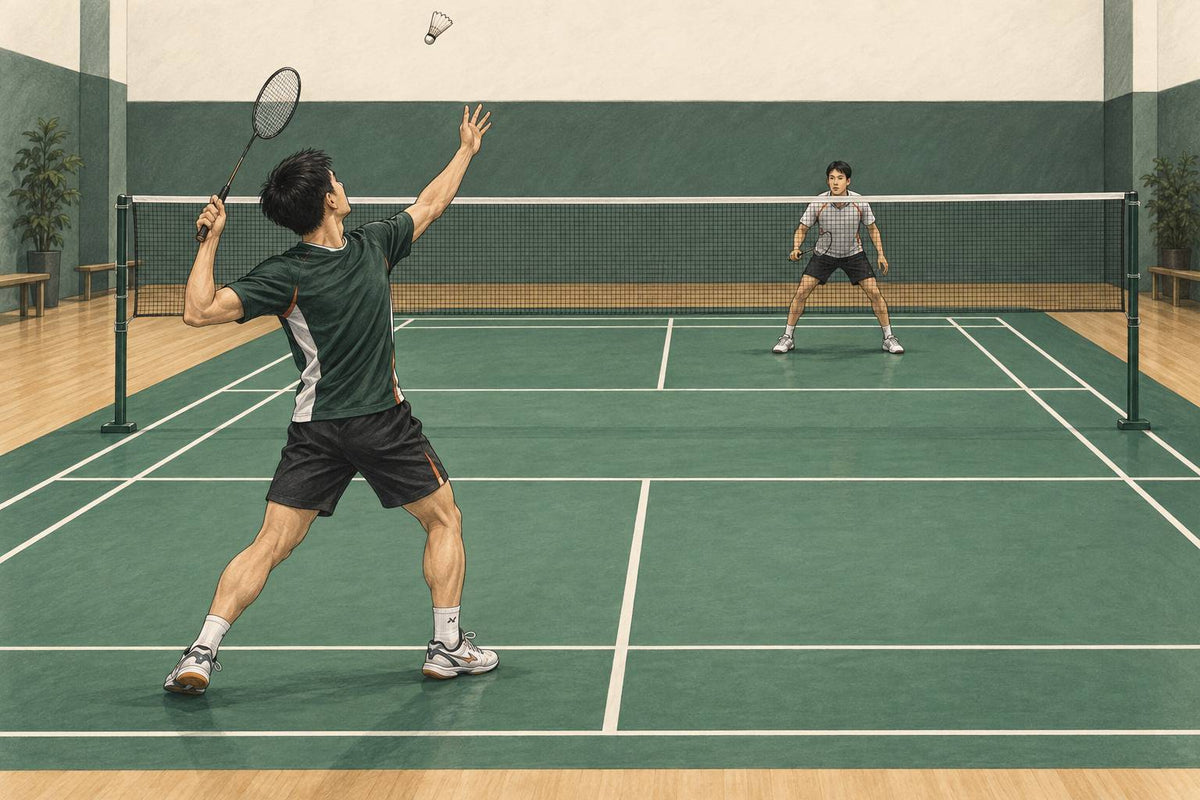
Badminton Half Smash: Controlled Pace Without Losing Shape
Learn the badminton half smash: controlled pace, sharper placement, better recovery, and tempo changes without losing balance.