
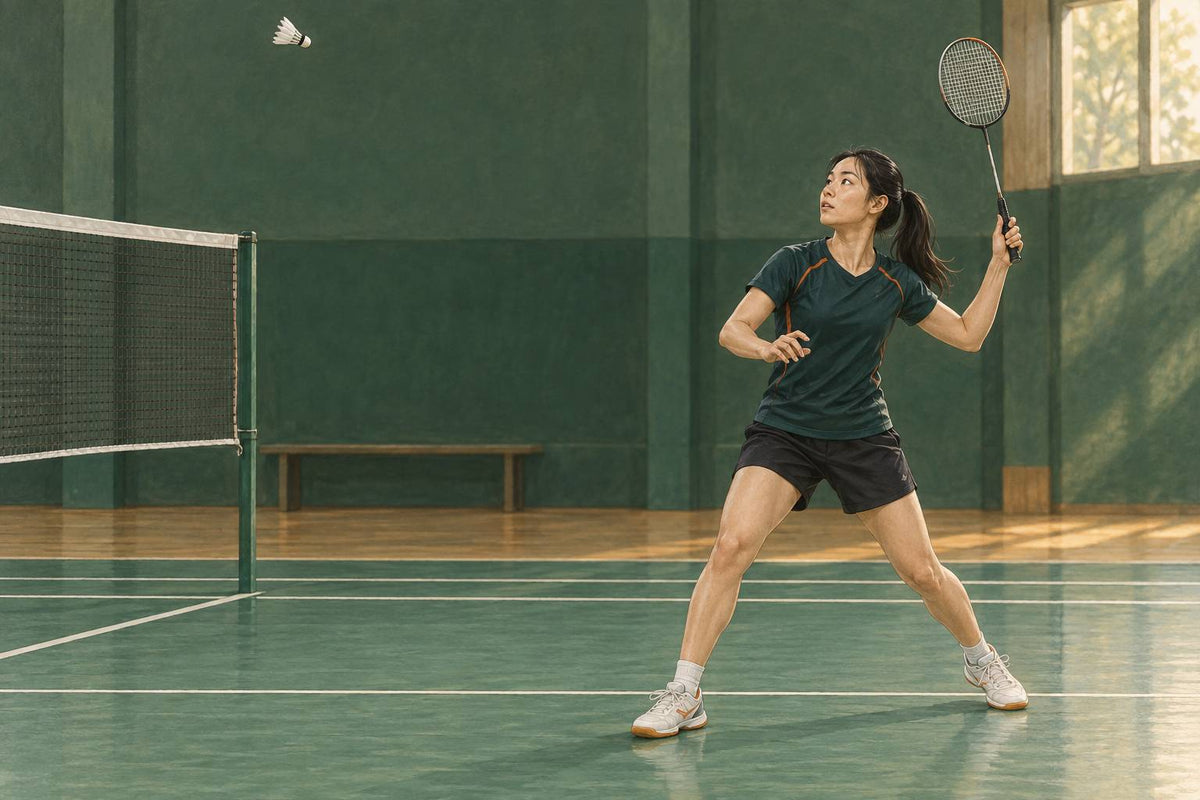
Stop Backpedaling in Badminton: Safer Rear-Court Movement
Learn how to stop backpedaling in badminton with sideways turns, crossover/chassé steps, visual tracking, and a simple progression.
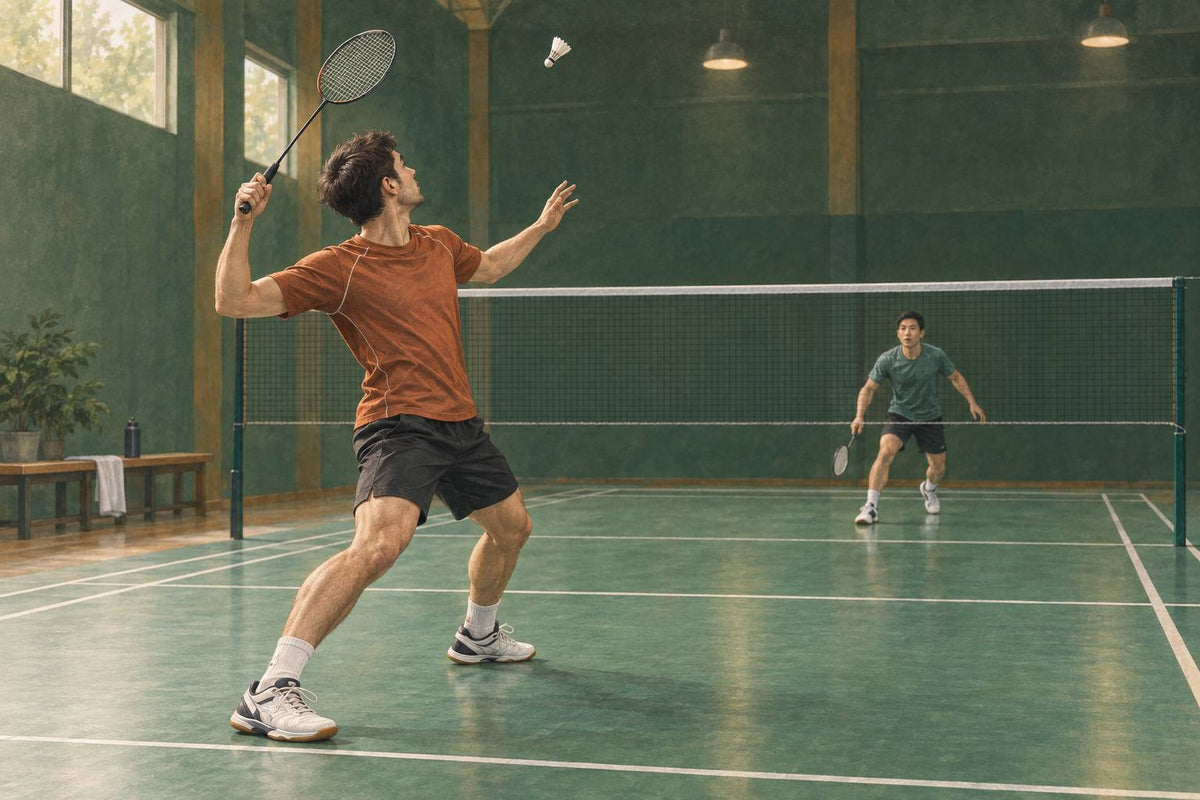
When to Smash in Badminton Singles
Learn when to smash in badminton singles using contact quality, balance, opponent position, likely reply, and recovery.
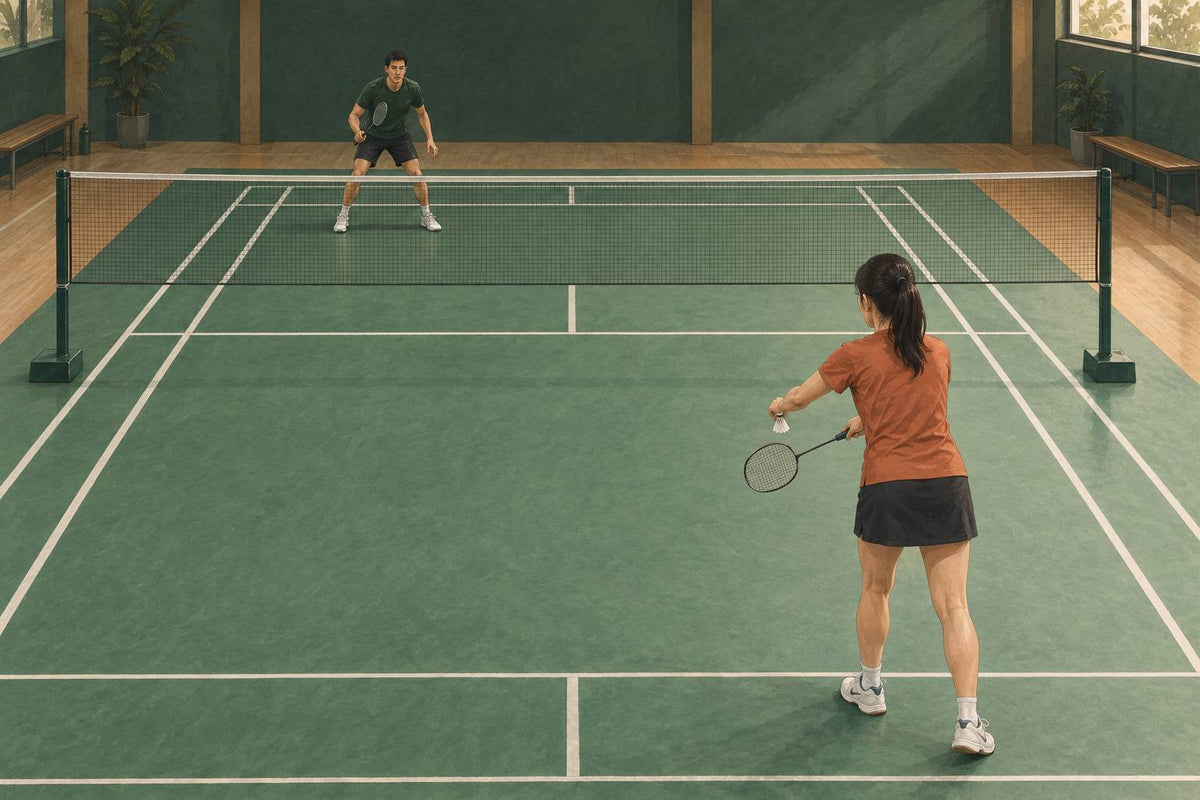
Badminton Singles Serve Return Strategy: Plan Three Shots
Badminton singles serve return strategy guide: choose low, high, or flick plans, read replies, and prepare a flexible third shot.
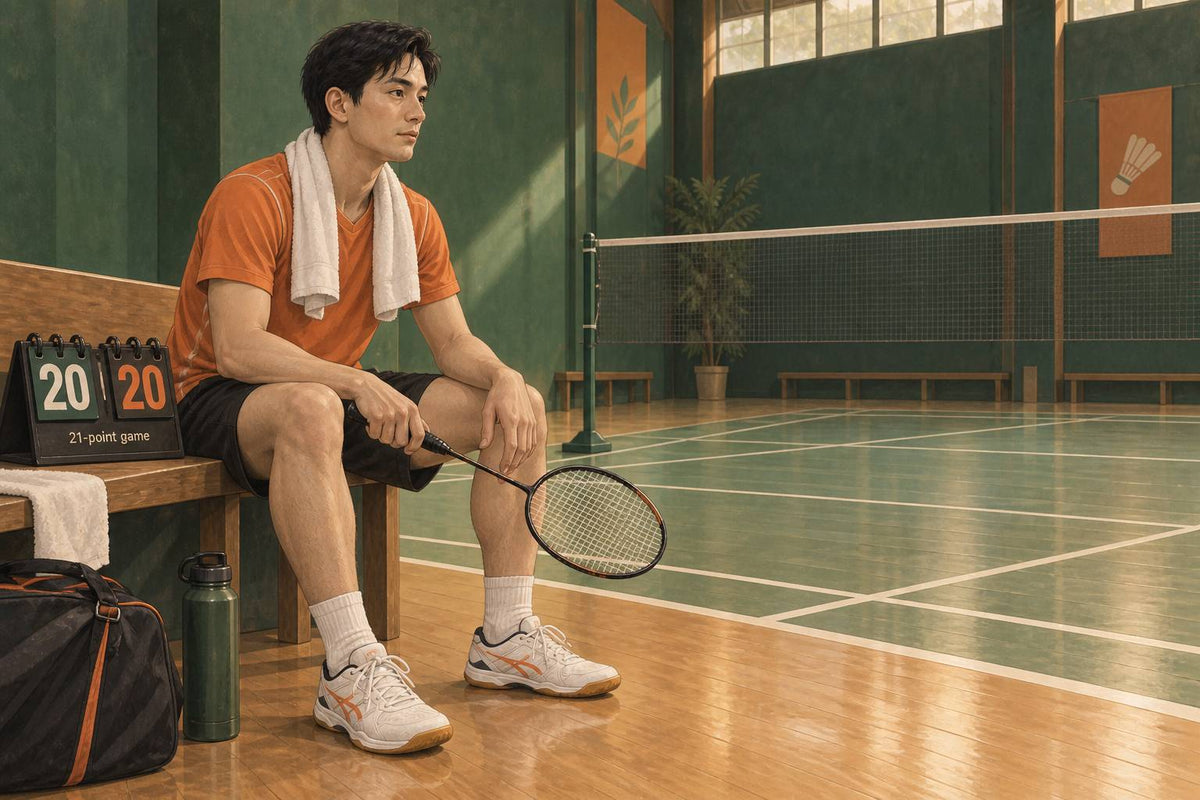
Badminton Strategy When Leading or Trailing
Badminton strategy when leading or trailing: manage risk, stay calm, and make better deuce choices without rigid score scripts.
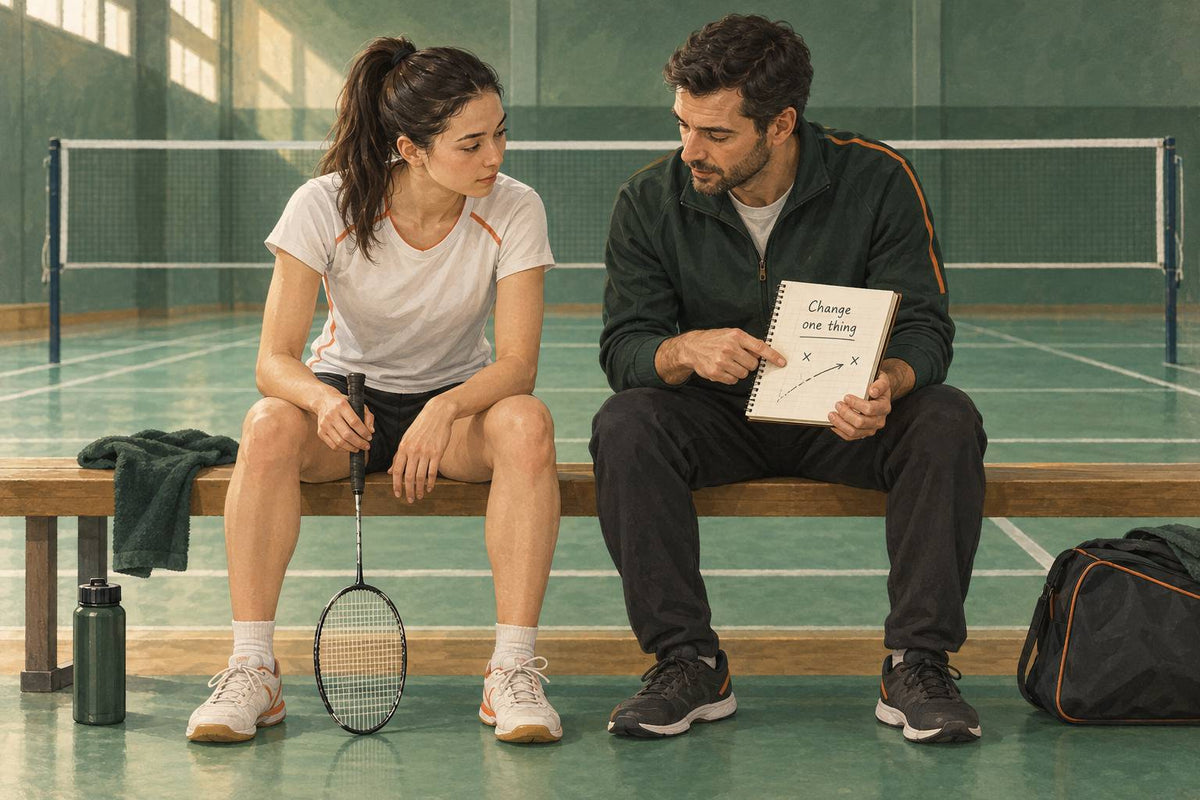
Badminton Singles Mid-Match Adjustments
Badminton singles mid-match adjustments: learn how to read patterns, change one tactic at a time, and avoid panicked reinvention.
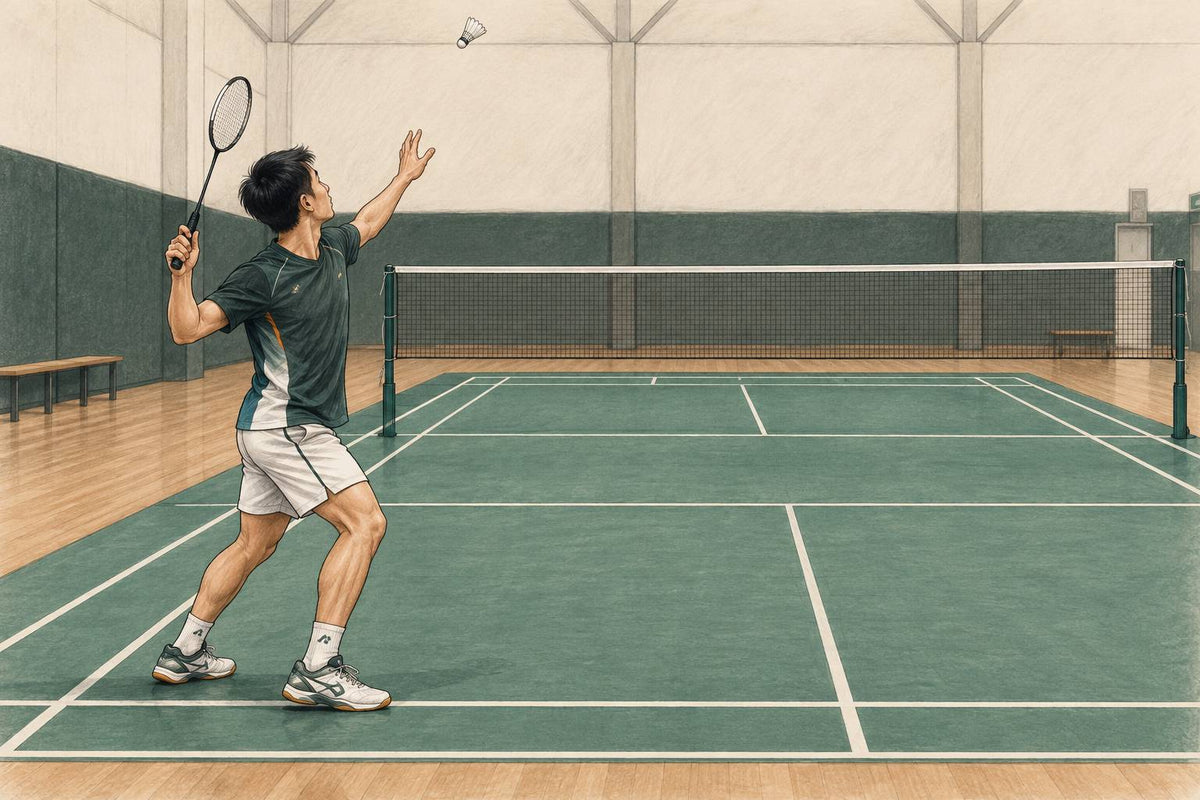
Badminton Rear Court Footwork: Choose the Right Travel Pattern
Learn badminton rear court footwork pattern choices: scissor jump, china jump, adjustment steps, timing, and balanced recovery.
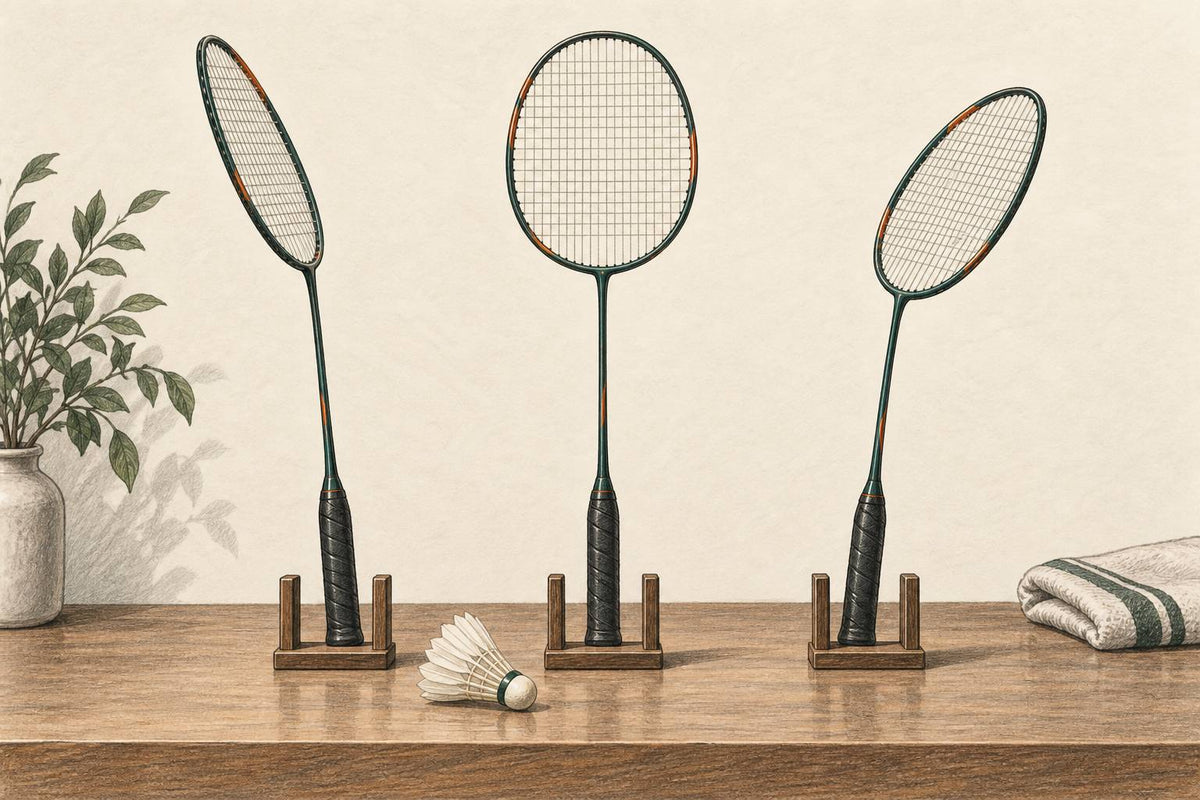
Badminton Racket Face Angle: Control Direction and Height
See how badminton racket face angle changes direction and height, with contact-point cues for net shots, lifts, clears, drops, and smashes.
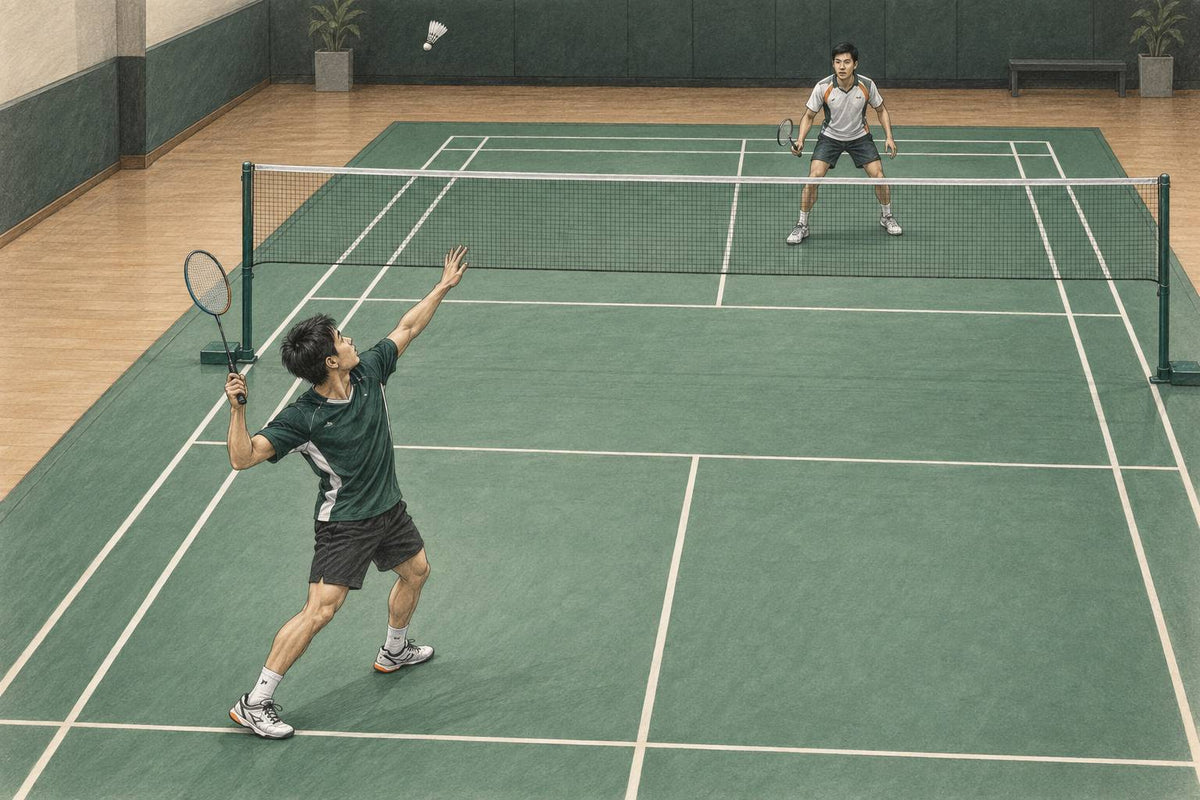
Badminton Punch Clear: Technique, Height, and Timing
Learn the badminton punch clear: how it differs from a high clear, how to set height, and when a flatter clear becomes attackable.
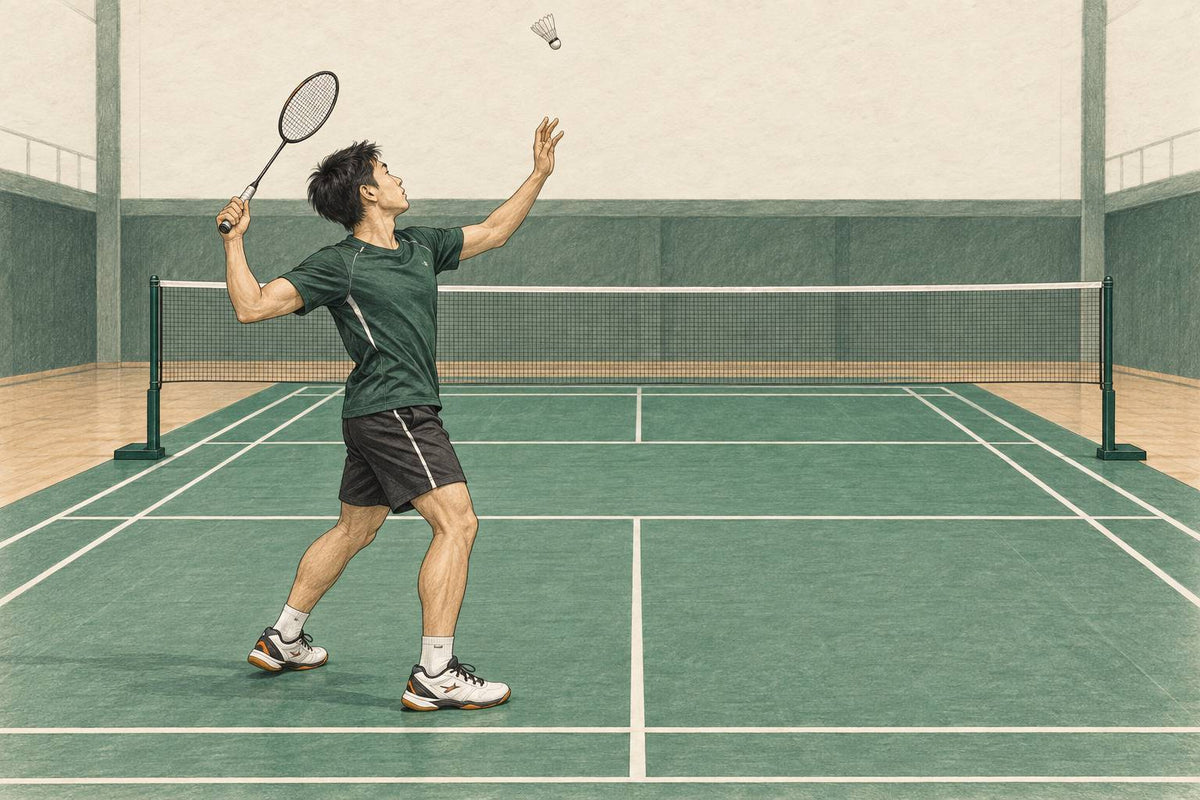
Badminton Non-Racket Arm: Balance Better on Overheads
Improve your badminton non-racket arm on overheads with timing cues, fault fixes, and drills for cleaner balance and spacing.
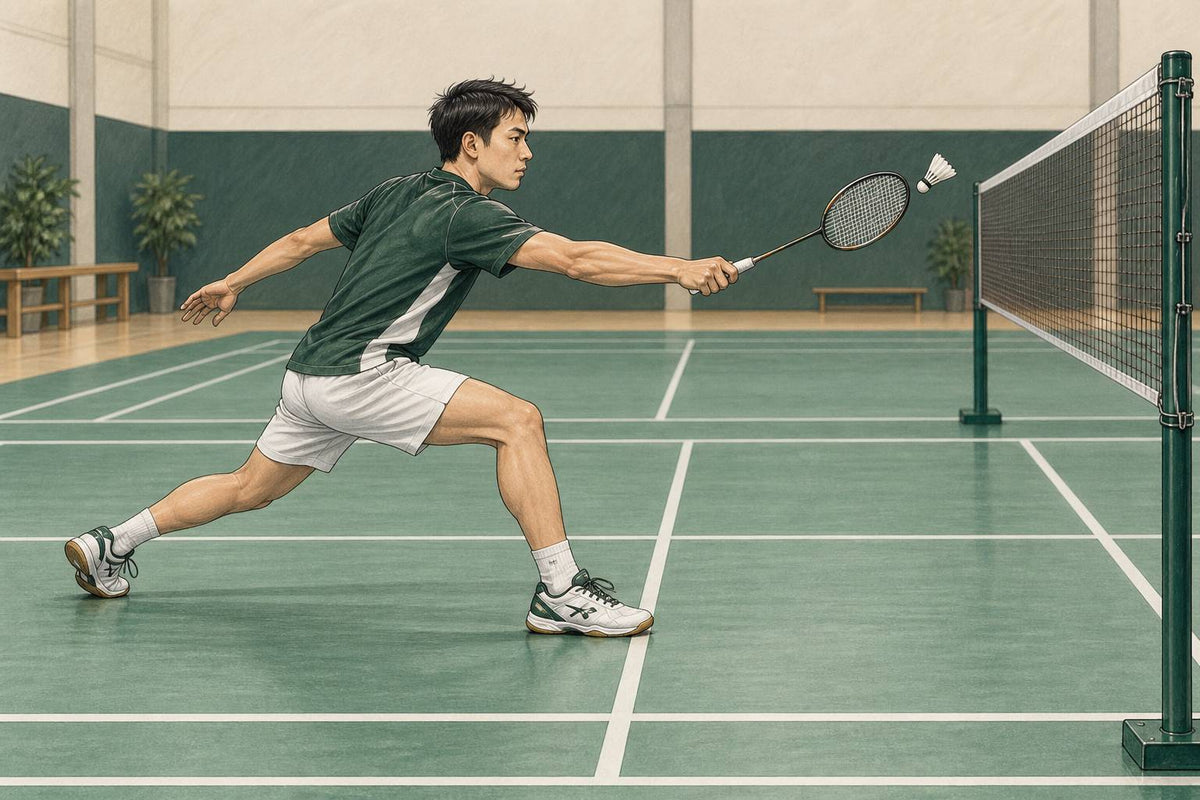
Badminton Net Approach Footwork: One Step or Two?
Badminton net approach footwork: know when to use one step, two steps, or a running approach for cleaner reach and recovery.
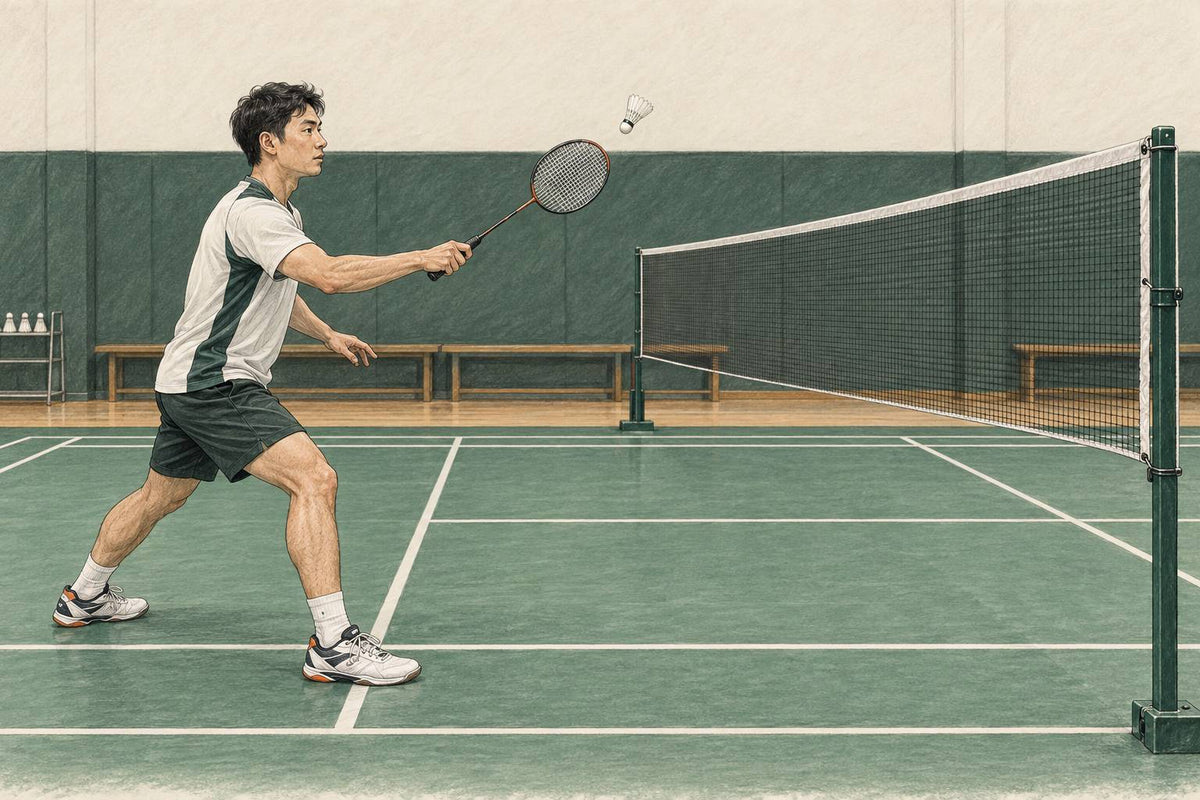
Badminton Hold Shot Carry Fault: Where Legal Contact Ends
Badminton hold shot carry fault guide: learn where legal deception ends, why there’s no millisecond test, and what umpires judge.
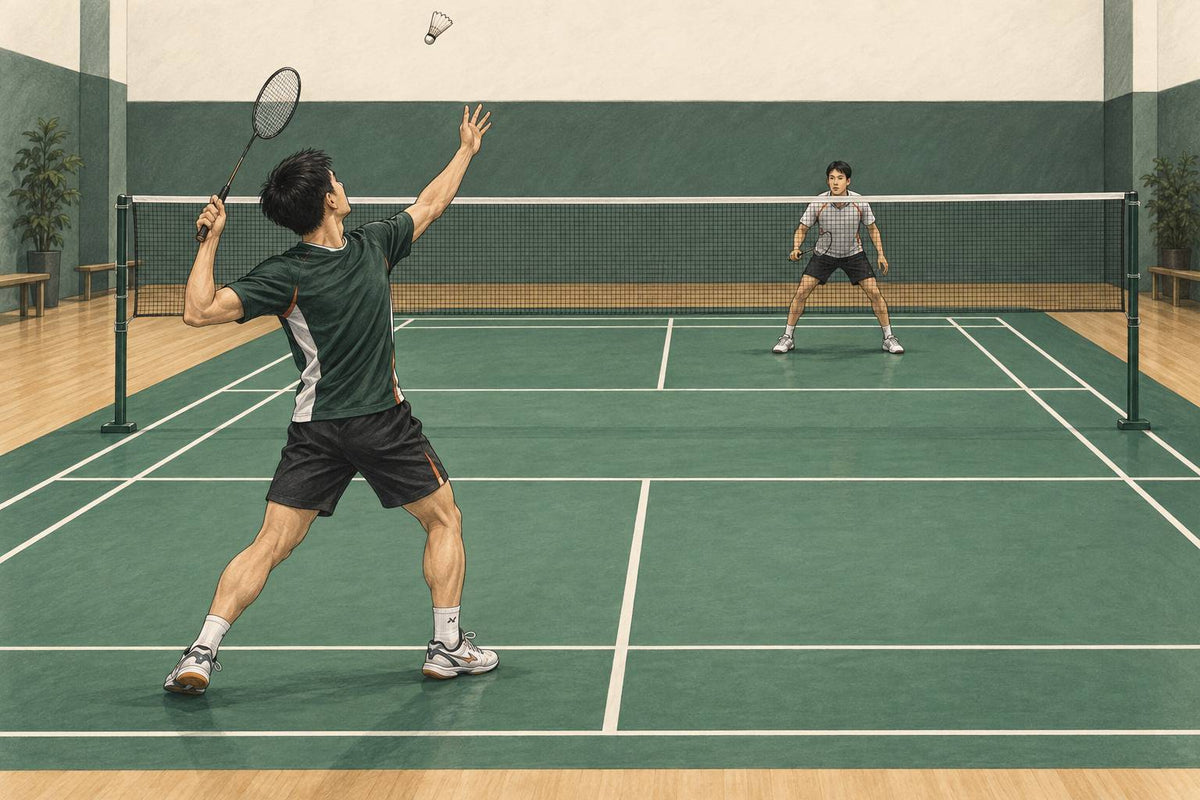
Badminton Half Smash: Controlled Pace Without Losing Shape
Learn the badminton half smash: controlled pace, sharper placement, better recovery, and tempo changes without losing balance.