
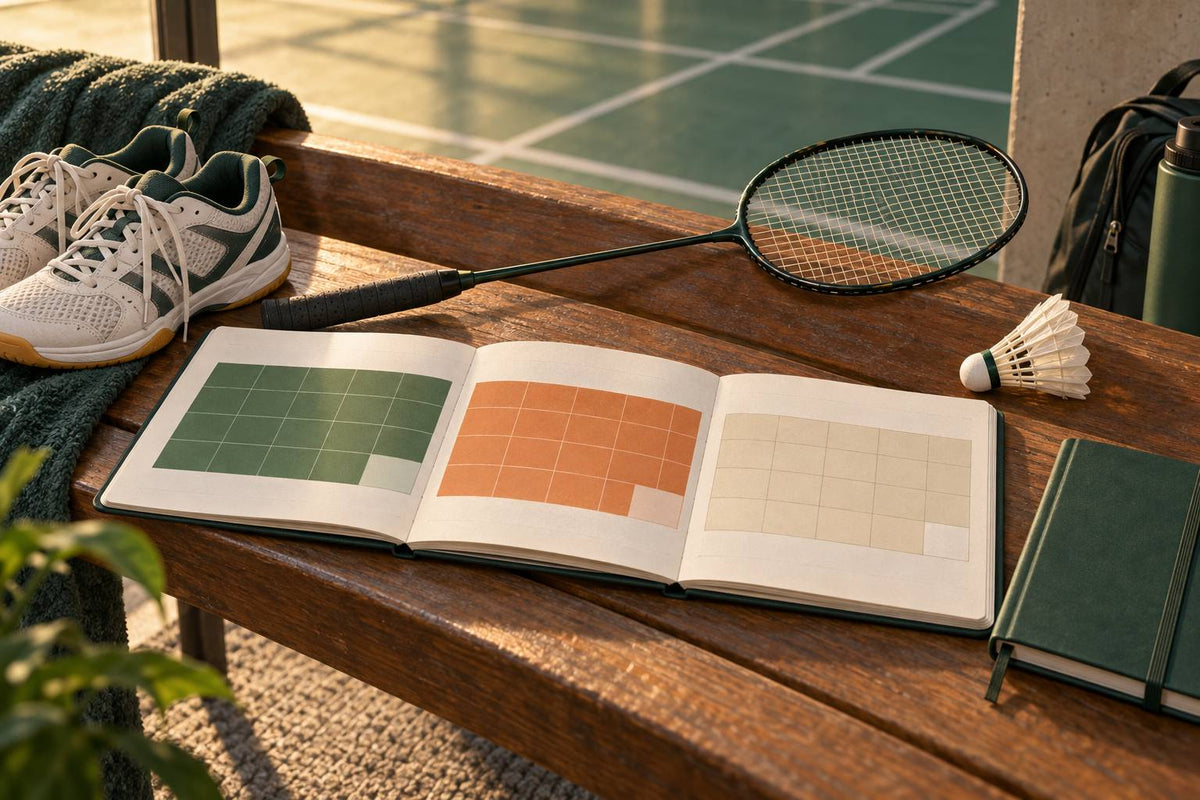
A 3-Block Badminton Season Plan for Club Players
A practical badminton season plan using three 6–10-week blocks to build technique, compete, audit matches, and rebuild.
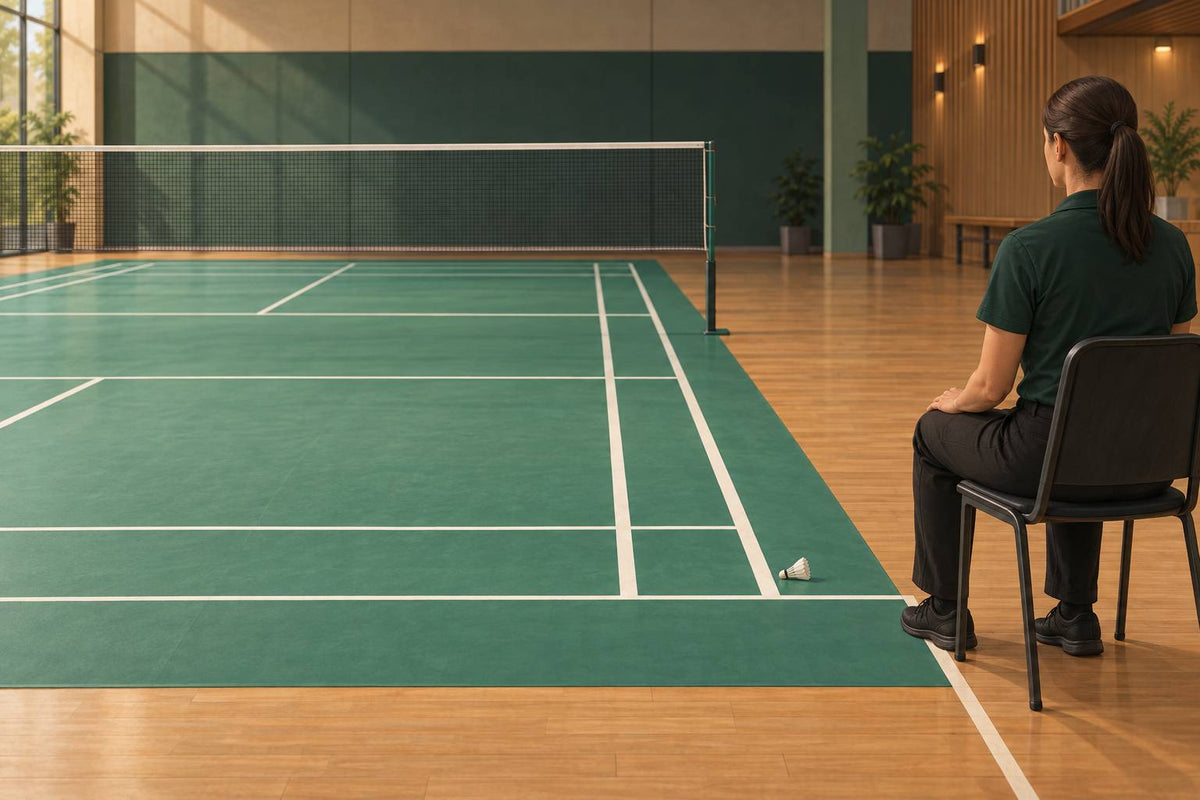
How to Be a Badminton Line Judge: Signals and Calls
Learn the badminton line judge role, where to sit, and the exact in, out, and unsighted signals for confident first-time calls.
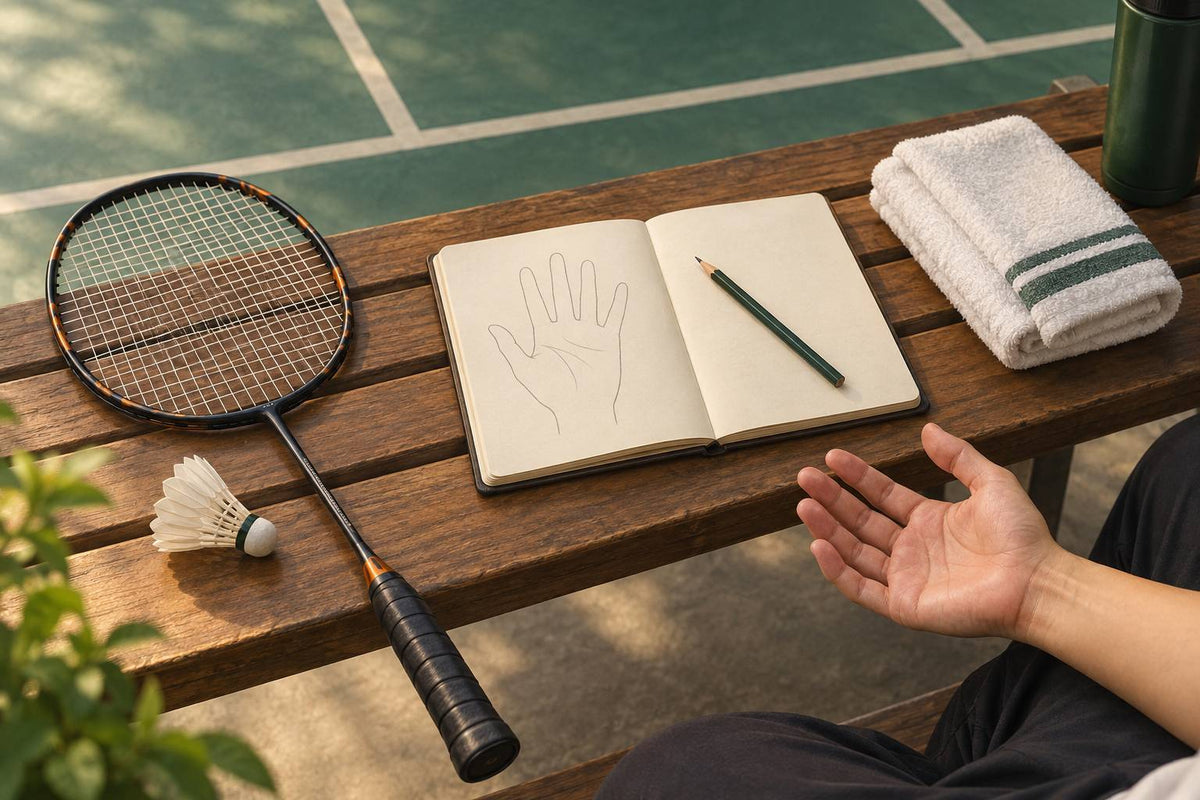
Badminton Hand Numb After Playing: Causes and Fixes
Badminton hand numb after playing? Test tension, mishits and grip setup, and learn when numbness needs medical care.
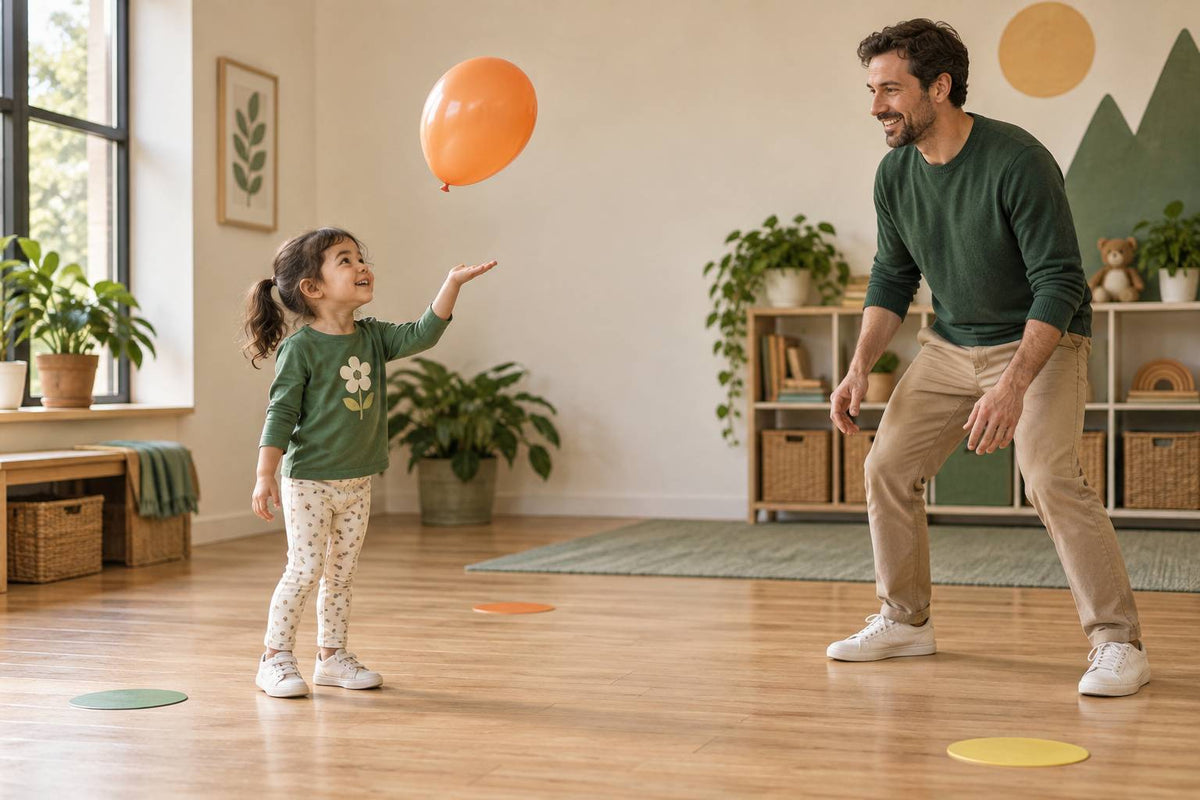
Badminton for Preschoolers: Lower the Net, Delay the Game
Badminton for preschoolers works best with a low net and simple striking games. Use this equipment list and adjustable 40-minute session.
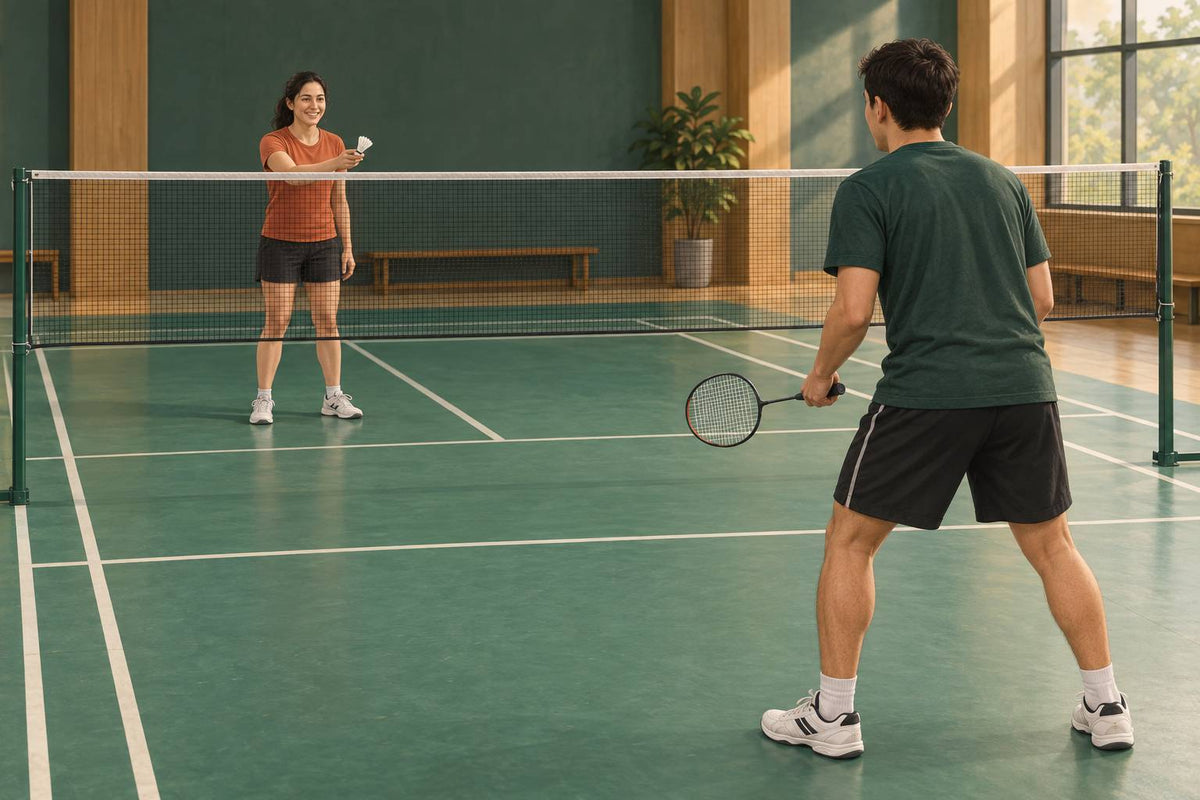
Badminton First Lesson: Teach a Friend to Rally in an Hour
A badminton first lesson with five timed blocks, simple feeds, one correction per drill, and a shortened-court game that builds a real rally.
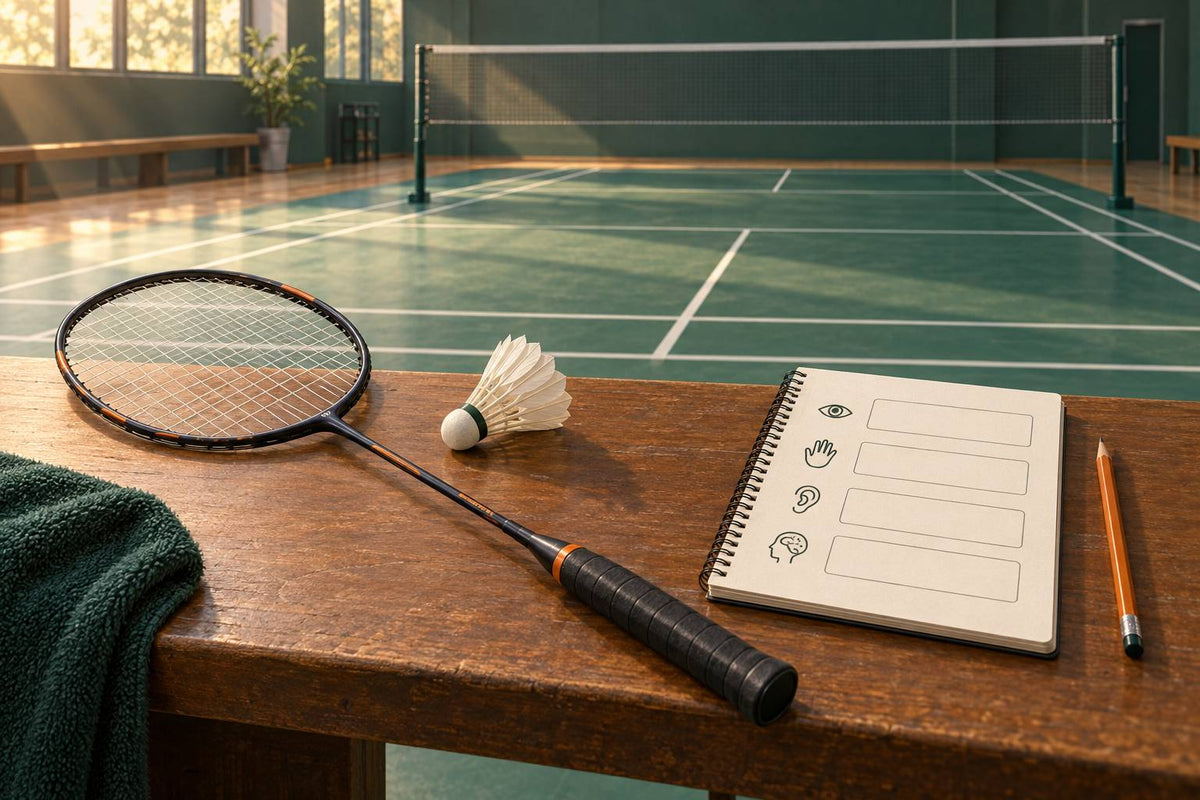
Badminton Feel and Timing: Four Senses Coaches Build First
Build badminton feel and timing with eight measurable drills for shuttle feel, racket feel, body awareness, and time and space.
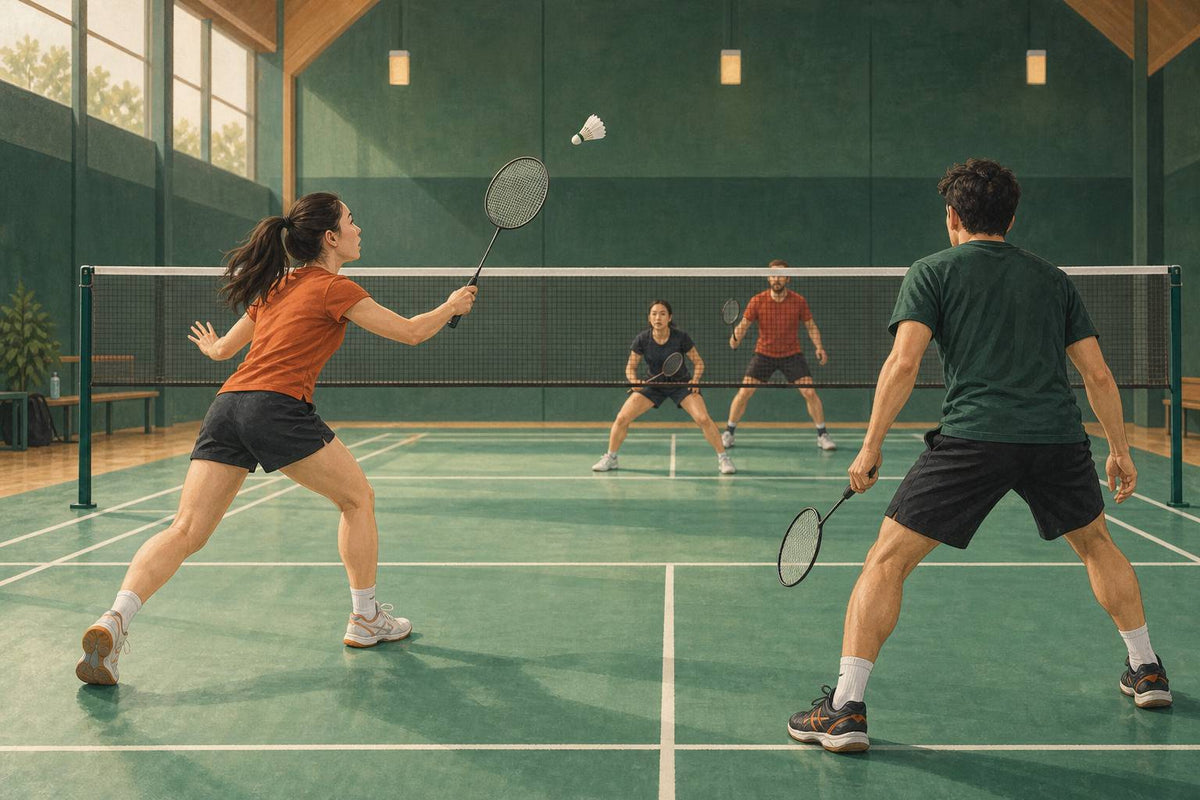
Badminton Double Hit Rule: Can Your Partner Hit It Next?
Learn the badminton double hit rule: why your partner cannot return a graze, body touch, or shared contact—and when one swing stays legal.
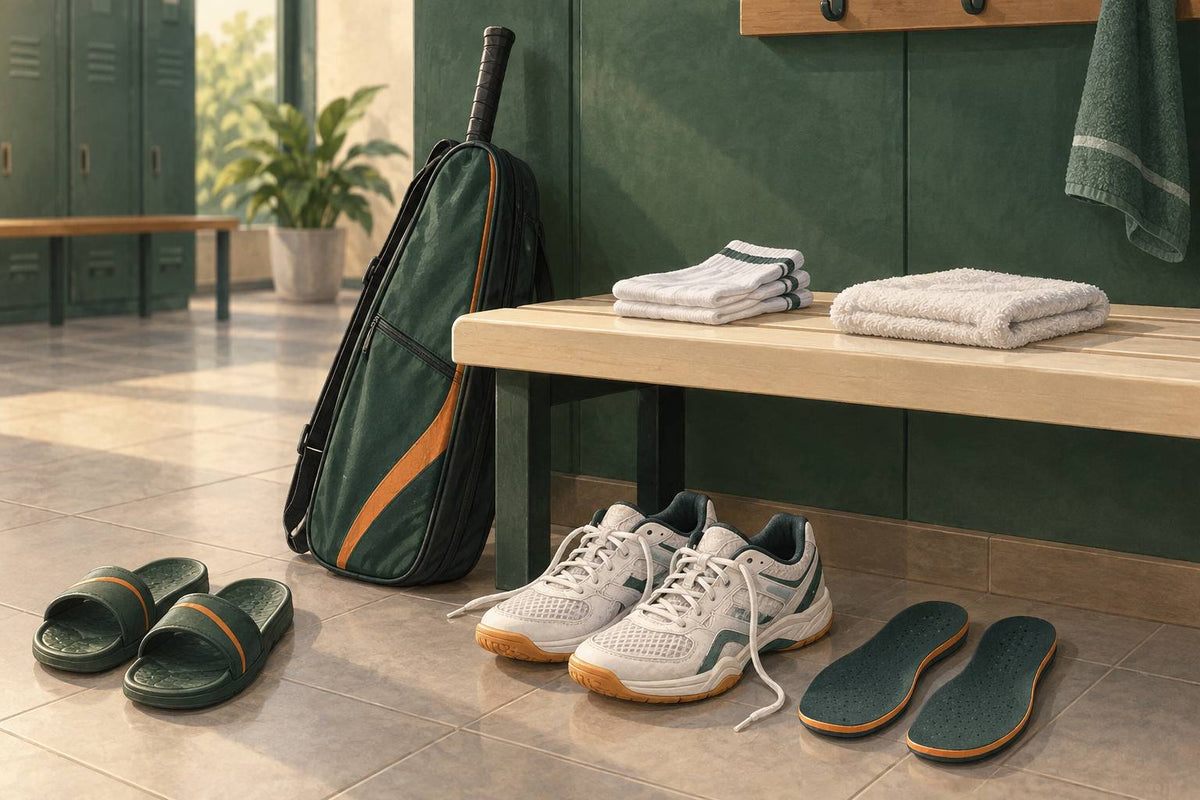
Athlete's Foot Prevention for Badminton Players
Athlete's foot prevention for badminton players: limit floor exposure, dry socks and shoes properly, treat early, and recognize red flags.
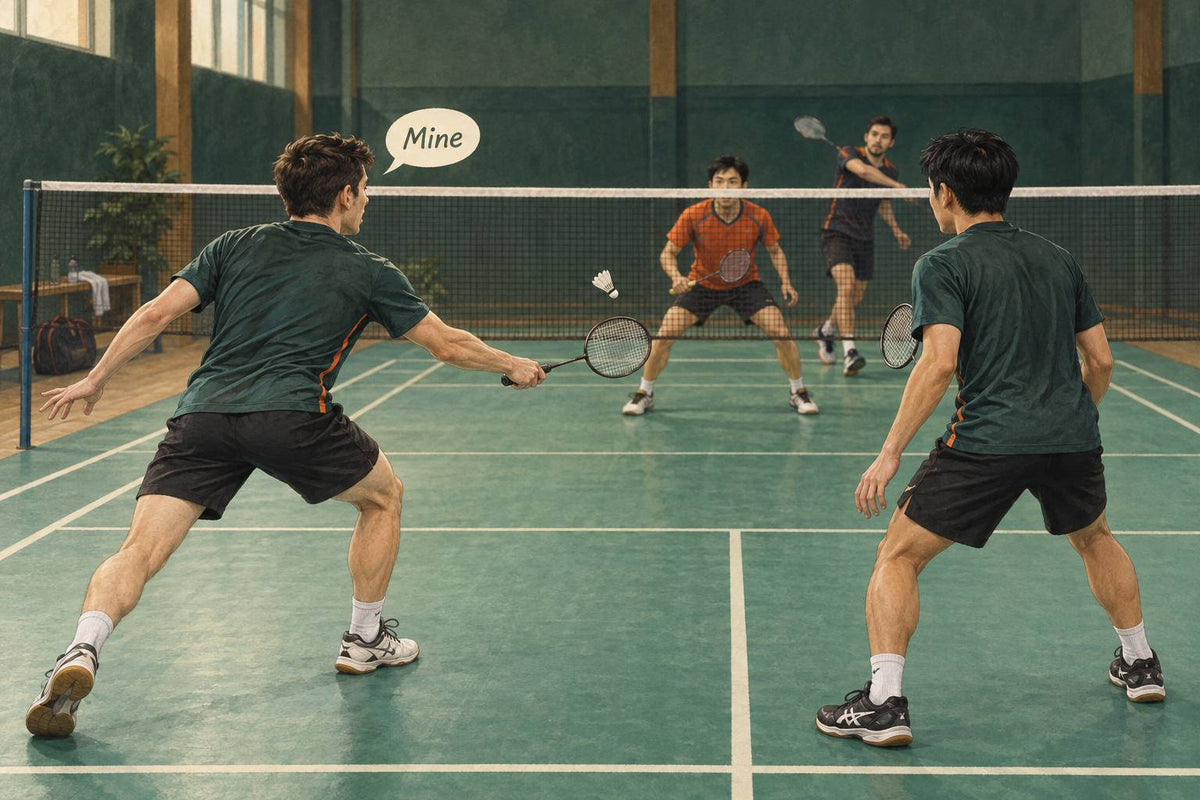
Who Takes the Middle Shot in Badminton Doubles?
Learn who takes the middle shot in badminton doubles by formation, reach, handedness, and clear partner calls.
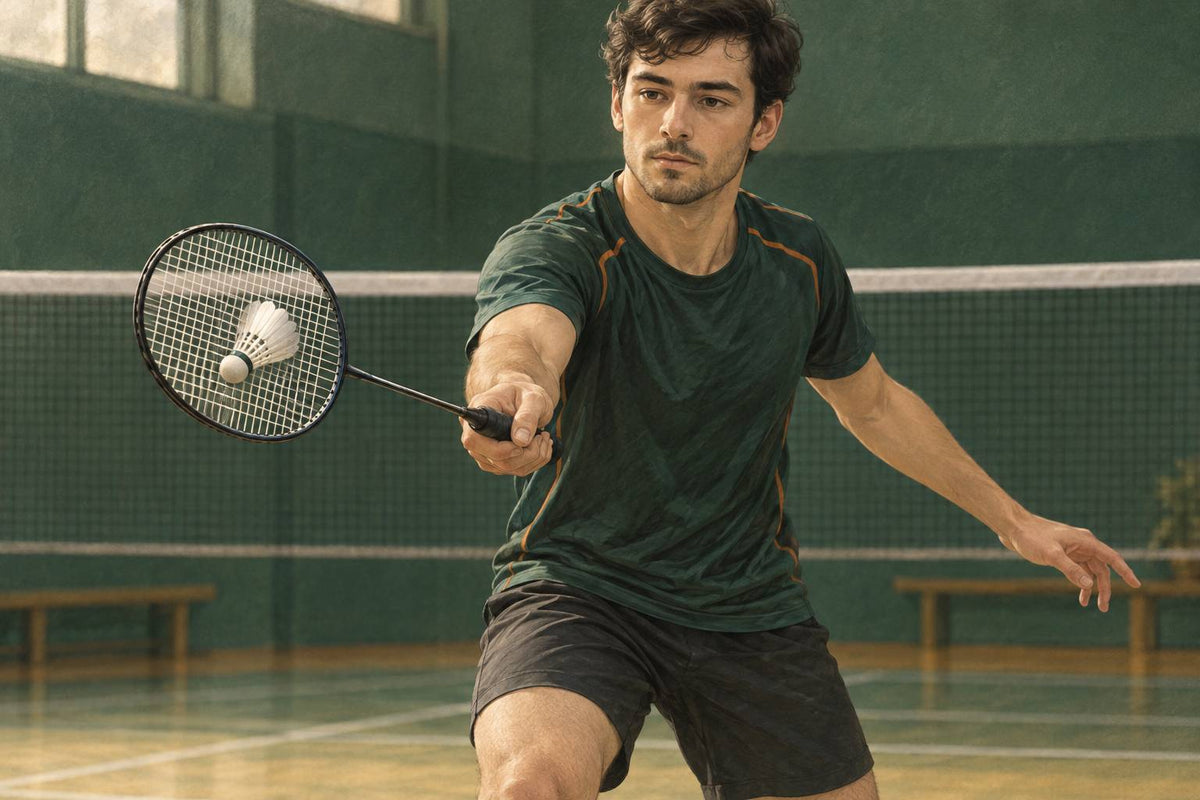
Badminton Racket Frame Hits: Why Mishits Keep Happening
Badminton racket frame hits keep happening? Learn the real causes: timing, spacing, tracking, grip, and racket-face errors.
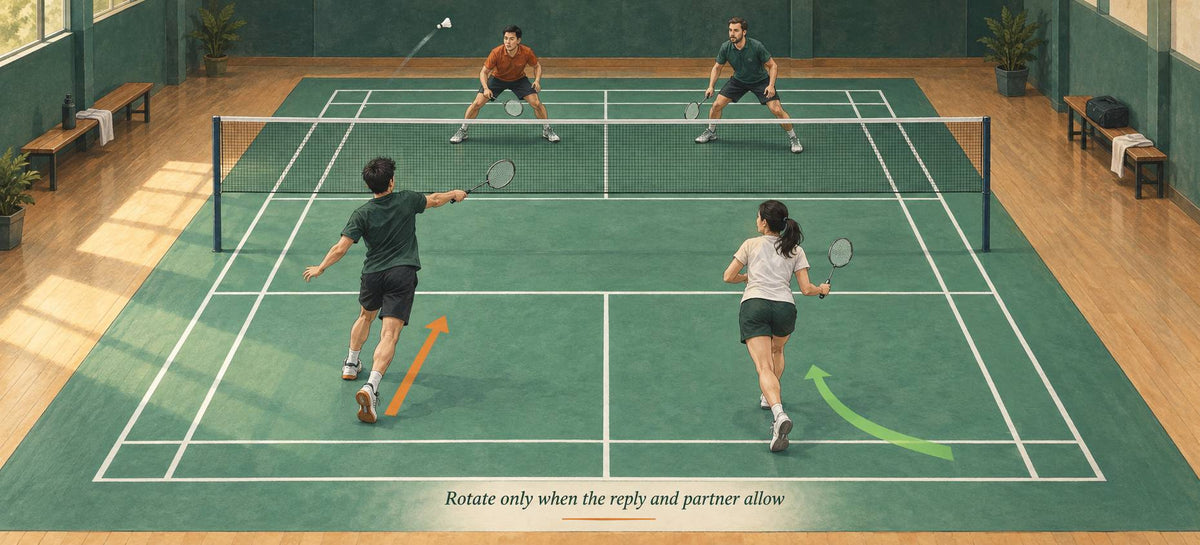
Rear Court Rotation in Badminton Doubles: Escape the Back
Learn rear court rotation in badminton doubles: safe handoff triggers, stay-rear shots, recovery timing, and failure fixes.
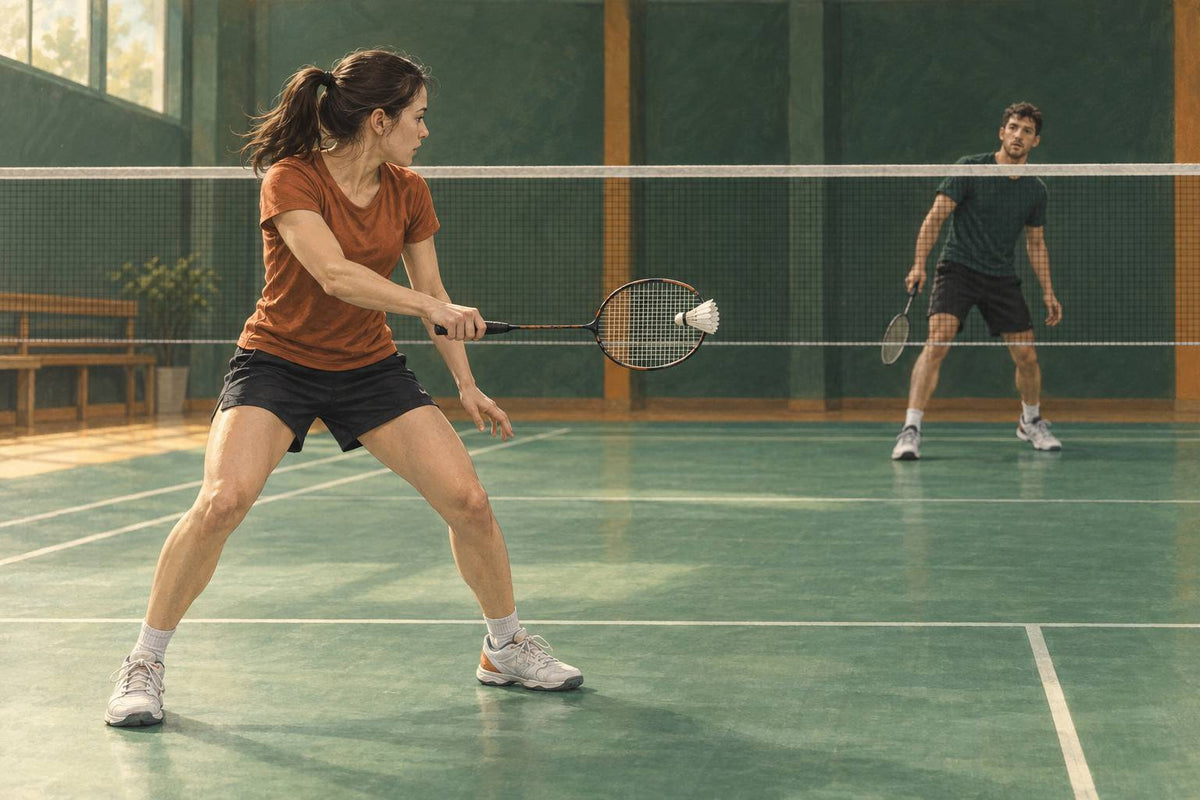
How to Play Against an Aggressive Badminton Player
Learn to play against an aggressive badminton player with depth, defence, tempo changes, and safe counters that test repeatability.