
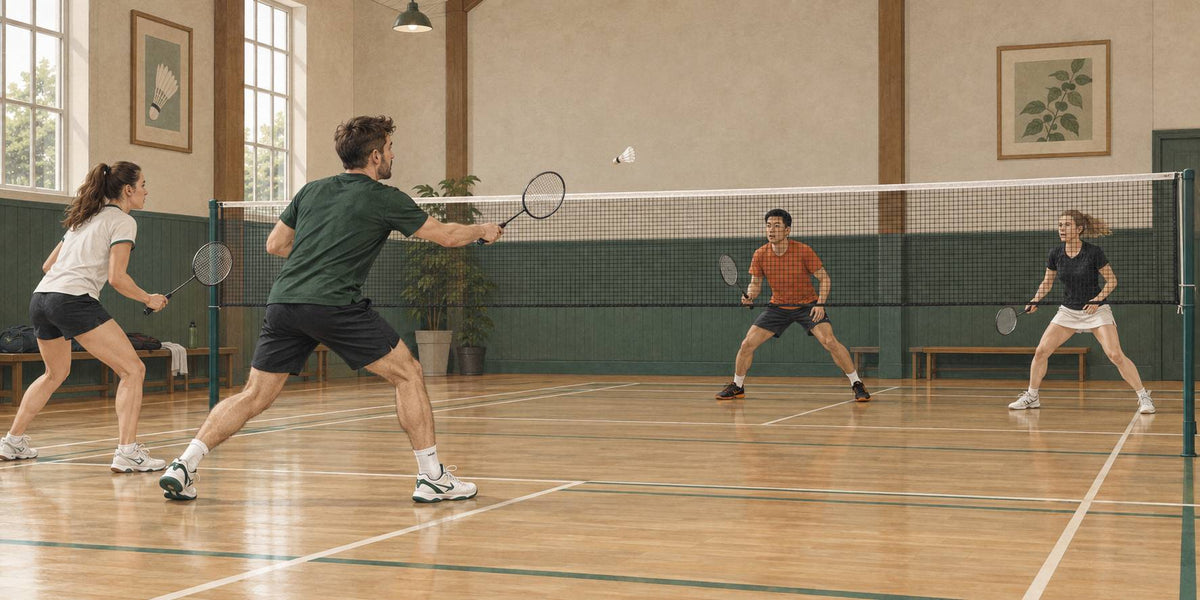
Drive-First Doubles: When a Low-Lift Strategy Fits Your Pair
Learn drive first badminton doubles tactics: when low-lift play fits your pair, when to lift, and drills for cleaner club doubles.
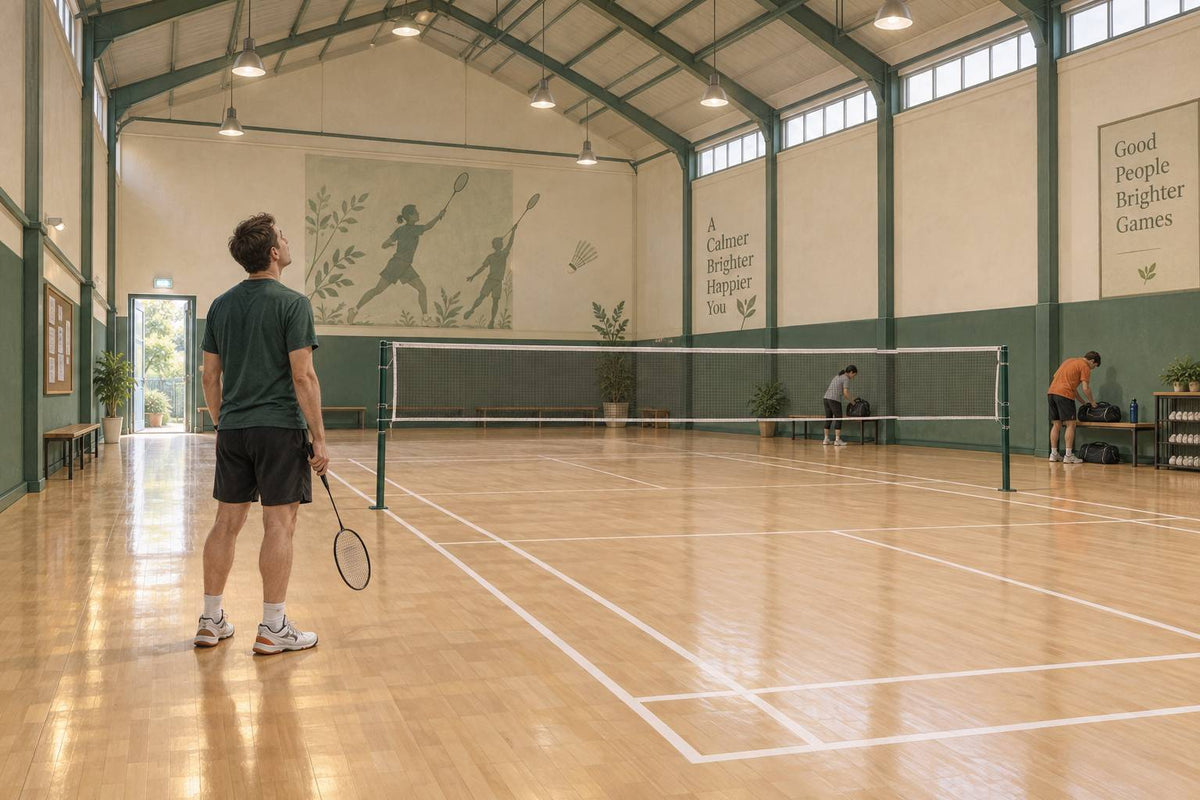
Badminton Court Conditions: How Drafts, Ceilings, Lighting, and Floors Change Play
Badminton court conditions change shuttle flight, footing, and sightlines. Learn what to adapt to—and what to report before play.
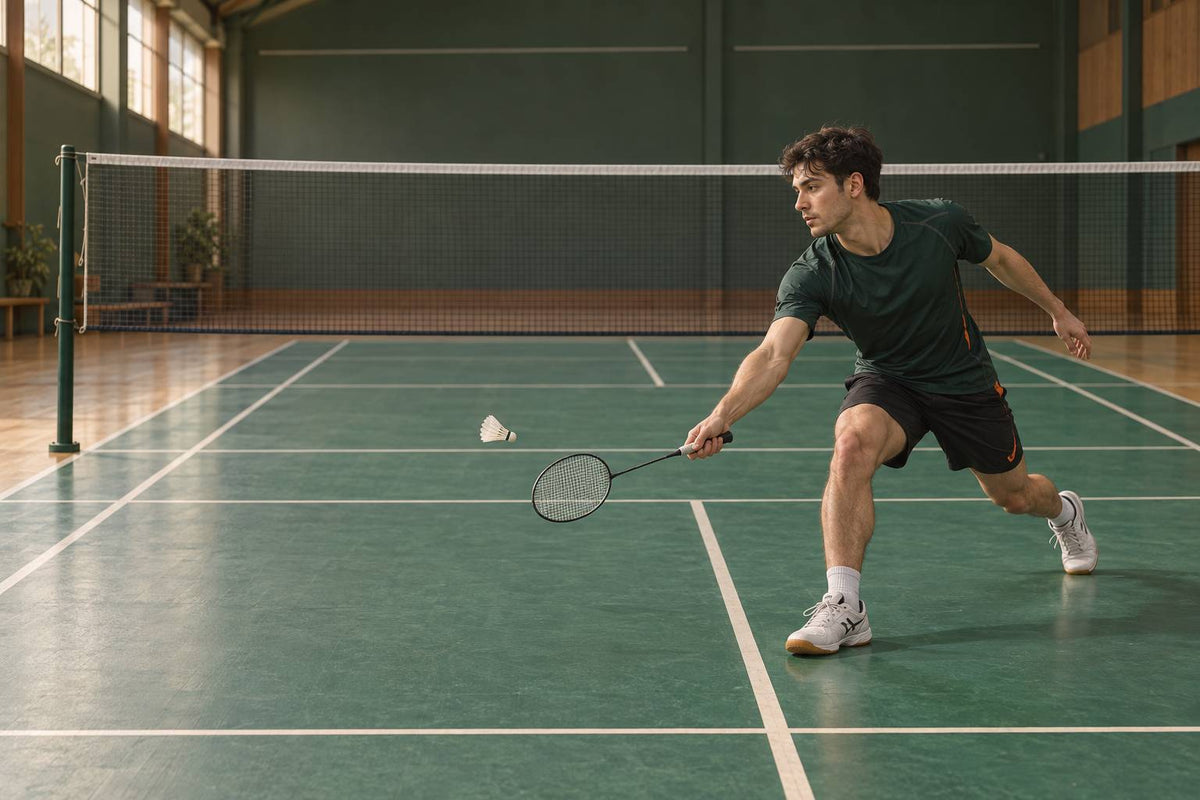
Learn the badminton lob shot: defensive high lift, attacking flat lob, forehand/backhand technique, footwork, and gear notes for Canada.
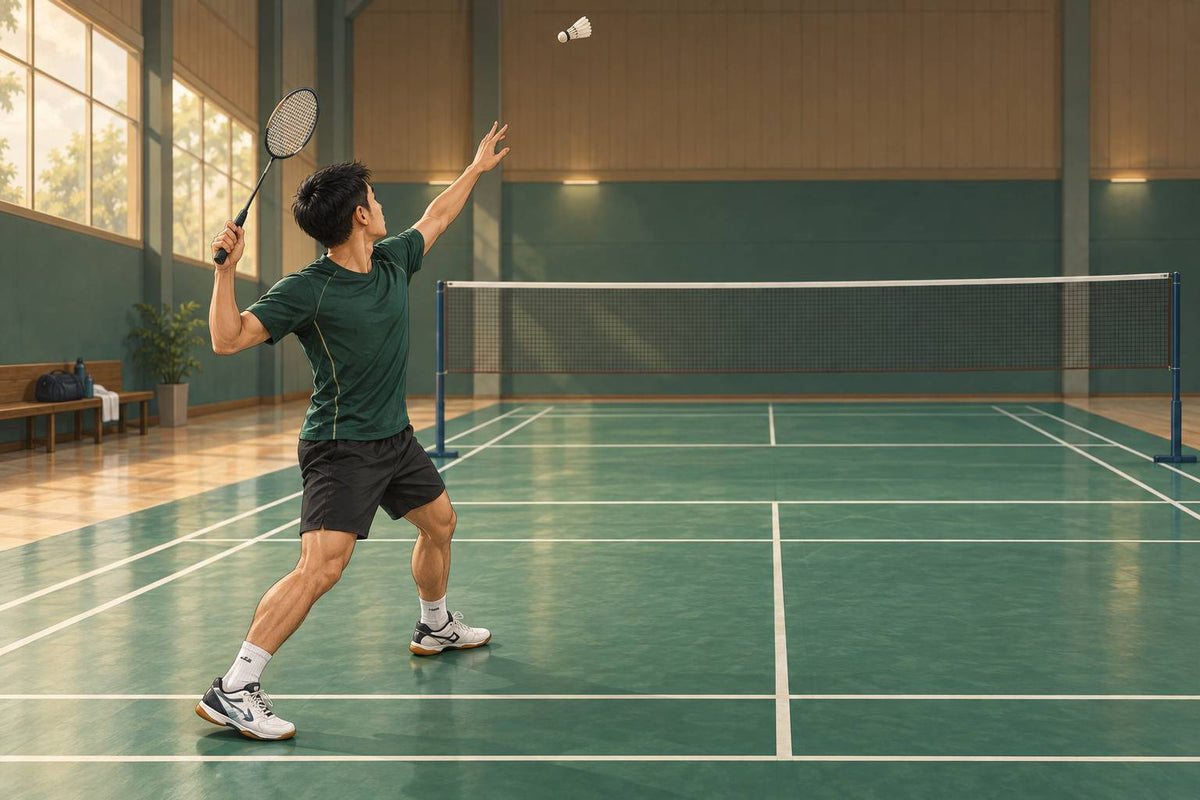
How to Hit a Badminton Clear: Technique Guide
Learn how to hit a badminton clear that reaches the back court with fixes for stance, grip, contact point and arm-only power.
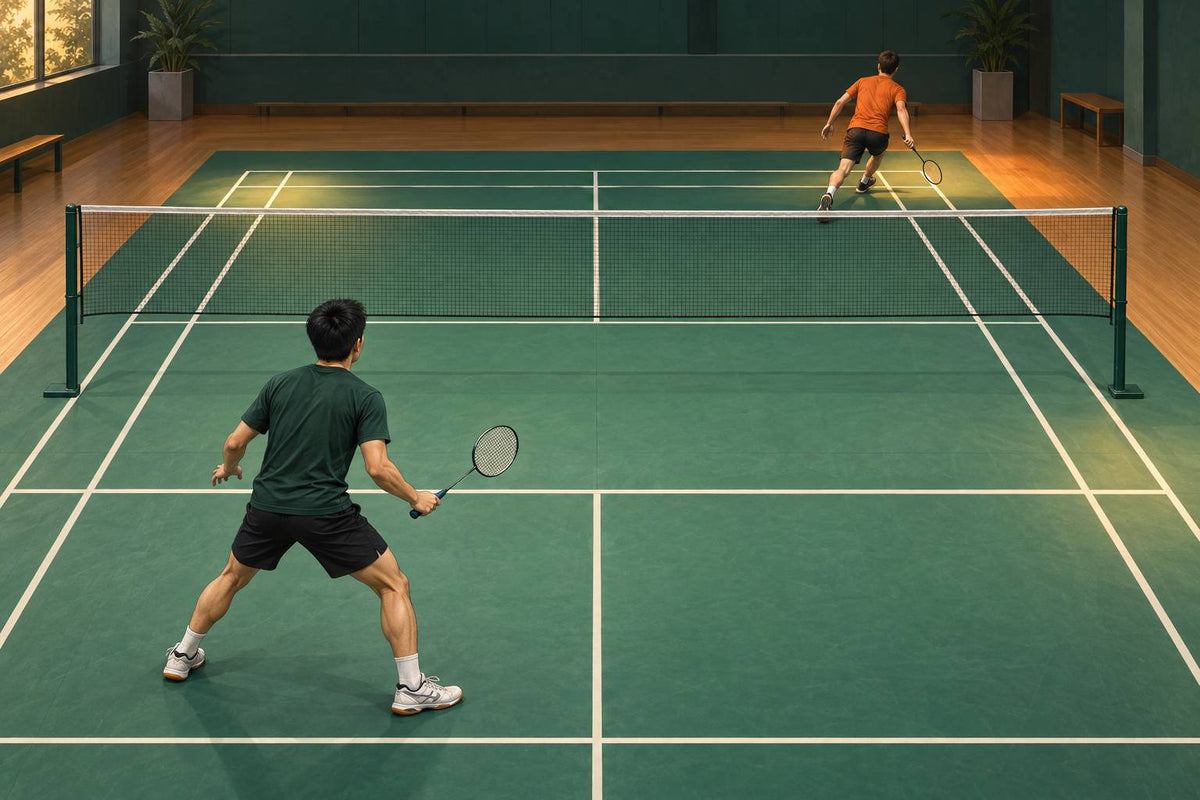
How to Beat a Defensive Player in Badminton
How to beat a defensive player in badminton: patient rally-building, four-corner pressure, deception, and doubles conversion tactics that work.
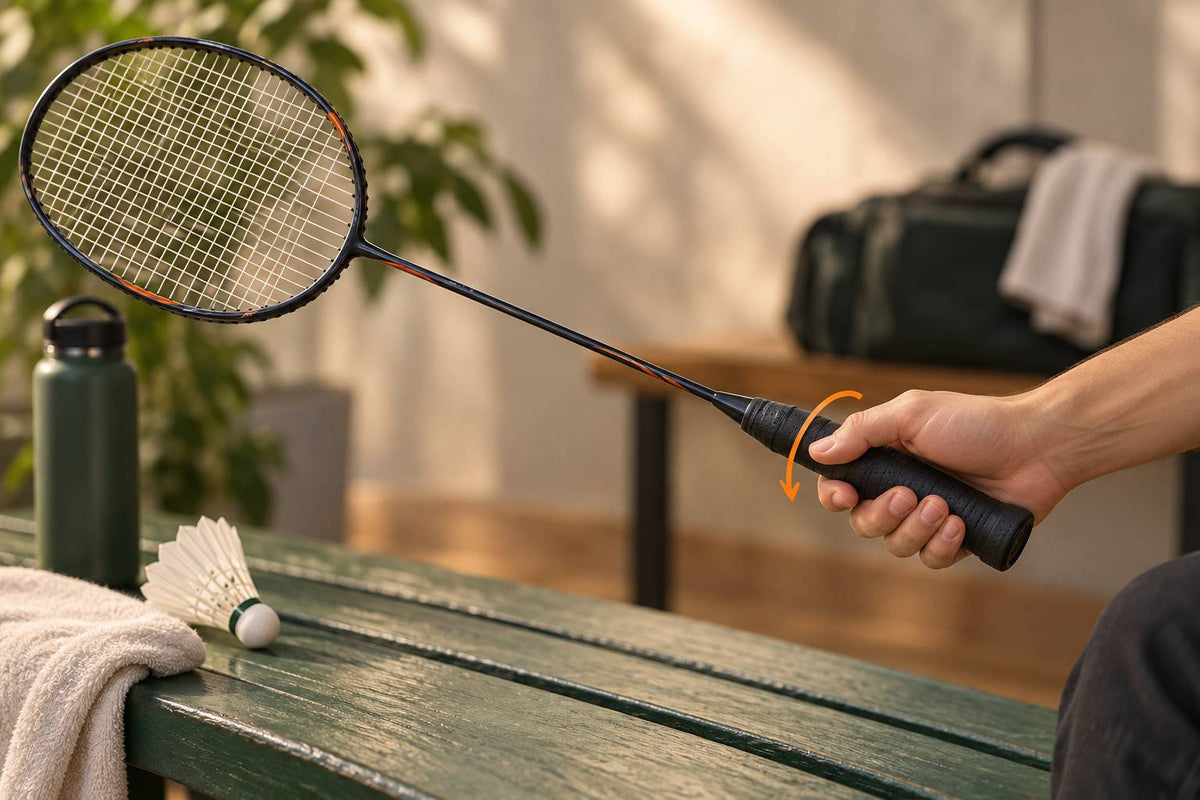
Badminton Grip Switching: Forehand to Backhand Fast
Improve badminton grip switching with a loose neutral grip, earlier backswing timing, and simple finger-rotation drills for club play.
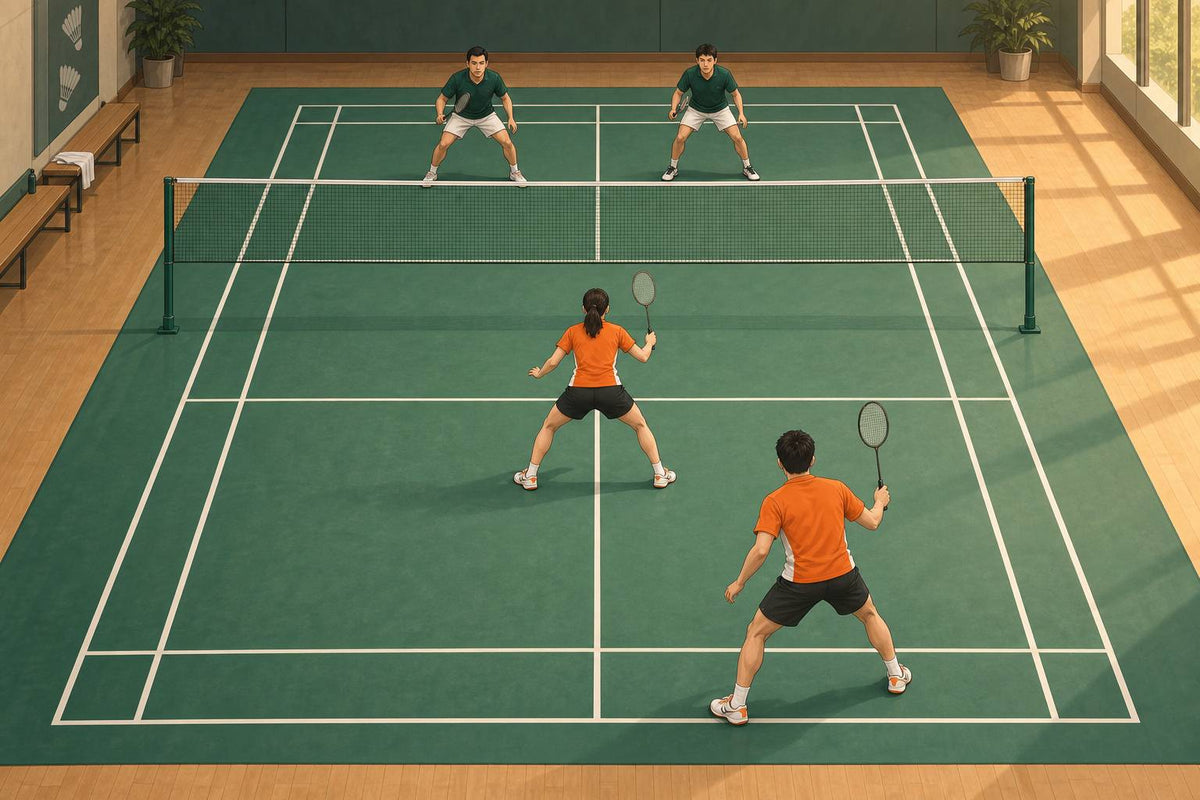
Badminton Doubles Positioning and Shot Placement: Where to Stand and Where to Hit
The two doubles formations, when to rotate between them, and where to actually aim your smashes, drops and net shots to win rallies at club level.
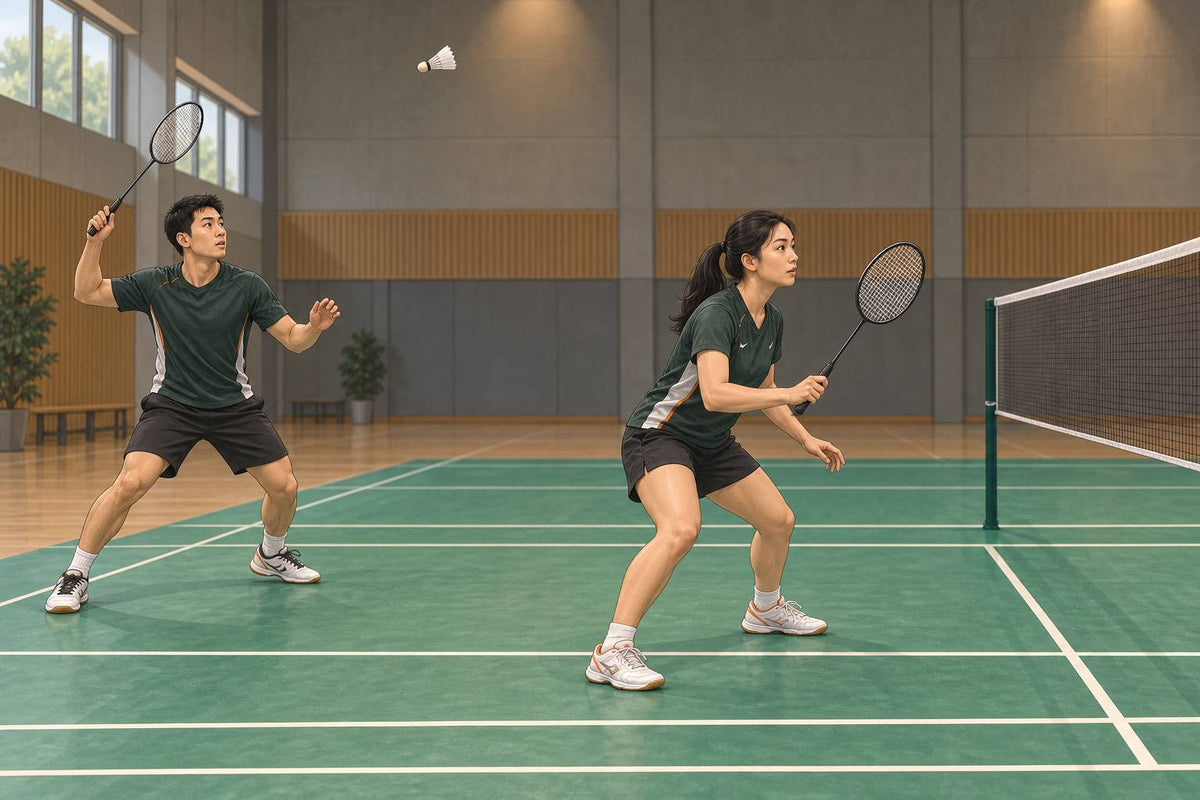
Badminton Doubles Front-Court Net Play: Touch, Leave or Kill
Badminton doubles front-court net play: a touch-or-leave contract with your partner, shots by contact height, compact kills, and a 3-week club progression.
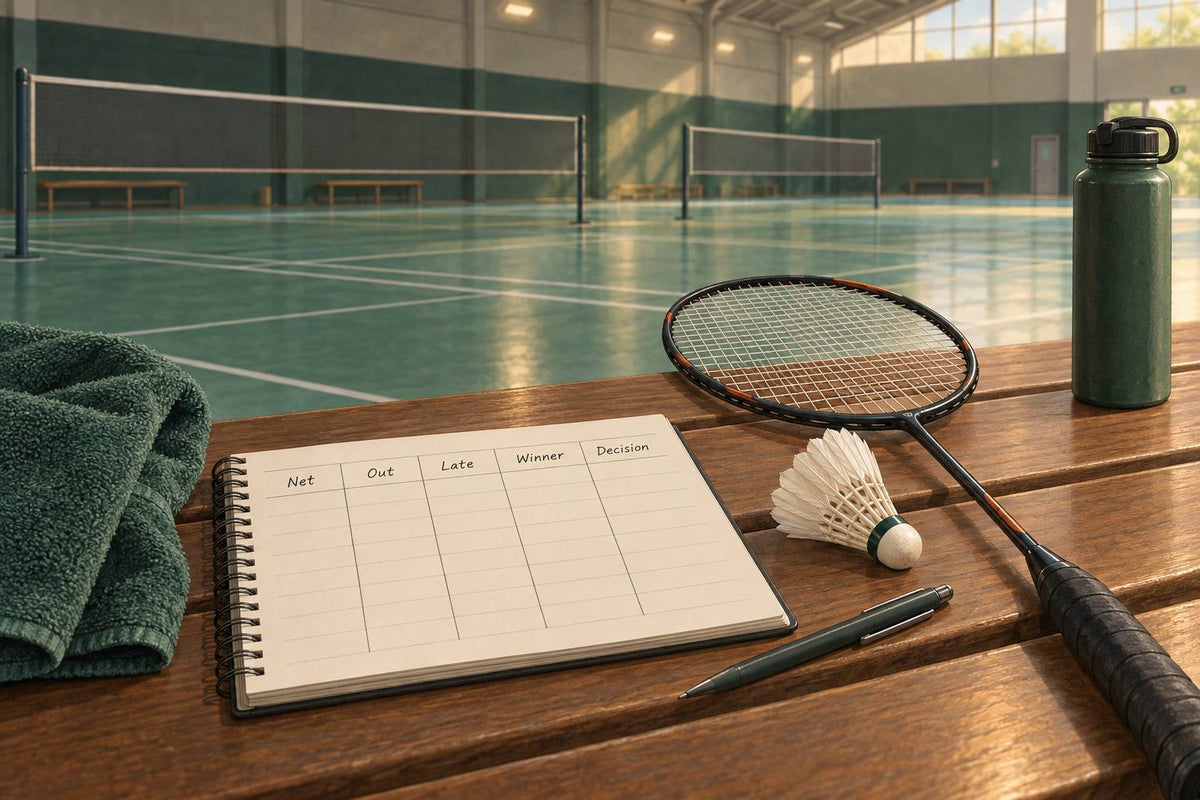
Break the Intermediate Badminton Plateau: The 30-Point Audit
Stuck at intermediate badminton? Tally your last 30 lost points into five buckets, find the one bottleneck, and fix it in a four-week club-night block.
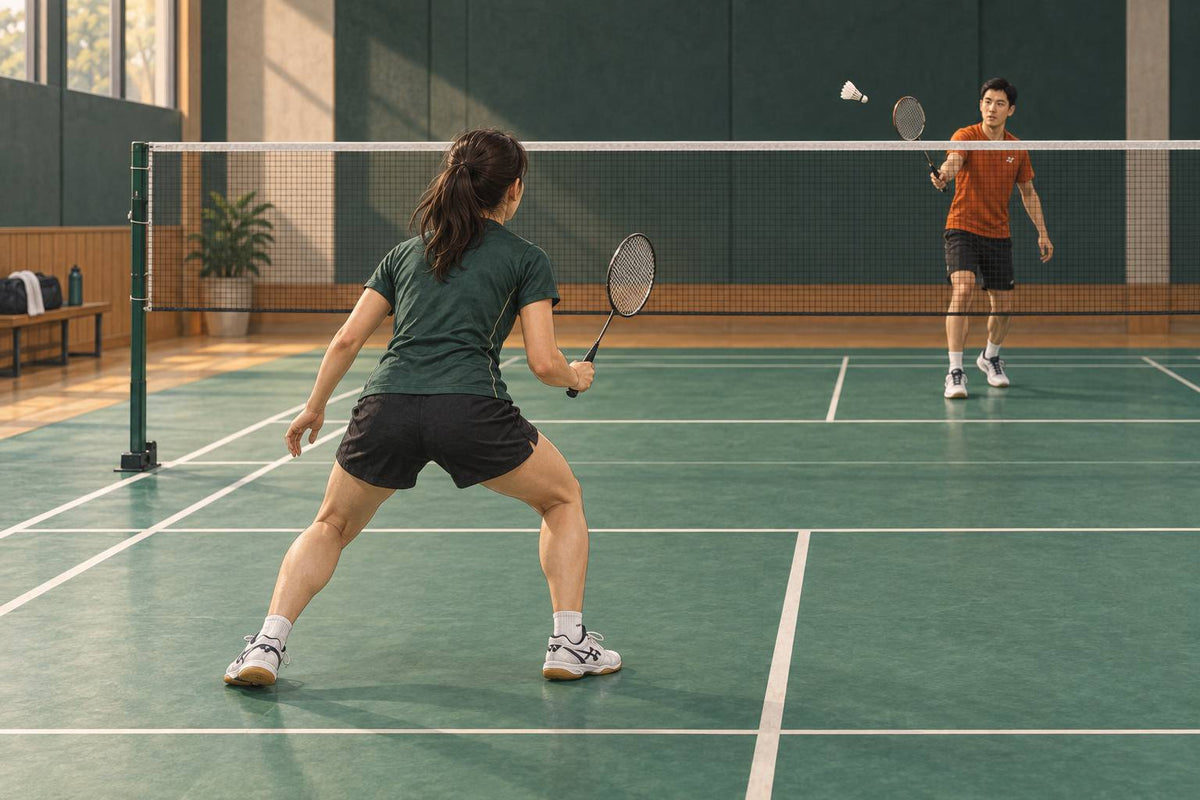
Badminton Split Step: Move Faster on Court
Learn the badminton split step to reach more shots by timing one small hop—faster first step, cleaner footwork, no extra cardio.
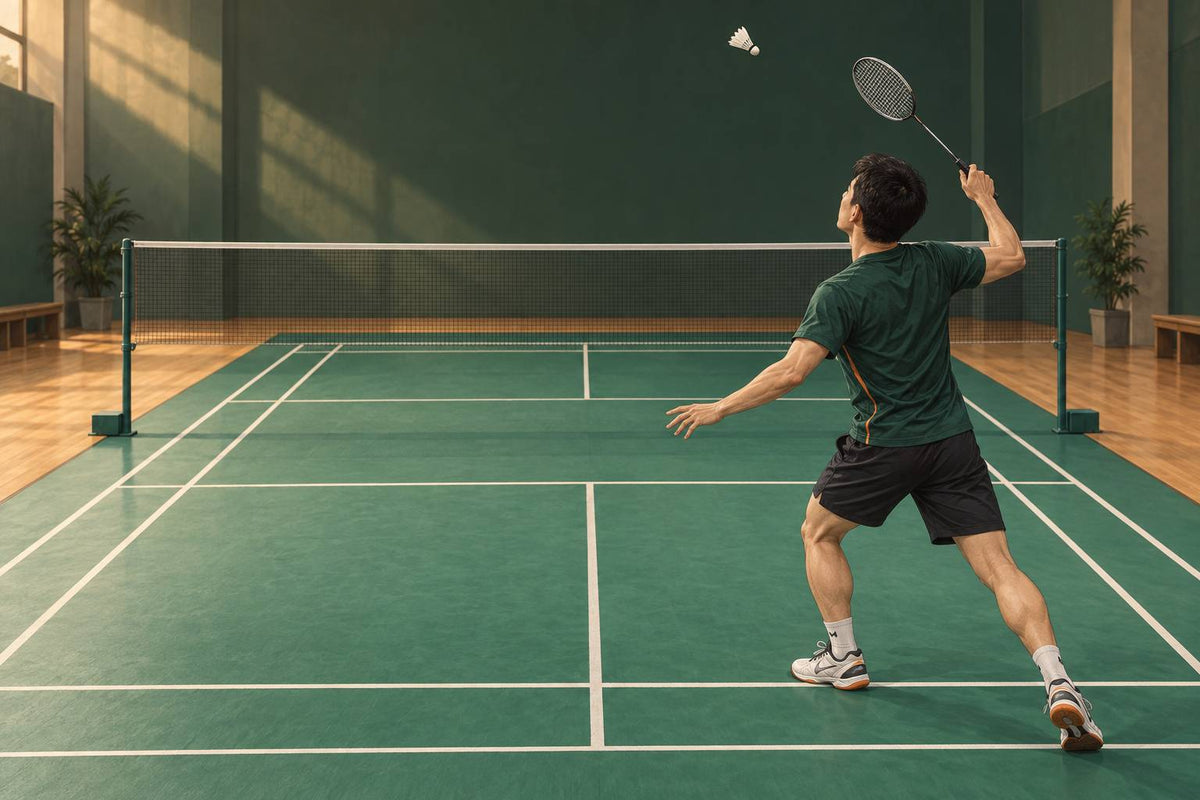
Badminton Slice Drop Shot & Reverse Cut Guide
Learn the badminton slice drop shot: out-cut vs reverse slice, disguised overhead prep, contact cues, and the mistakes that give the drop away.
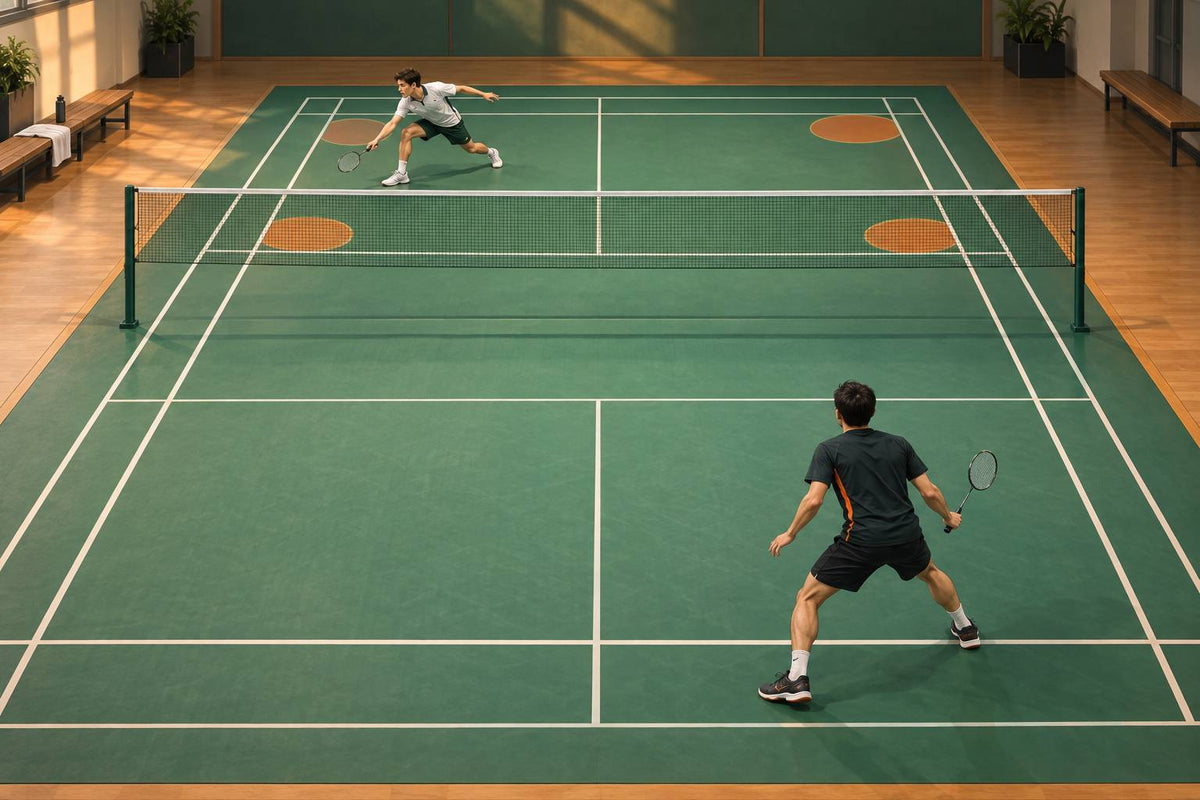
Badminton Singles Tactics: Four-Corner Control
Learn badminton singles tactics for four-corner rally control: pressure weaker corners, hit to space, and conserve energy.